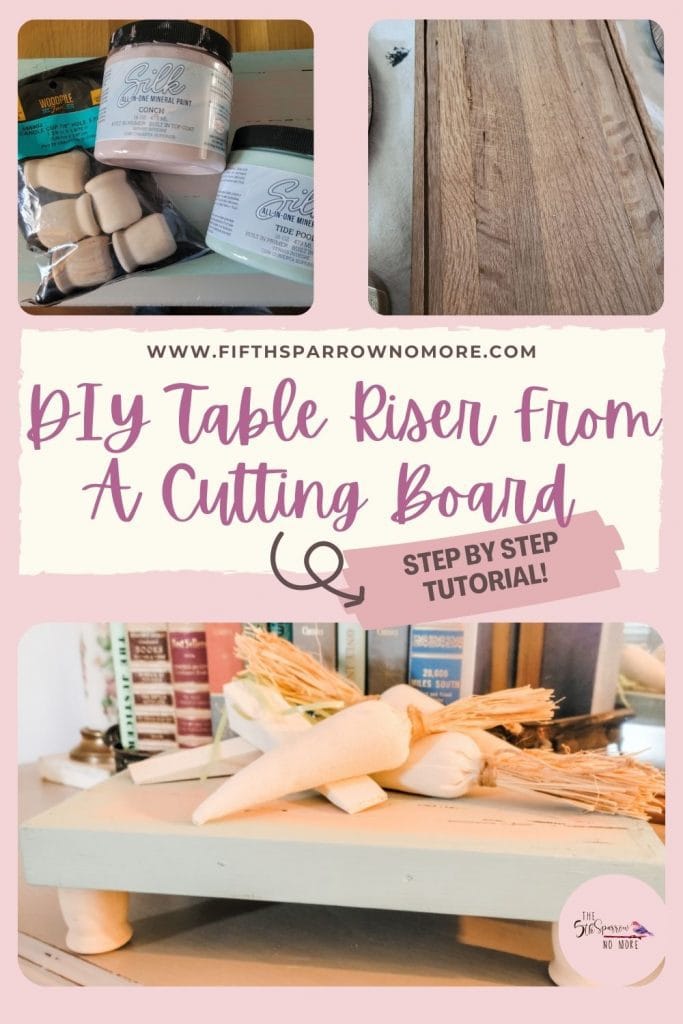
Create A Table Riser From A Thrifted Cutting Board
I can’t wait to share how to create a table riser from a thrifted cutting board, products from the Dixie Belle paint company, and candle cups for feet.
The Thrifted Cutting Board
I purchased my cutting board, which was a thick butcher block type cutting board, at one of my favorite thrift stores – Paws 4 Resale. You can see my thrift haul below, well let’s be honest, some of my thrift haul!
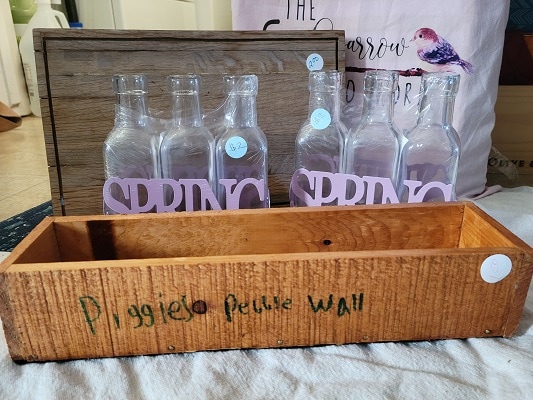
I combined the bottles and the box for the hugs, kisses and hot chocolate bar for my “drizzles” and then again on my botanical spring table.
For two dollars I knew this solid hunk of wood had potential to be another riser. I received this one and painted it to match my décor and I can definitely use another one!
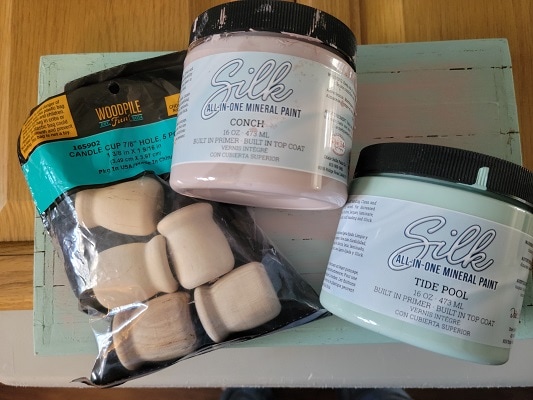
The Supplies You’ll Need To “Fifth Sparrow No More” The Cutting Board
Thank you Dixie Belle for sponsoring this post! The below links are affiliate links, which means I make a small commission at no cost to you. This helps The Fifth Sparrow No More operate and bring you fabulous posts!
Create A Table Riser From A Thrifted Cutting Board
First Step Is Cleaning
You can only imagine how gross this cutting board was!! I used the Pristine Clean to thoroughly clean it. Mix 2 heaped tablespoons of the Pristine Clean granules in 1 gallon of hot water and mix until dissolved. Apply with a rag and then wipe off with a clean, slightly damp rag. I use the mister bottle to slightly dampen my clean rag to wipe off the Pristine Clean – it works great! Don’t let water puddle or sit.
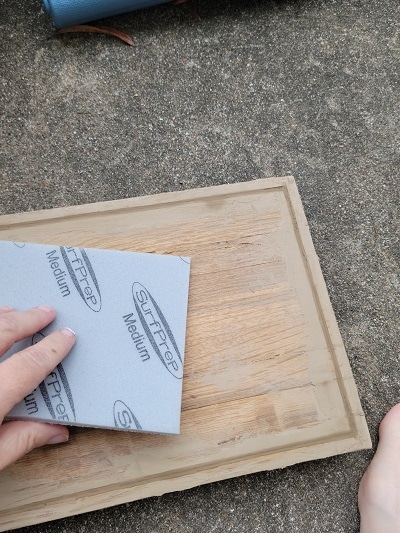
Creating A Smooth Surface On The Thrifted Cutting Board
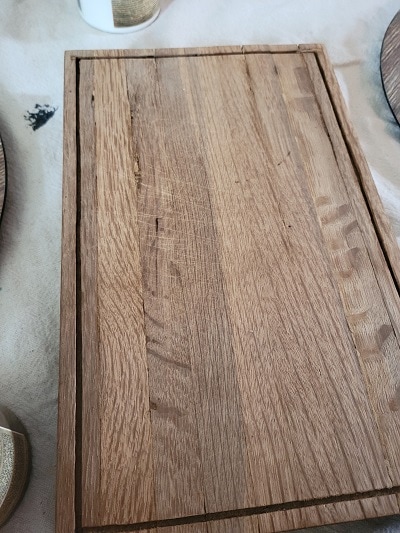
Around the edges of the cutting board a small groove was cut into the cutting board. This was functional when this was used as a cutting board but I wanted my table riser to have a smooth solid surface. Dixie Mud to the rescue! Using a spatula scoop some Dixie Mud onto your spatula and spread a small amount in the groove.
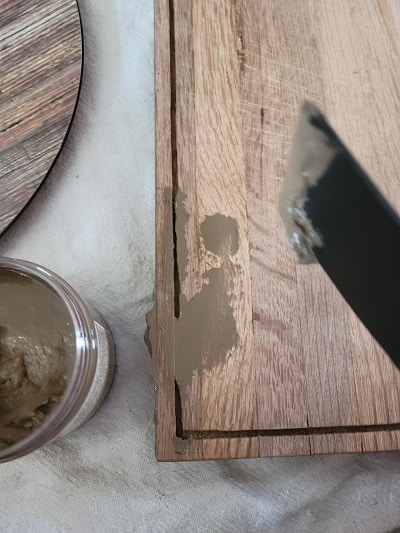
Wait for this to dry and sand away excess Dixie Mud and make it smooth.
From Twigs & Fluff, Our Shop
Visit Twigs & Fluff for vintage décor, printable eBooks, party sets and ephemera. Our vintage inspired flash card can be purchased as a download or print and mail! The Fifth Sparrow No More Etsy Shop has even more vintage décor – visit today!
Create A Table Riser From A Thrifted Cutting Board
Paint In Beautiful Dixie Belle Colors
I painted the table riser in a base coat of the Silk Mineral Paint in Tide Pool.
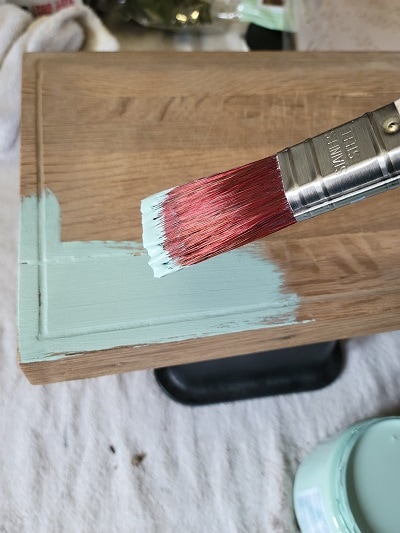
When this was dry I dry brushed on conch paint using this method.
To Make A Cutting Board A Table Riser It Will Need Feet!
Attaching Candle Cups
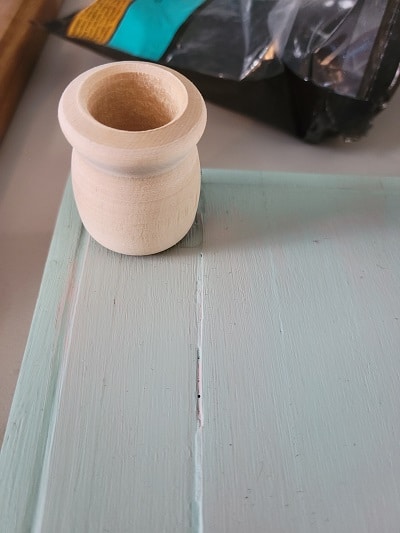
Place Candle Cups on The Cutting Board
Place the candle cups upside in the four corners of your project. They are predrilled with a hole in the center. Using a pencil mark in that center hole – this is where you will drill your pilot hole.
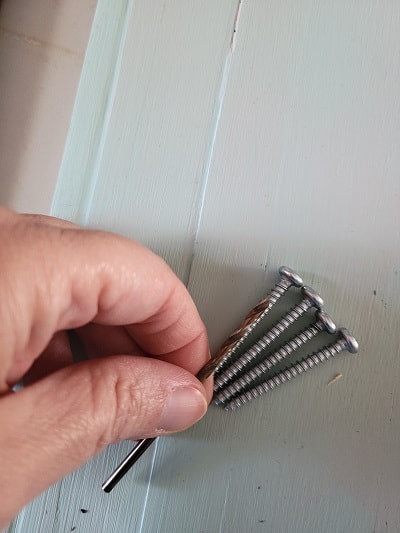
Find The Drill Bit
Match the drill bit to your screw you are using to make your pilot holes. Pilot holes are used so the wood won’t split. I explain more about pilot holes in this project!
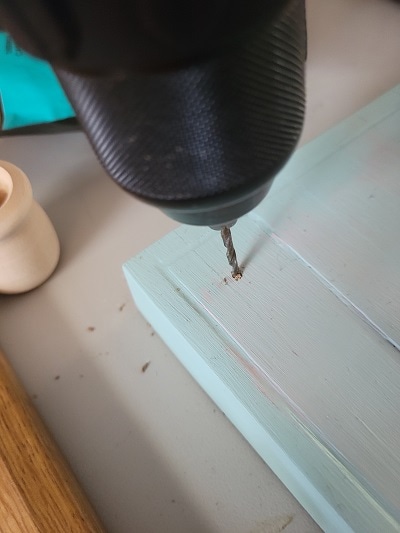
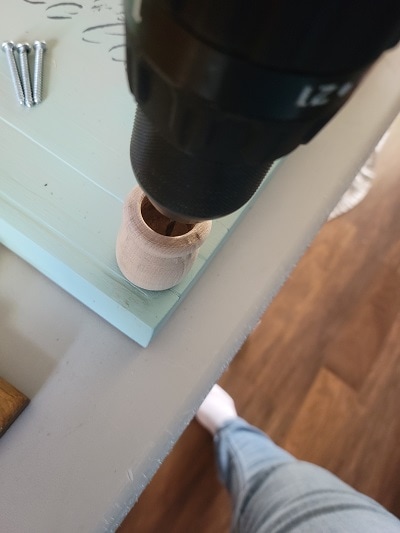
Drill Pilot Holes in Your Cutting Board
Drill each of your pilot holes. You can use painter’s tape on your drill bit so you know where to stop and do not accidently go to far!
Attach Candle Cups To Your Table Riser
Attach the candle cups with your screws. Now your table riser has feet!
Before You Fly Away To Create A Table Riser From A Thrifted Cutting Board
Pin this post to Pinterest – you never know when you’ll find a cutting board that’s perfect for a table riser! Hover over any picture or the image below to save it to your account. So easy!