Create Wall Art With A Drop Cloth and Transfers
Create wall art with a drop cloth and Dixie Belle transfers and paint to upcycle a thrifted frame to freshen up your home’s decor for Spring.
I wanted to freshen up our front door entry way with a touch of Spring. Spring, for me, means the color green, flowers, birds singing and fresh new beginnings. My main focal point started with a $1 frame from Paws For Resale, a favorite local thrift store of mine. And the Magnolia Garden Transfer was my inspiration.
Steel Magnolias is a favorite movie of mine. I can honestly say top three. The women in that movie are called steel magnolias because they have both traditional femininity as well as an uncommon fortitude. And fortitude is courage in pain or when there is difficulties. I chose this magnolia print not only because of its beauty but of its reminder that we are steel magnolias – ladies with courage,
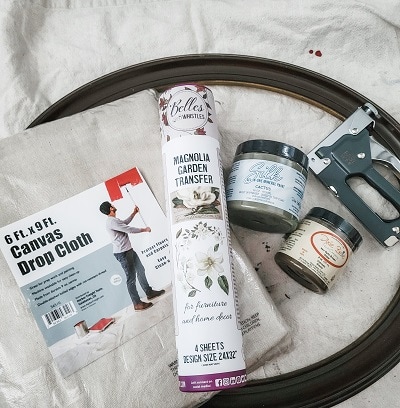
Gather Your Supplies For Your Floral Wall Art
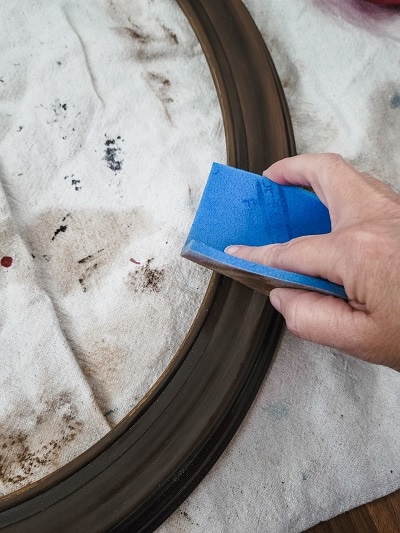
Clean and Sand Your Frame
Sanding and cleaning! I used one of Dixie Belle’s Rad Pads to scuff sand the frame. I then used Pristine Clean to thoroughly clean it. Mix 2 heaped tablespoons of the Pristine Clean granules in 1 gallon of hot water and mix until dissolved. Apply with a rag and then wipe off with a clean slightly damp rag. I use the mister bottle to slightly dampen my clean rag to wipe off the Pristine Clean – it works great! Don’t let water puddle or sit! If your frame is especially grungy use this method to do a deep clean.
Painting Your Frame – The Process
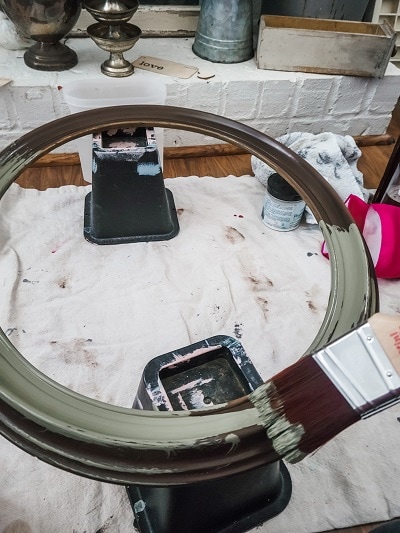
Step One – Using your Silk Mineral Paint in Cactus apply one coat.
Step Two – Apply your Amber Gemstone Mousse in the places where you want highlighting on your frame. I chose a recessed area that ran completely around the frame.
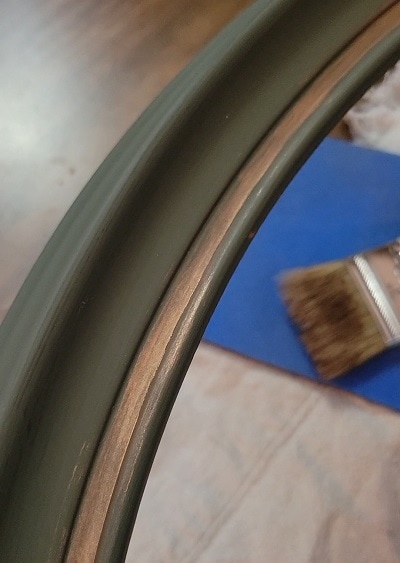
Step Three – Using the glaze, go over the spots with the amber gemstone mousse. I did not wait very long, just the amount of time to apply amber gemstone mousse to the entire piece. Wipe away excess with a towel.
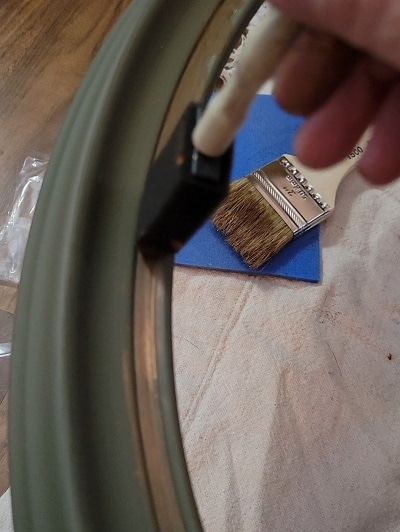
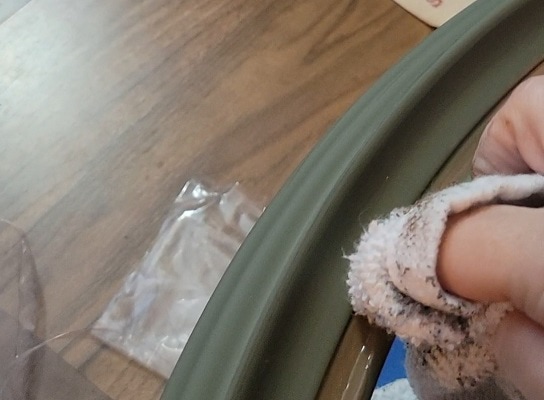
The Final Look – A beautiful lightly distressed frame for your magnolia wall art with just a hint of sparkle!
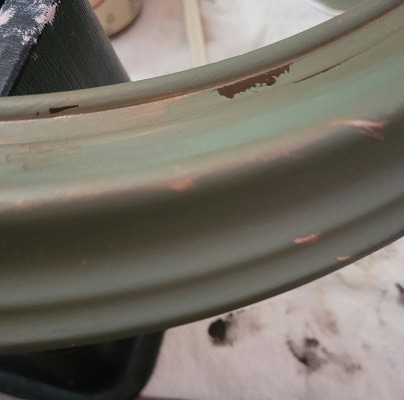
Creating The Wall Art On A Drop Cloth With Transfers
Start by tracing your frame onto your drop cloth. A helper to hold down the drop cloth is completely optional and really not helpful …
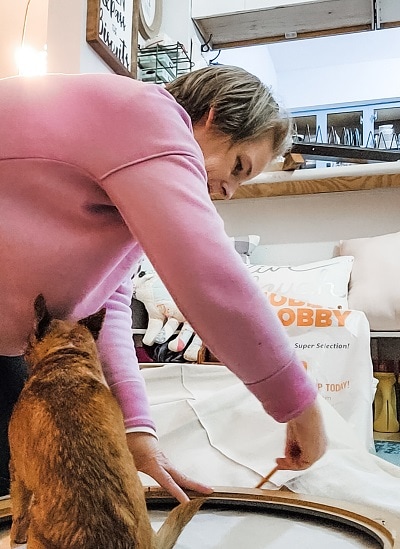
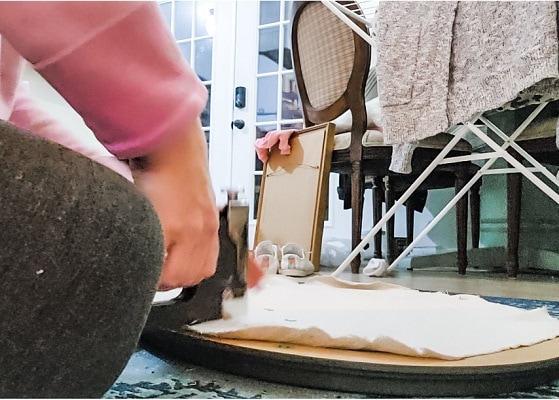
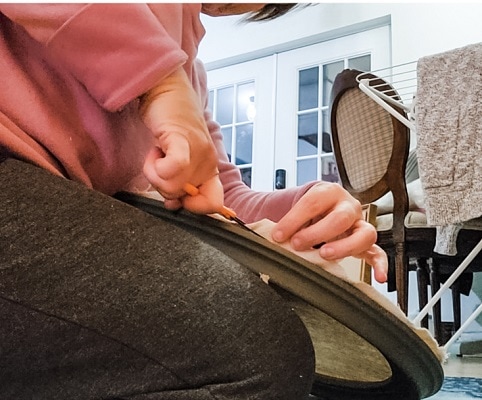
Staple the drop cloth to the back of your frame stretching it tight as you go – it helps to do the staples on opposite sides to each other. For example comparing my frame to a clock I would do a staple at 12 and 6, then 3 and 9, and fill in the rest. Trim off any excess drop cloth.
Applying The Transfer by Dixie Belle Paint
- Cut around your image that you are using.
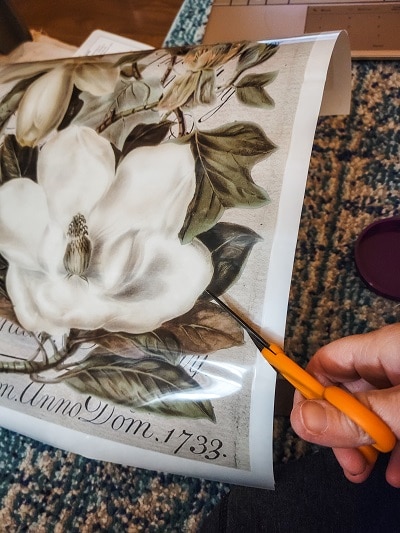
- Position it on your frame, paying attention to where the middle of your drop cloth is in the middle of your frame.
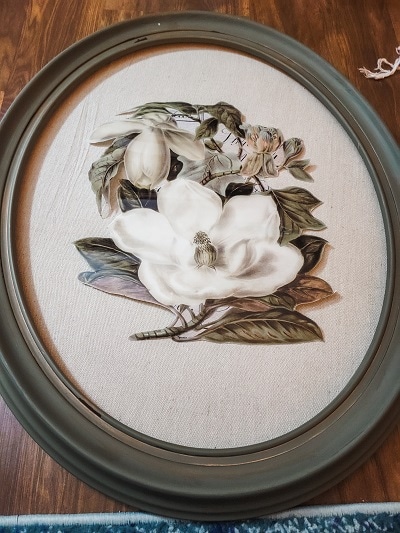
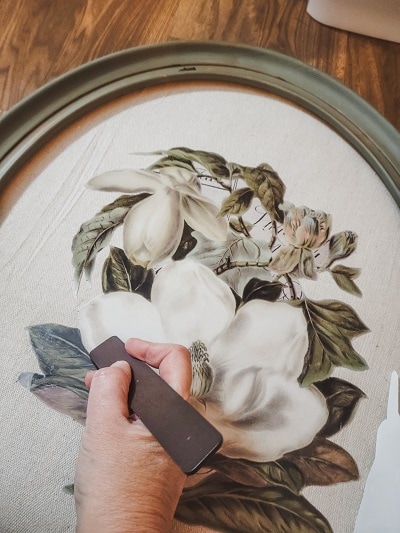
- Peel off white backing and press down the transfer to the drop cloth. Rub the image onto the drop cloth using the enclosed stick. It does take a little longer than it does when transferring to wood so don’t get discouraged! I also found that if you use the long edge of the stick and press down and away from you works really well too.
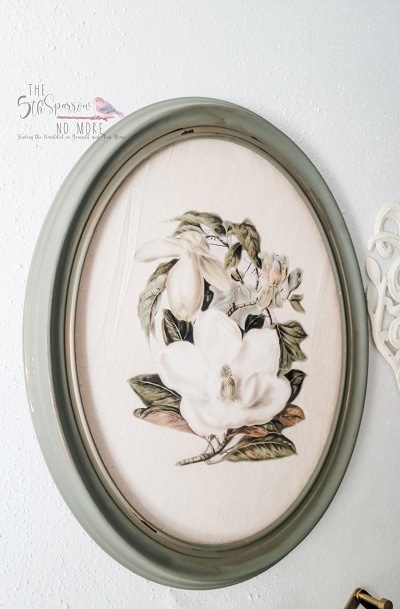
The Finished Wall Art Created With Transfers on A Drop Cloth
“The only thing that separates us from the animals is our ability to accessorize.”
-Clairee in Steel Magnolias
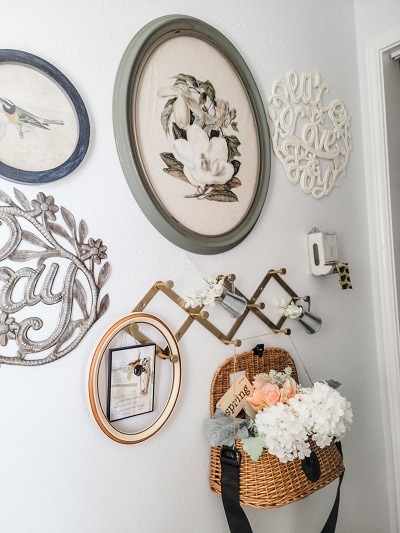
Using The Magnolia Wall Art in My Entry Way
Accessorize our homes in this case. I hung the magnolia wall art up in our entry way as a reminder that we are women of beauty and courage and if the movie tells us anything we have great senses of humor too!
This floral wall art would be beautiful on a spring mantel or in a gallery wall along with pictures of women who you know as steel magnolias.
Pin for later – use this project to freshen up your home decor for Spring!

[mailerlite_form form_id=4]



This is beautiful Kristin! I”m surprised the transfer sticks to the fabric. Did you add anything to the drop cloth before the transfer?
Sara – nothing done to the canvas, this was straight out of the package! I had not seen or found any project that had tried DB transfers on project so I wanted to make that leap!! It worked like a dream. You do have to press harder and rub longer but it works!
This is just gorgeous Kristin! Thanks so much for sharing the process. Happy Valentine’s Day and have a great week ahead.
Thank you so much Denise! Happy Valentine’s Day to you as well!
Looks beautiful! I like the paint color on the frame! Thanks for sharing! Donna
Thank you Donna! Isn’t that color lovely – one of the new silk colors from Dixie Belle. It’s a darker sagey color called Cactus!
This is a great DIY. I’ve used stickers, but never on fabric. This is one I need to try 🙂
I would love it if you would share this project at my Friday with Friends link party!
Thanks,
Rachelle
Thank you Rachelle! It was an easy DIY and it is so pretty, I will head over and link up now!
This is a lovely piece of artwork Kristin! I had no idea transfer could be used on fabrics! Pinning!
Thank you Cindy! I didn’t know if the transfer would work either but it did and quite beautifully! Thank you for pinning!
Congrats, Kristin, you are being featured at the Friday with Friends link party! Thank you for adding to the party fun.
Rachelle
WOW, thank you so much Rachelle! What a an amazing way to end my day – with this happy news!
This is SUCH a beautiful piece of art that you created!! It looks like something out of a boutique. The frame color is so pretty!
Thank you so much Rachel!!