Combine Pegboard and a Cabinet Door For This Amazing Repurpose
Come along as I combine a piece of pegboard and a cabinet door for this amazing repurpose to add storage to my primary bedroom and office combo. Currently I’m doing a makeover in my primary bedroom for the One Room Challenge. And because of space in my little cottage in the city my office area is in the primary bedroom. So when the space is small organization must go vertical! I love pegboard to create vertical storage, I used it in my tool closet. And since it worked so well there I am now creating a wall of pegboard organization in my office nook.
The Cabinet Door For Pegboard Organization
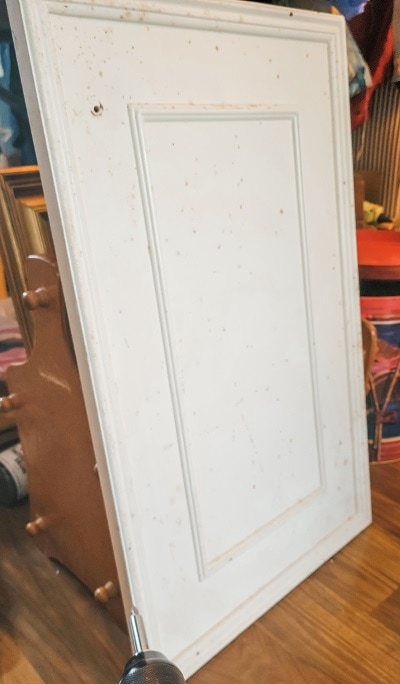
I wanted to frame my pegboards. This sent me on the hunt for something that was already “framed” that I could attach a pegboard to. I used a cabinet door for my first pegboard and an empty frame for my second.
The Steps To Combine Pegboard and a Cabinet Door
- Measure the inside (inside the outer frame) of your cabinet door and cut pegboard to size.
- Remove all hardware from your cabinet door.
Thank you to Dixie Belle Paint for sponsoring this post today!
Painting
Paint Pegboard and Cabinet Door
Pegboard
- Cleaned pegboard with Pristine Clean
- Light sanding to scuff the surface
- Wipe away dust from sanding
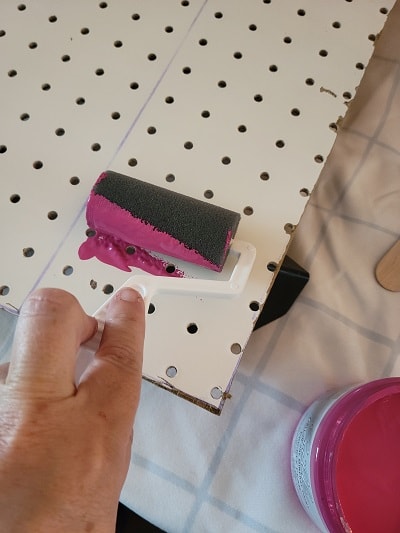
- Paint the pegboard with Dixie Belle’s Prickly Pear paint
- Using a foam roller seemed to work best to get even coverage.
Cabinet Door
- Clean with Pristine Clean
- Light sanding to scuff the surface
- Wipe away dirt
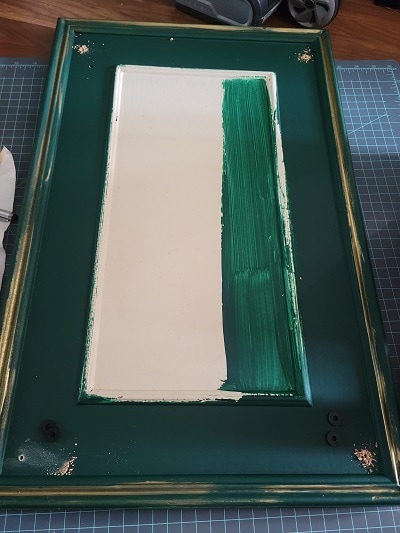
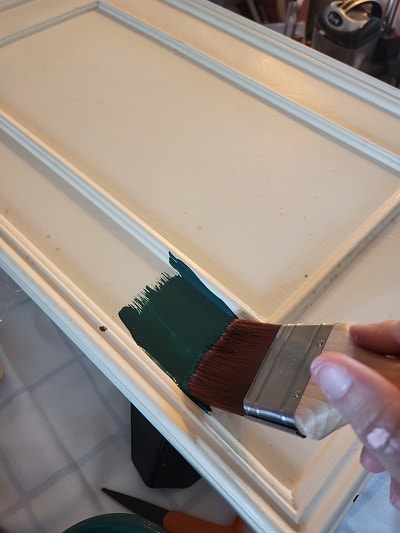
- Paint the cabinet door with Dixie Belle’s Midnight Green
Add Details To Cabinet Door
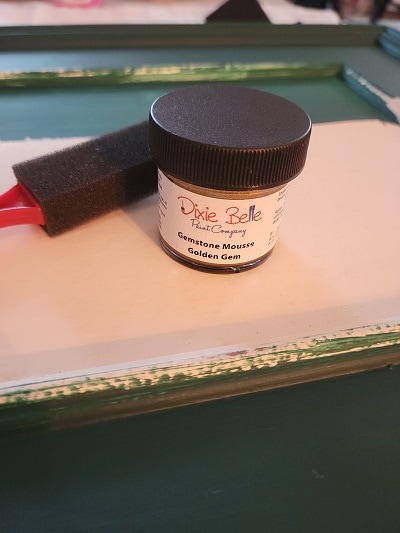
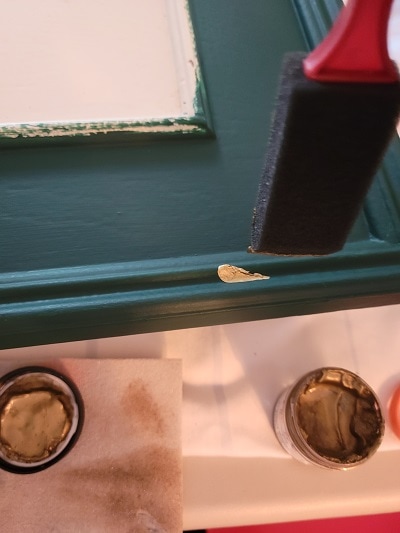
- Added Dixie Belle Gemstone Mousse in Golden Gem to the outer molding or frame.
- Use a foam brush to dab and brush on gold mousse in small sections
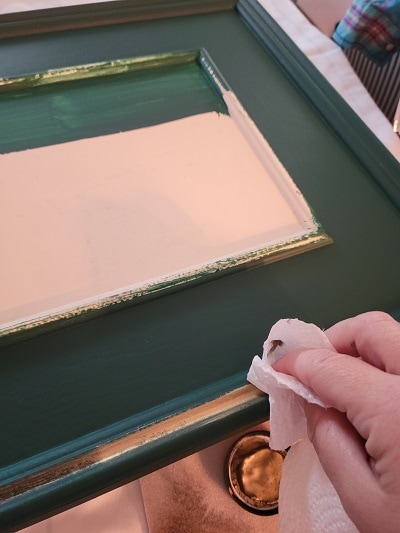
- Use a damp paper towel or baby wipe to blend in the mousse.
Attach Pegboard To Cabinet Door
Two Simple Steps To Attach
Drill Holes
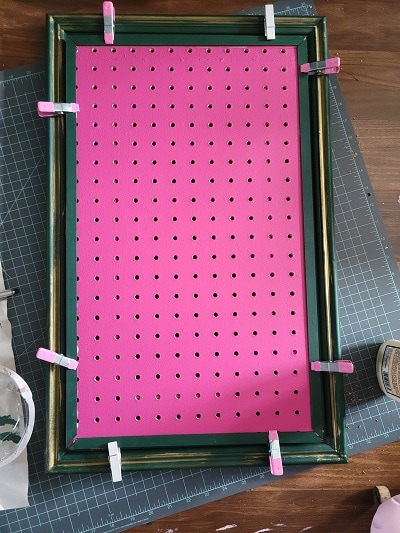
Lay your pegboard on top of your cabinet door. In each of the four corners mark a hole through the holes in the pegboard onto the cabinet door. Drill pilot holes in each of these spots.
Add Washers
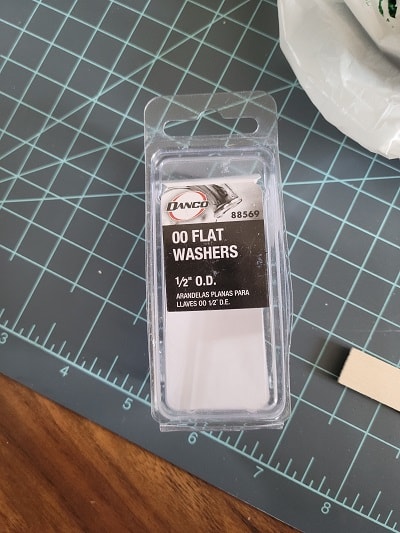
Stack two washers on each of your pilot holes. Then place your pegboard on top. Use one inch wood screws to attach pegboard to the cabinet door.
Add trim to pegboard
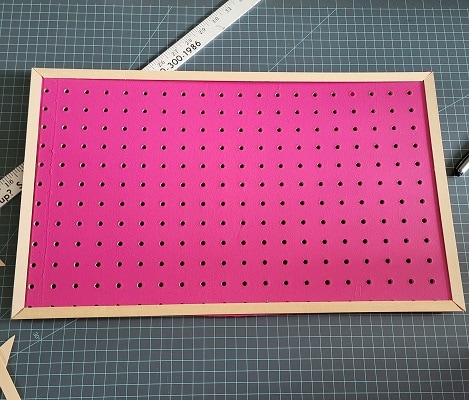
My cutting skills have a lot to be desired. So when I took on the project of combining pegboard and a cabinet door I did not think about covering my uneven cuts! To cover these crazy edges I used Basswood Strips ( 1/16″ x 1/2″ x 24″) left over from my botanical prints to make a frame.
Making A Frame For The Pegboard
Cutting Trim
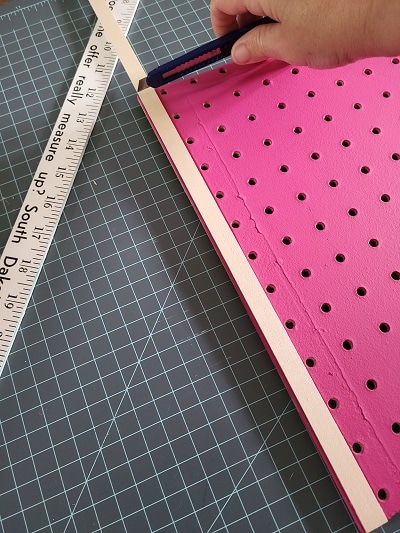
- Cut four pieces of trim that is even in length with the sides of your pegboard.
- For this basswood you can use a small x – acto knife or scissors to cut it.
Mitered Corner On Frame
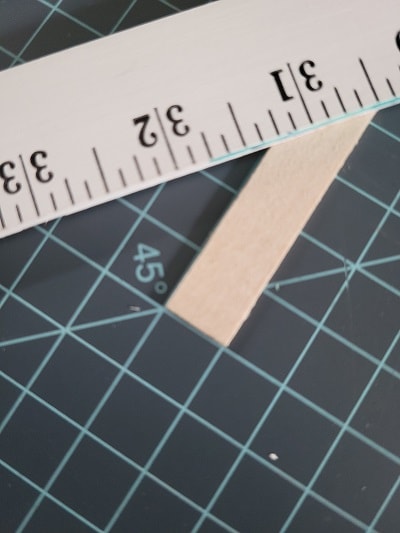
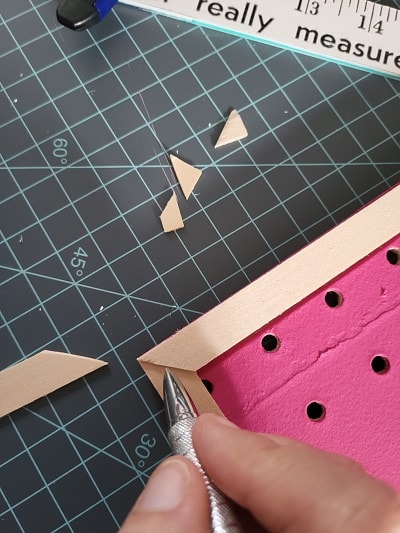
- Cut the ends of the top and bottom pieces of your frame into 45 degree angles.
- I used a cutting mat to cut my basswood strips at a 45 degree angle.
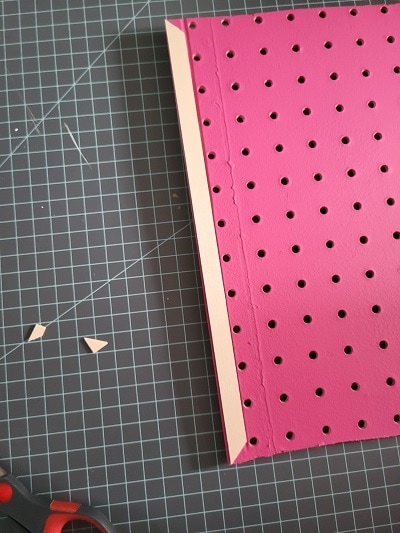
- Place your side pieces under your top and bottom pieces and draw a line where the two pieces meet.
- Cut the ends off where you have marked and you’ll have a perfectly mitered corner.
Paint and Attach Trim
- Paint each trim piece. Let dry.
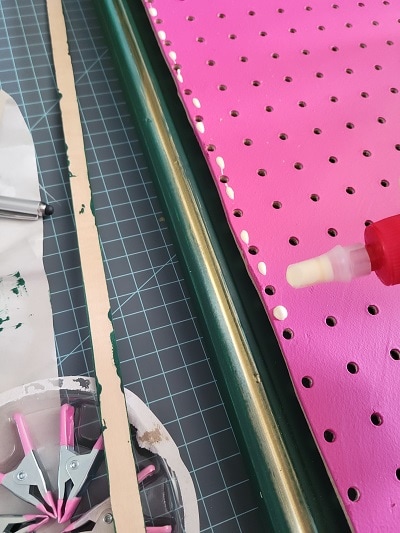
- Attach trim pieces with wood glue.
- Use clamps to hold the trim onto the pegboard until glue dries,
Before You Run Off To Combine Pegboard and a Cabinet Door For This Amazing Repurpose
Pin this post to Pinterest to help you get organized by repurposing a cabinet door and a piece of pegboard into vertical organization – hover over any picture to save it to your account. So easy!
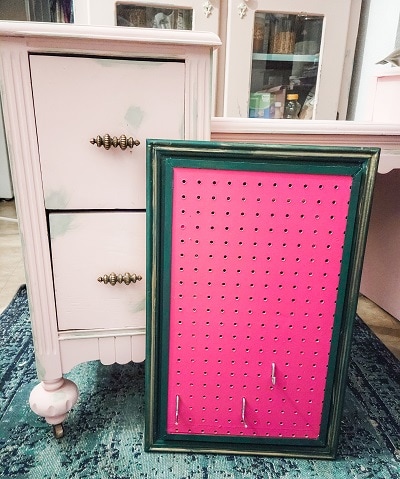
And check out my Dixie Belle blogger friends to get more ideas on repurposing cabinet doors!
See all The Posts
One Room Challenge

[mailerlite_form form_id=4]



Kristin! This is genius! I have so many pieces of random sized pegboard laying around that I haven’t gotten rid of because I knew there would be something I could use them for one day!!!… good thing I have a stack of cabinet doors also! Crafter/hoarder problems!!! hahaha!
I’m totally going to have to copy you! Thanks so much for the awesome inspiration!!
Thanks for joining the cabinet door makeover challenge!
Thank you Stephanie! I am so glad I could inspire you to “fifth sparrow no more” your stash!!
Hi Kristin! What an absolutely beautiful idea for a mobile pegboard! Pegboard can be rather “blah” but you’ve found a way to make it fun as well as functional!
P.S. I love the way you have the steps laid out in such gorgeous, easy-to-follow sections. You’ve inspired me in so many ways!
Thank you so much Becky! I am so glad that I could inspire you in so many ways!!