Create A Botanical Wall Hanging From Thrifted Art
How would you update, upcycle, “fifth sparrow no more” thrifted artwork – create a botanical wall hanging from thrifted art!
Supplies for Your Botanical Wall Hanging
Just a few supplies
The Fifth Sparrow No More is a participant in the Amazon Services LLC Associates Program, an affiliate advertising program designed to provide a means for sites to earn advertising fees by advertising and linking to Amazon.com.
Choose Your Art Print From Thrift Store
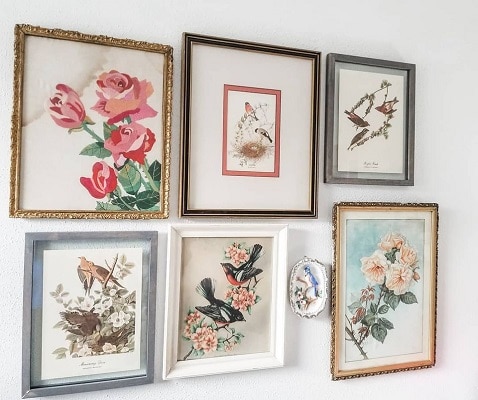
For my art print I went small because I knew where I wanted to hang it in my home. A smaller print would be great in a gallery wall like this. Large prints with this DIY project would be amazing hanging on a wall in a group of three or just one. You would only need to adjust the length of your basswood strips to account for some overhang.
Other Art Pieces To Look For In The Thrift Store For Your Botanical Wall Hanging
- Books – Look for books with large color pictures of botany – plants, bugs or birds are great subjects.
- Wrapping paper or wallpaper – can those rolls hold some fabulous pattern that would be great in your decor?
- Maps – Old maps can be fascinating to look at!
- Old calendars – the pictures from old calendars would be great with this DIY project!
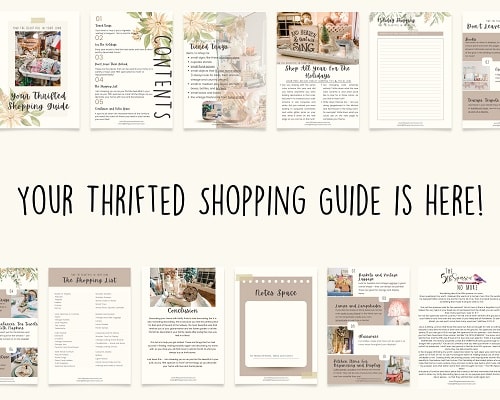
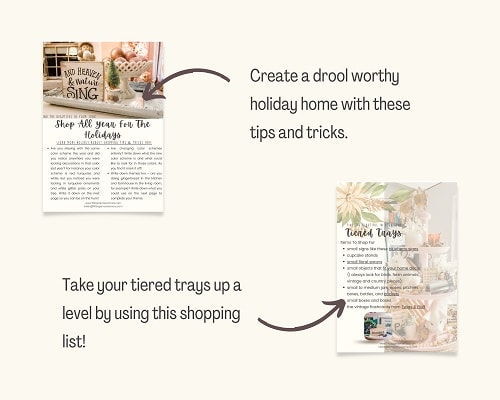
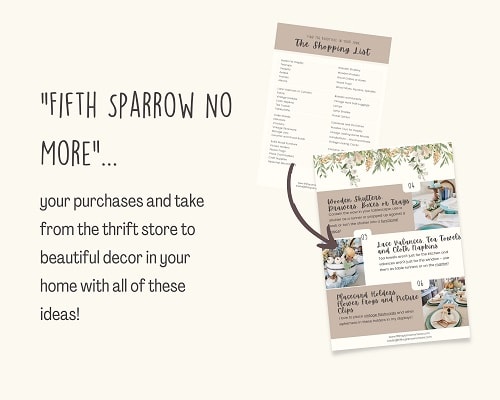
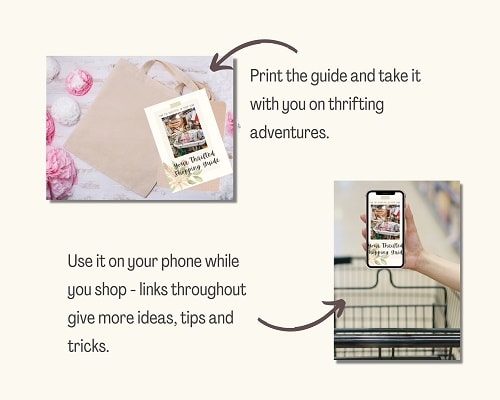
Thrift Store Shopping Guide
In this guide you’ll find a list of more than fifty items you want to look for in thrift stores, a shopping list for tiered trays, a holiday on a budget tips and tricks section, and pages of decorating ideas for your thrifty finds!
Check it out >
Steps To Turning Thrifted Art into A Botanical Wall Hanging
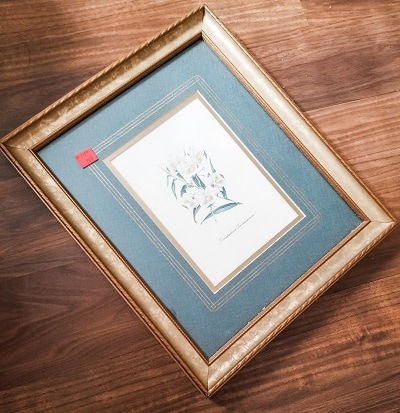
Step One –
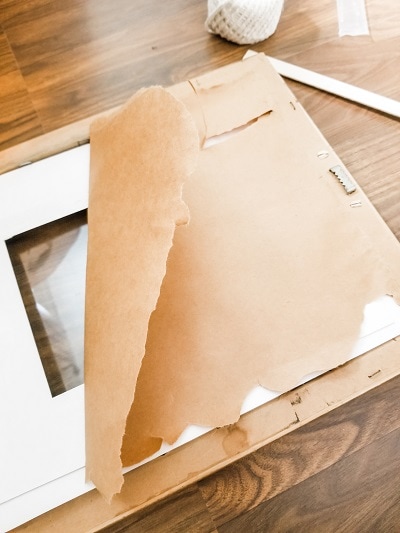
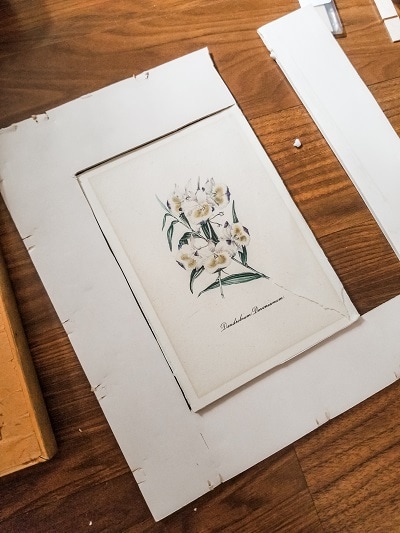
Remove the paper backing or cardboard back of your framed art. Take the botanical print out of from frame and set the frame aside for another project.
Step Two –
- Cut four pieces of your basswood strips two inches longer than your piece.
- Punch holes in the ends of two of your basswood strips, lining up the holes.
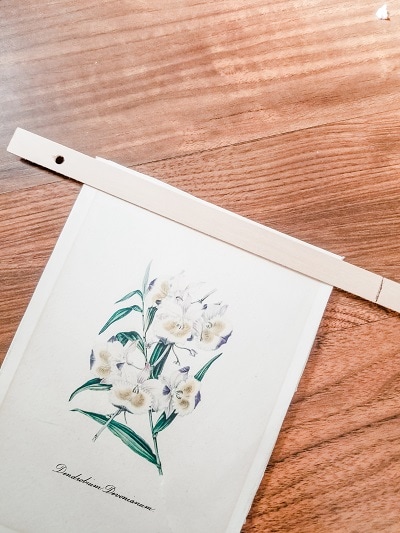
- Hot glue two basswood strips (ones with holes) at the top of your botanical print and two basswood strips at the bottom, creating a sandwich.
Step Three –
Thread your twine thru the holes knotting the twine in the back. Hang and enjoy!
It’s A Botanical Bonanza!
These are more botanical projects that you’ll love! From table settings to a drop cloth project and everything in between!
Display Your Botanical Wall Hanging From Thrifted Art
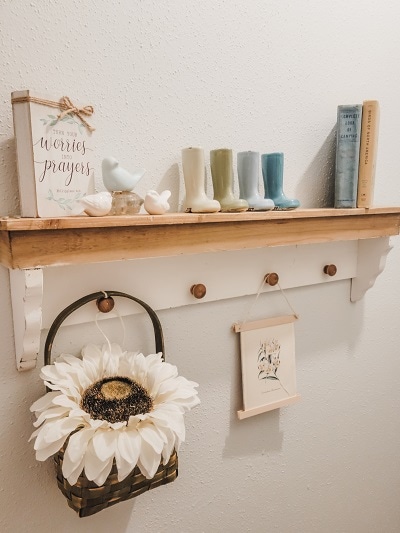
During my Spring refresh of our home I have added touches of Spring to my china cabinet, my entryway and my fireplace so now I am starting on my upstairs. I didn’t want it to feel left out!
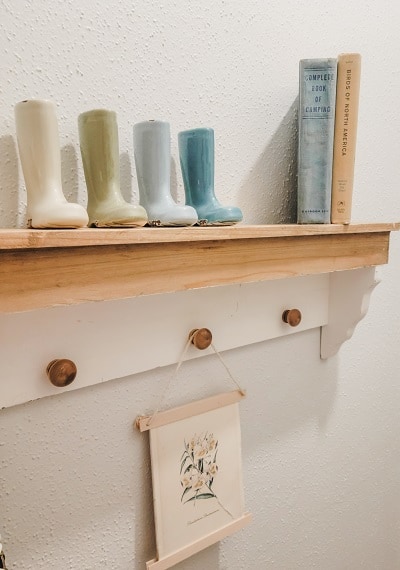
This small shelf is upstairs in our hallway and is directly across from our travel wall – pictures of the places we have been on our travels and adventures. Like our trip to Oklahoma this past Spring Break or our many trips to Vintage Market Days. It is narrow enough that I can decorate it but it doesn’t get in the way.
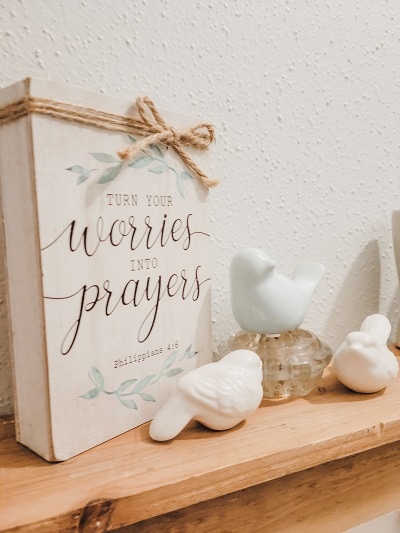
I could also call this a shelf “a few of our favorite things”, it holds –
- Vintage books
- colorful rain boots to remind us “If you want the rainbow, you gotta put up with the rain.” – Dolly Parton
- birds perched on a vintage glass flower frog
- and a gentle reminder to turn our worries into prayers
Before You Fly Away To Make A Botanical Wall Hanging From Thrifted Art
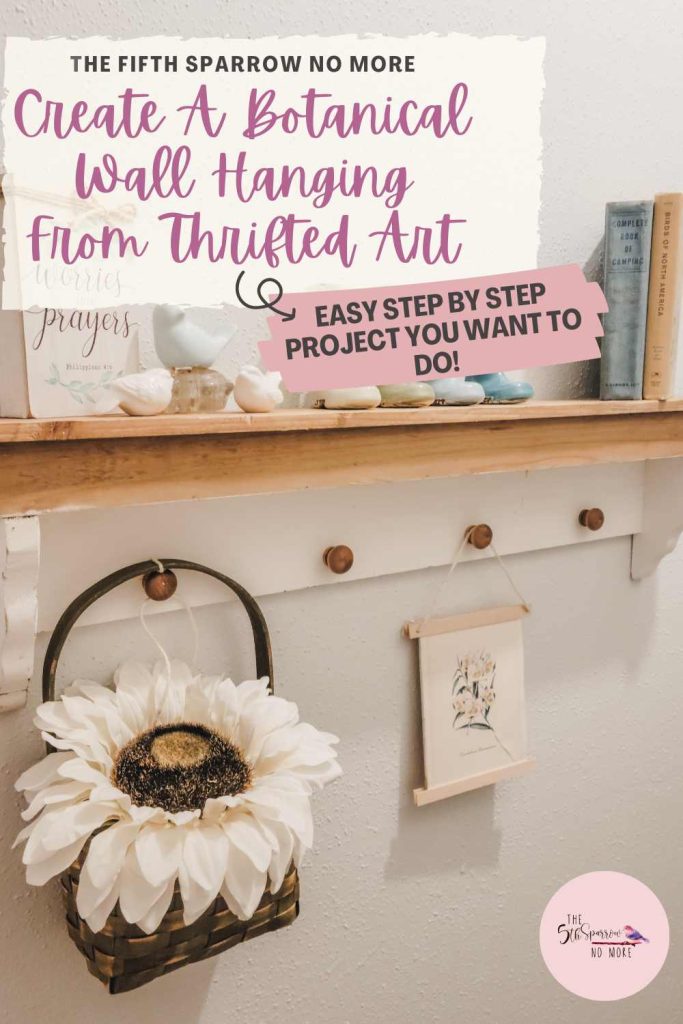
Pin any of the images to Pinterest so you can “fifth sparrow no more” your piece of thrifted art with this easy DIY – hover over any picture to save the pin to your Pinterest account. So easy!

[mailerlite_form form_id=4]




This is such a creative idea! I love it and your “shelf of favorite things!” Thanks for sharing on Crafty Creators! I’ll be featuring your party tomorrow on Crafty Creators, so don’t forget to come by & grab your “I was featured” button. If you’re following me on social media I’ll share your post across my accounts from Thurs-Mon. Congrats!
XOXO,
Niki
Thank you so much Niki! I am following you on Pinterest and Instagram and I’ll stop and grab my button!