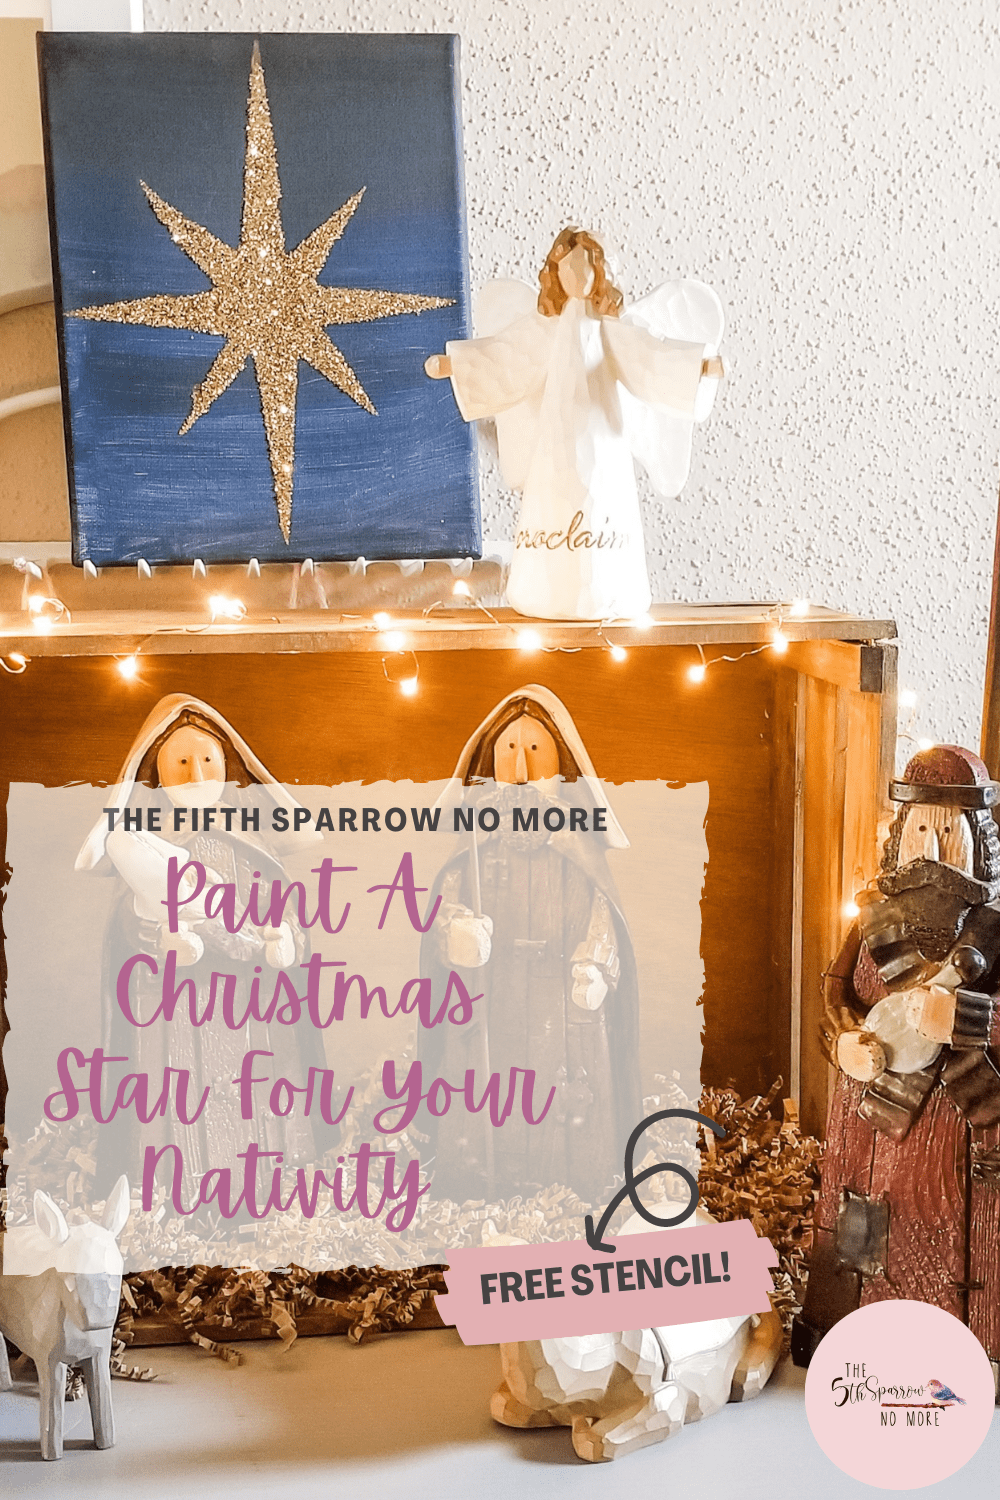
Make An Easy Christmas Star With A Printable Template
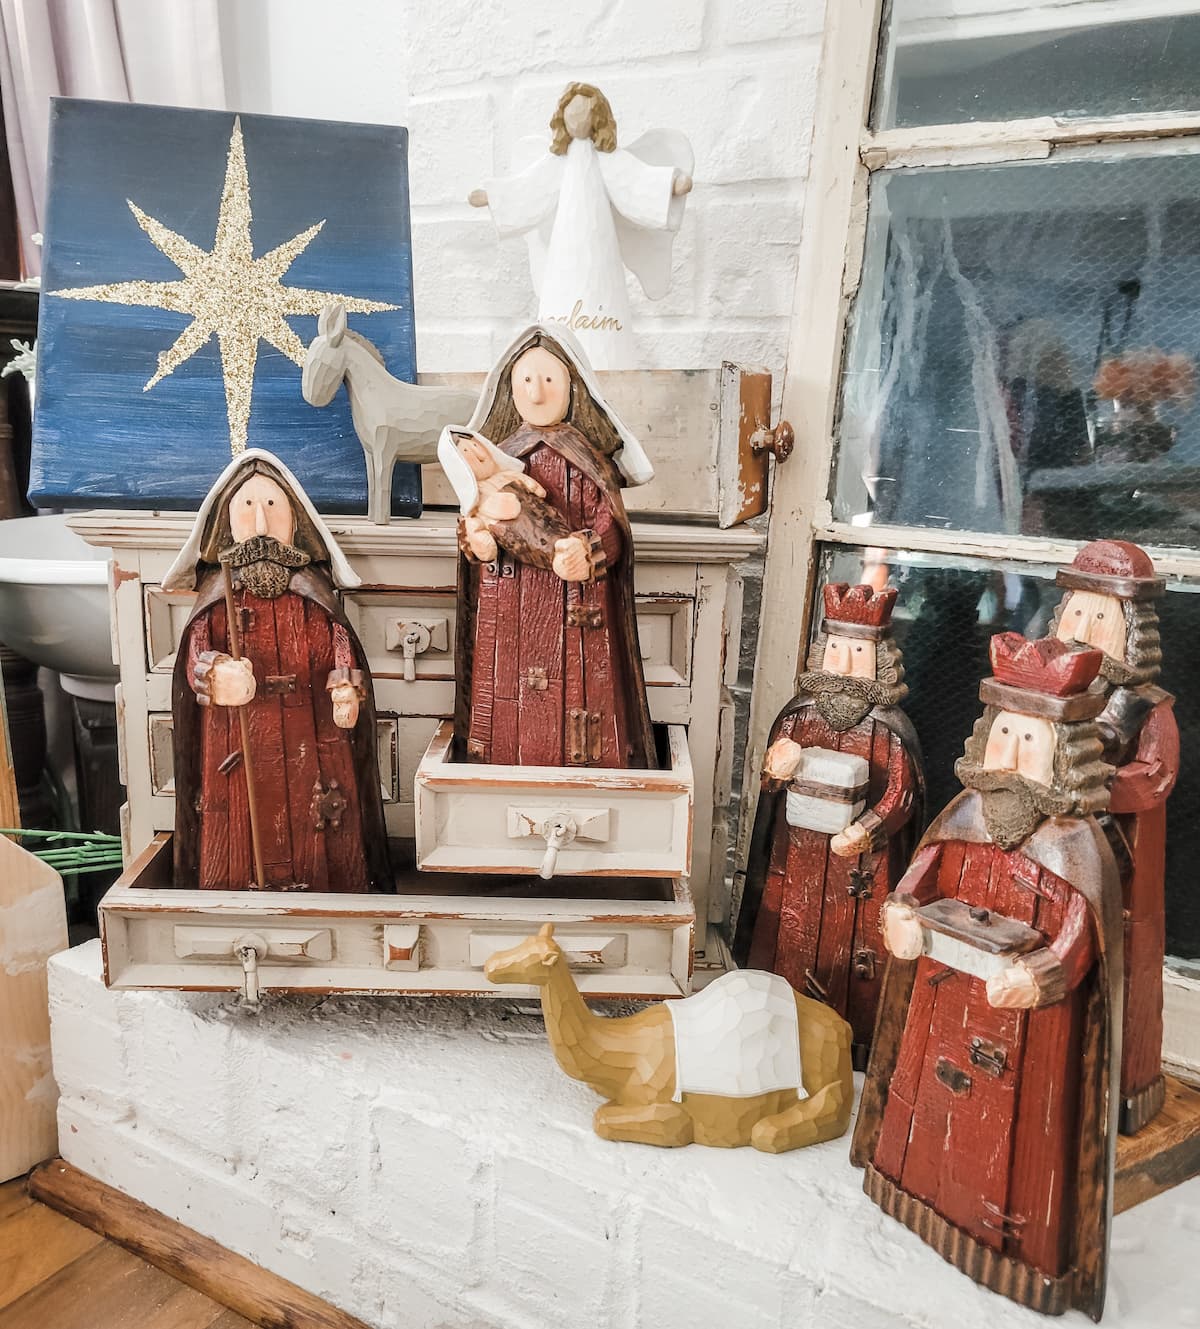
My Nativity set is pieced together from a multitude of sets – the animals from one, the angel from another and the wise men, Mary, Joseph and Baby Jesus from another. I believe the shepherds have come and gone to tell others of Jesus’ birth. This is because I cannot find them anywhere – they might be back in the fields with their flocks by now. So while I look for the shepherds I created my own Christmas star for my Nativity and want to show you how to make an easy Christmas star with a printable template found in the free printables library.

This star template has endless possibilities for paper crafts this holiday season. Use the free template –
- In your Nativity
- as free printable Christmas star coloring pages for Christmas crafts – print the pdf file and use it as coloring sheets instead of a template!
- cut out along the star outline and decorate to make a Christmas tree topper or star decorations for the tree
- Use the paper star as a stencil for fabric or wood to make Christmas decorations.
- Make 3D stars. Print two copies of the template on card stock and cut out the stars. Cut a slit between two smaller star points. Decorate with crayons, paint or glitter. Slide the two star shapes together to make it a 3D shape.
- use the star shapes as a festive garland. Make different sizes of stars from the free template by resizing with your pdf reader and custom scale selection during printing. String your stars on fishing line or piece of string leaving a loop of fishing line or string on either end to hang with.
The Meaning Of The Christmas Star
The Star of Bethlehem has always inspired awe and wonder. How God orchestrated every piece of the arrival of the baby Jesus is an amazing miracle. From the shepherds’ angelic encounter to the wisemen’s journey by following a star, from the lowliest of people to the most learned. God let us know that God came to earth for everyone.
And I think with the hustle and bustle of the season we tend to forget that and the reason for the season. My favorite verse in the Christmas story is from Luke 2:19. “But Mary treasured up all these things and pondered them in her heart.”
This verse comes after the shepherds hurried to see baby Jesus and shared their angelic encounter, she “treasures” and “ponders” what is happening. She doesn’t take the moment for granted, she appreciates the importance of their retelling. Mary “treasures” and “ponders” what is happening. These ideas are expressed using the Greek root words suntereo and sumballo. The first implies protection and remembrance. The second implies preserving and observing. Mary makes a deliberate effort to remember all that she sees.
I hope in this season we take time to slow down and make time to remember and see the Christmas joy in the every moment.
Supplies You’ll Need
The below links are affiliate links. I make a small commission at no cost to you!
Make An Easy Christmas Star With A Printable Template And This Paint Technique
Paint Your Canvas Ombre
Ombre isn’t complicated, I promise. Well it might be but my method is not. And a disclaimer, I am not a trained artist, I am a well let’s see if this works artist 😉 so this is most likely not proper and will make someone clutch their pearls.
Ombre On Canvas Technique
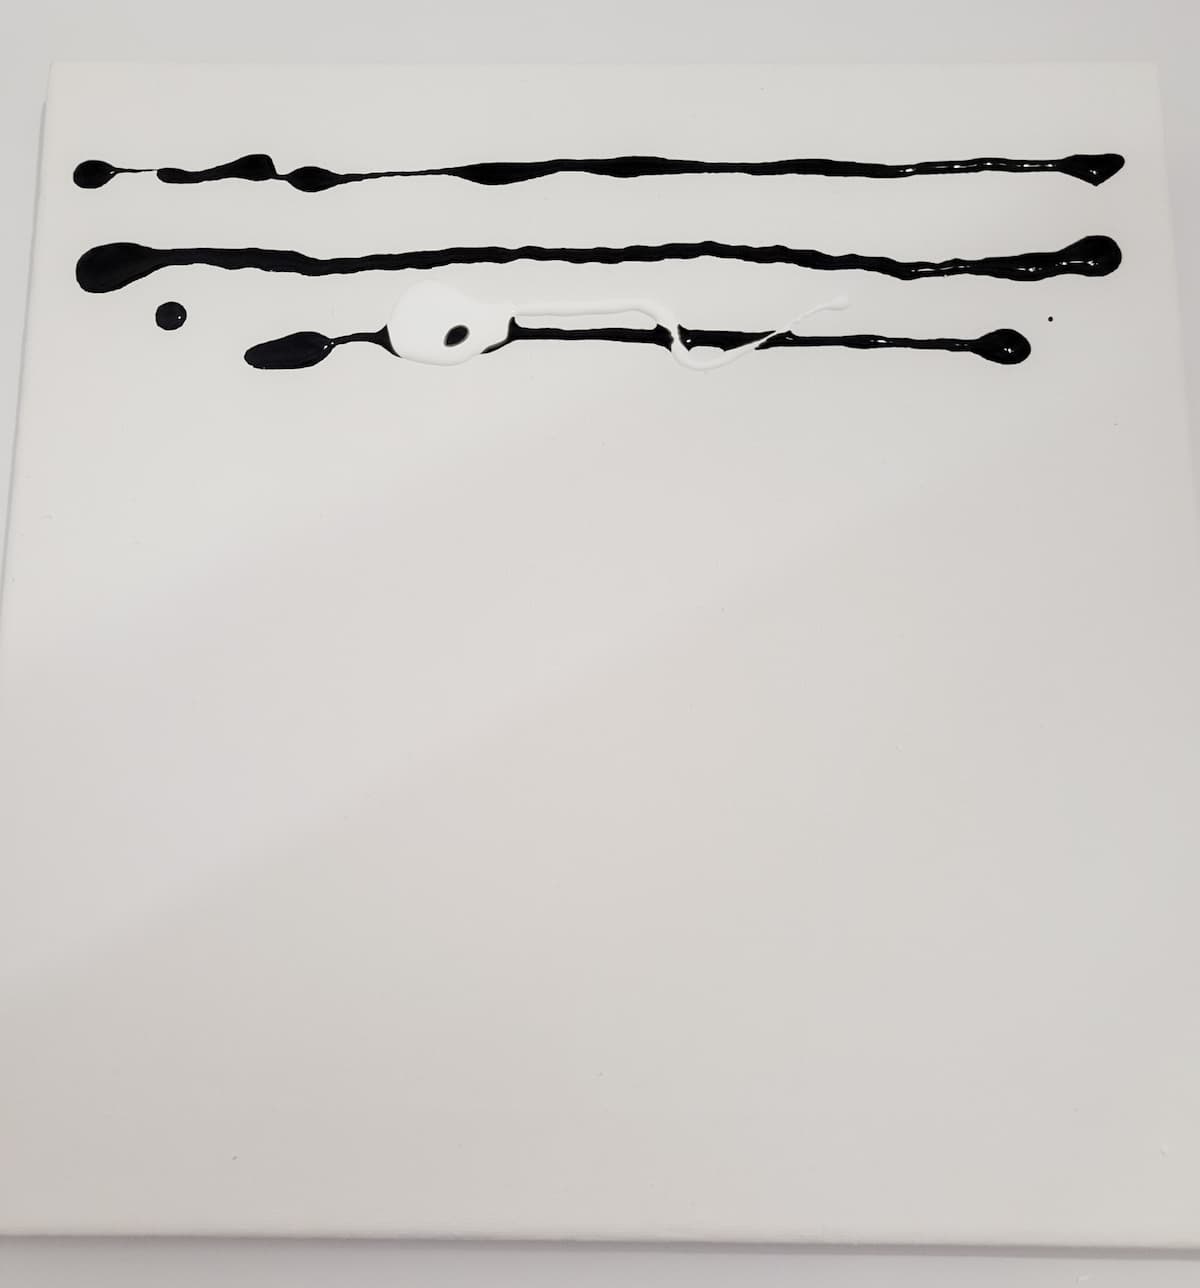
Black & White Paint First
- Squeeze a line of black paint at the top
- Squeeze a line of black with two dots of white in between your black and your navy
Navy Paint
Squeeze a line of navy paint a third of the way down
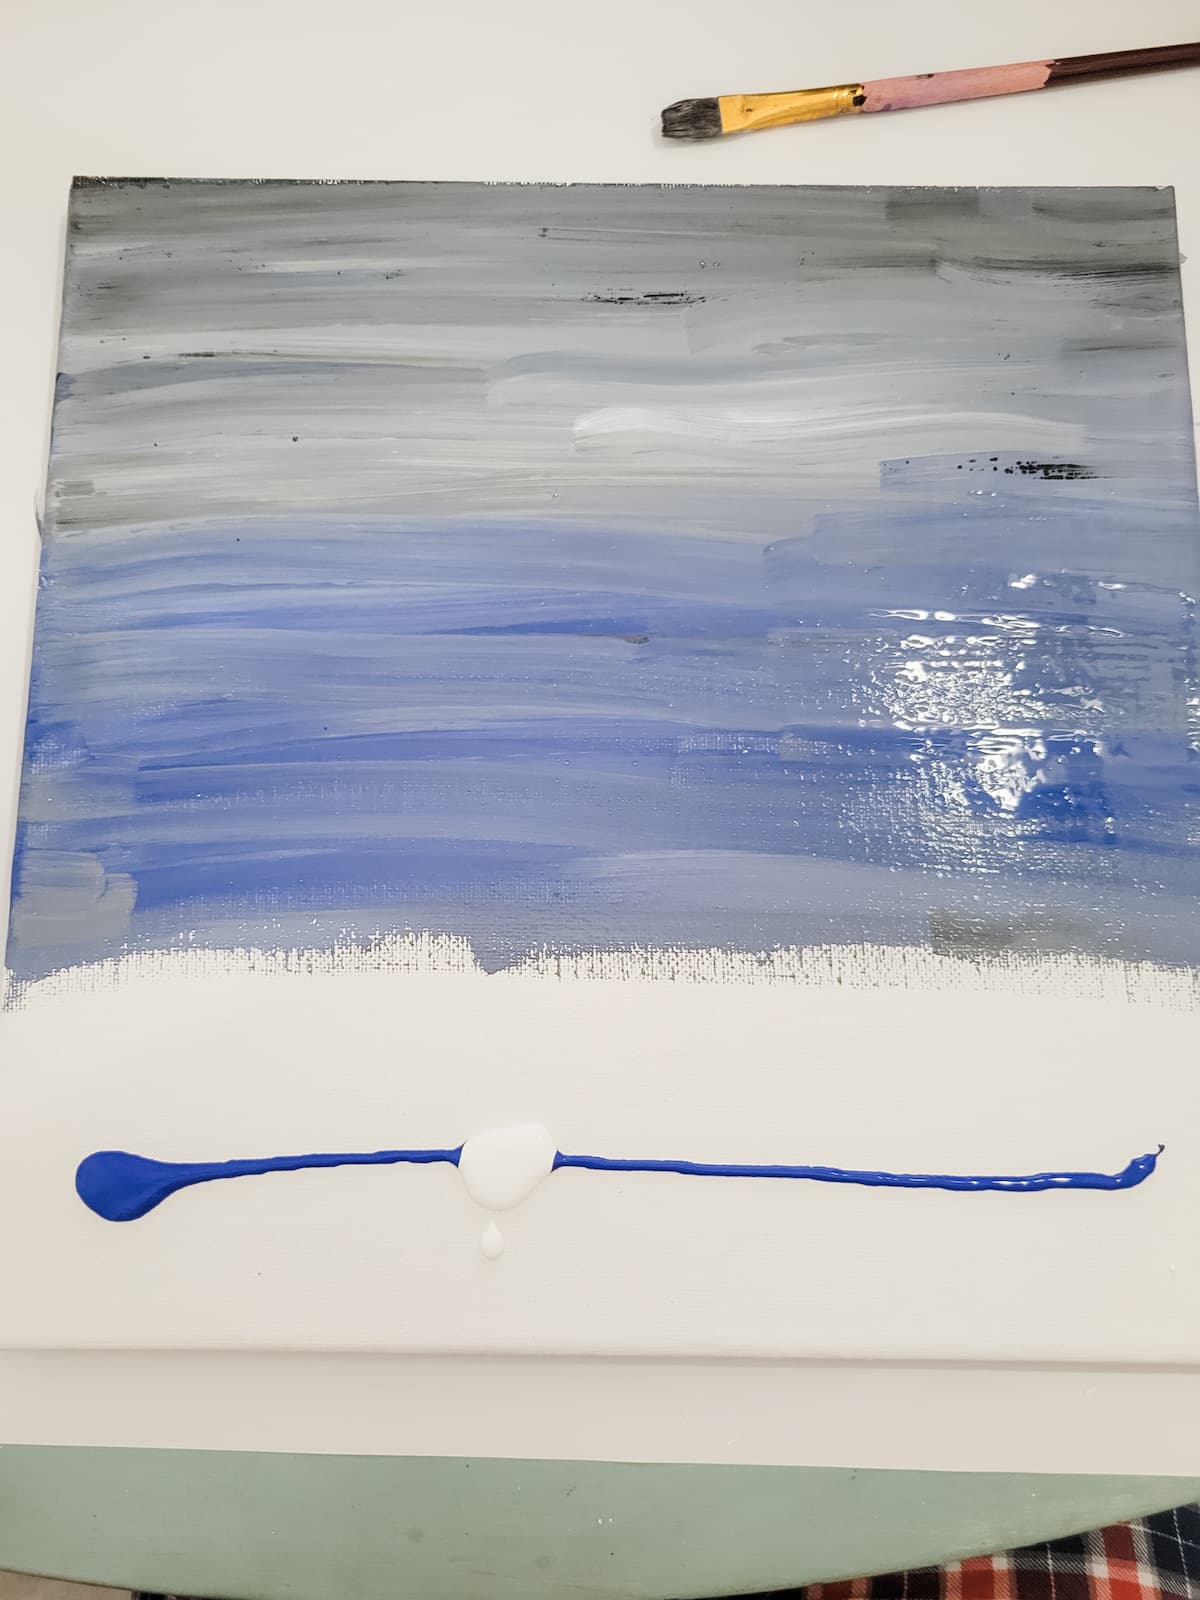
Navy & White Paint
Squeeze a line of navy with two drops of white paint near the bottom
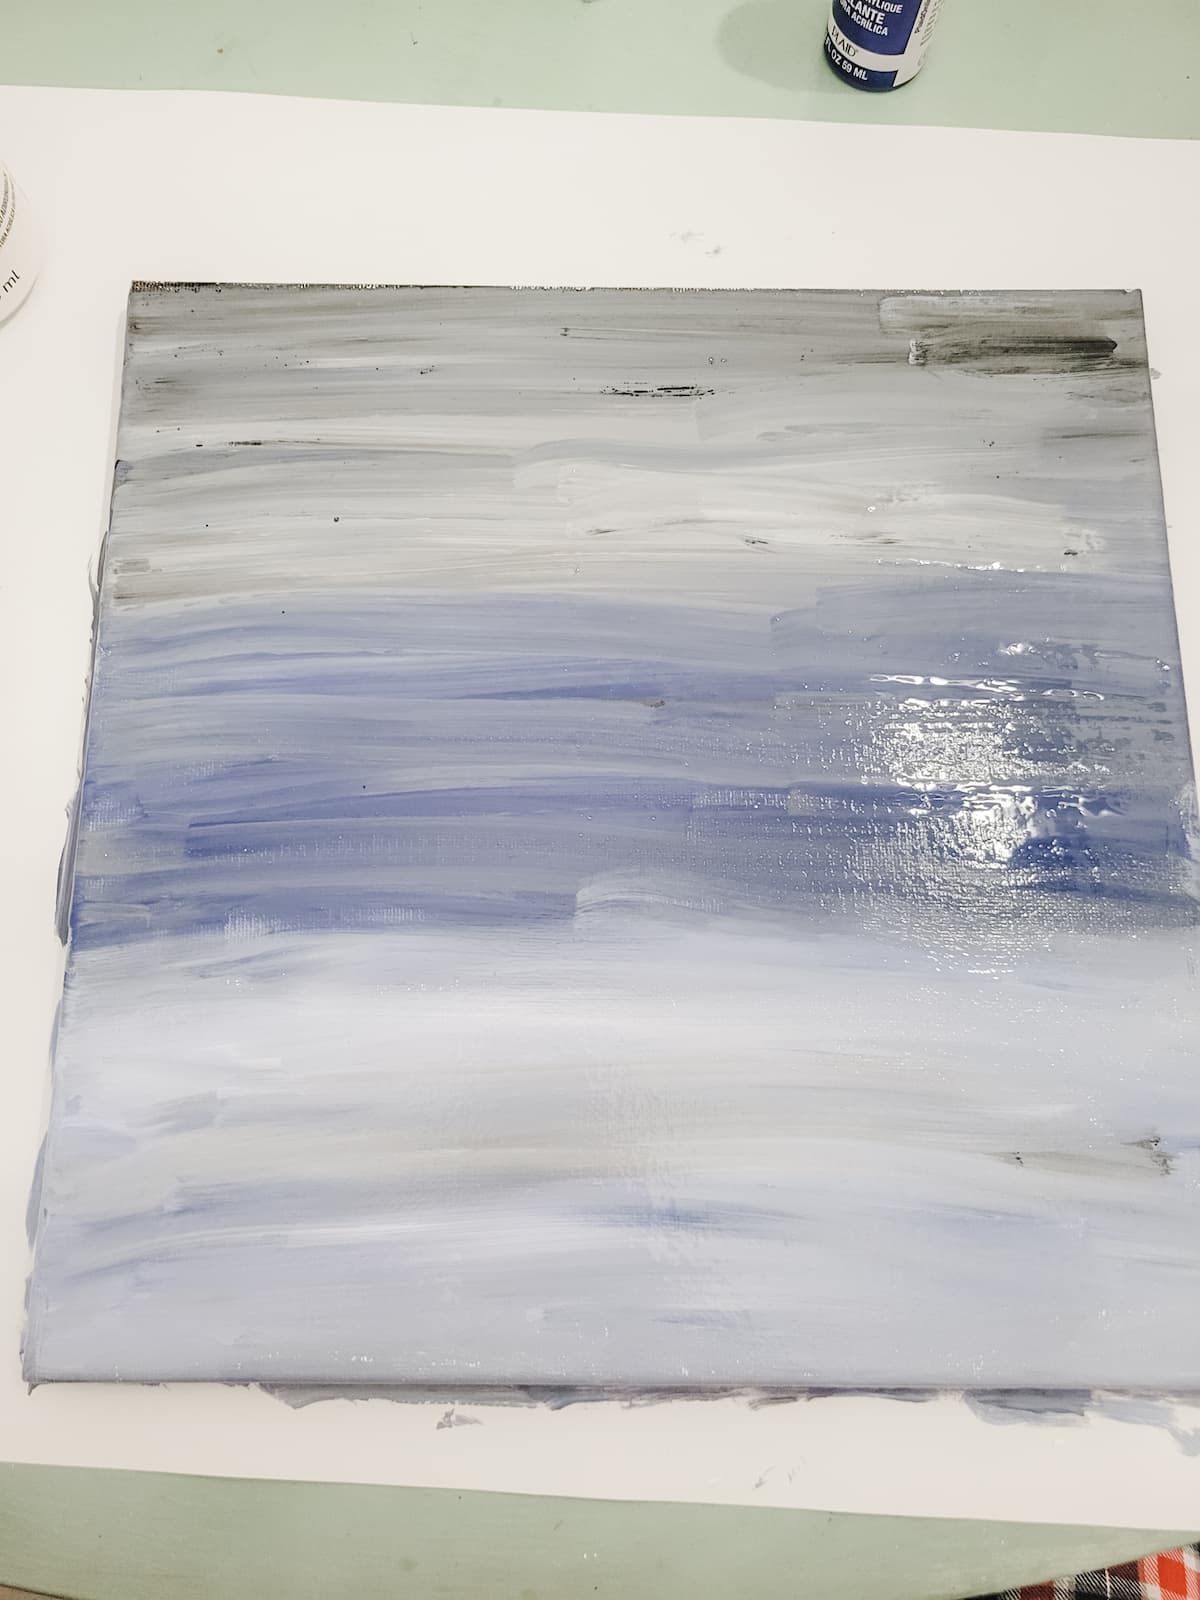
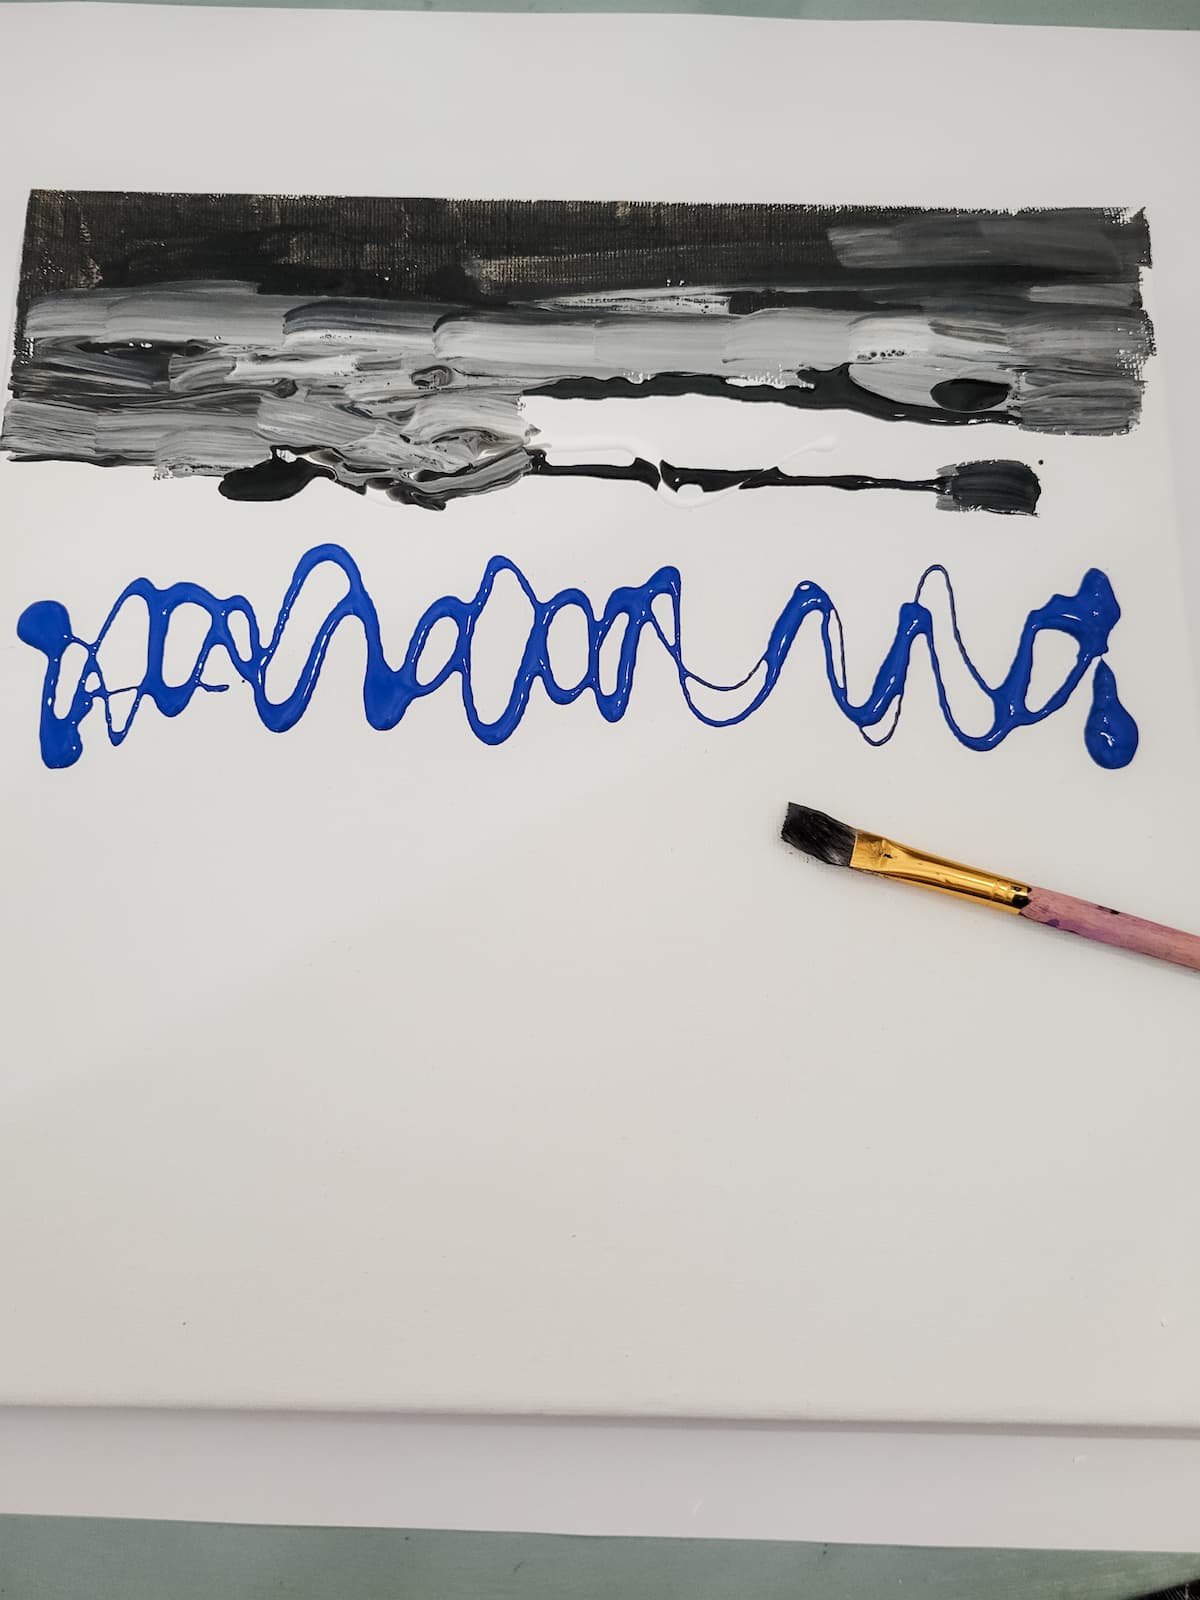
Blending _ Karate Kid Style
Using your paint brush and wiping it often with paper towels drag the colors across your canvas. Do not go up and down only straight across (that’s a bit of Karate Kid for you!)
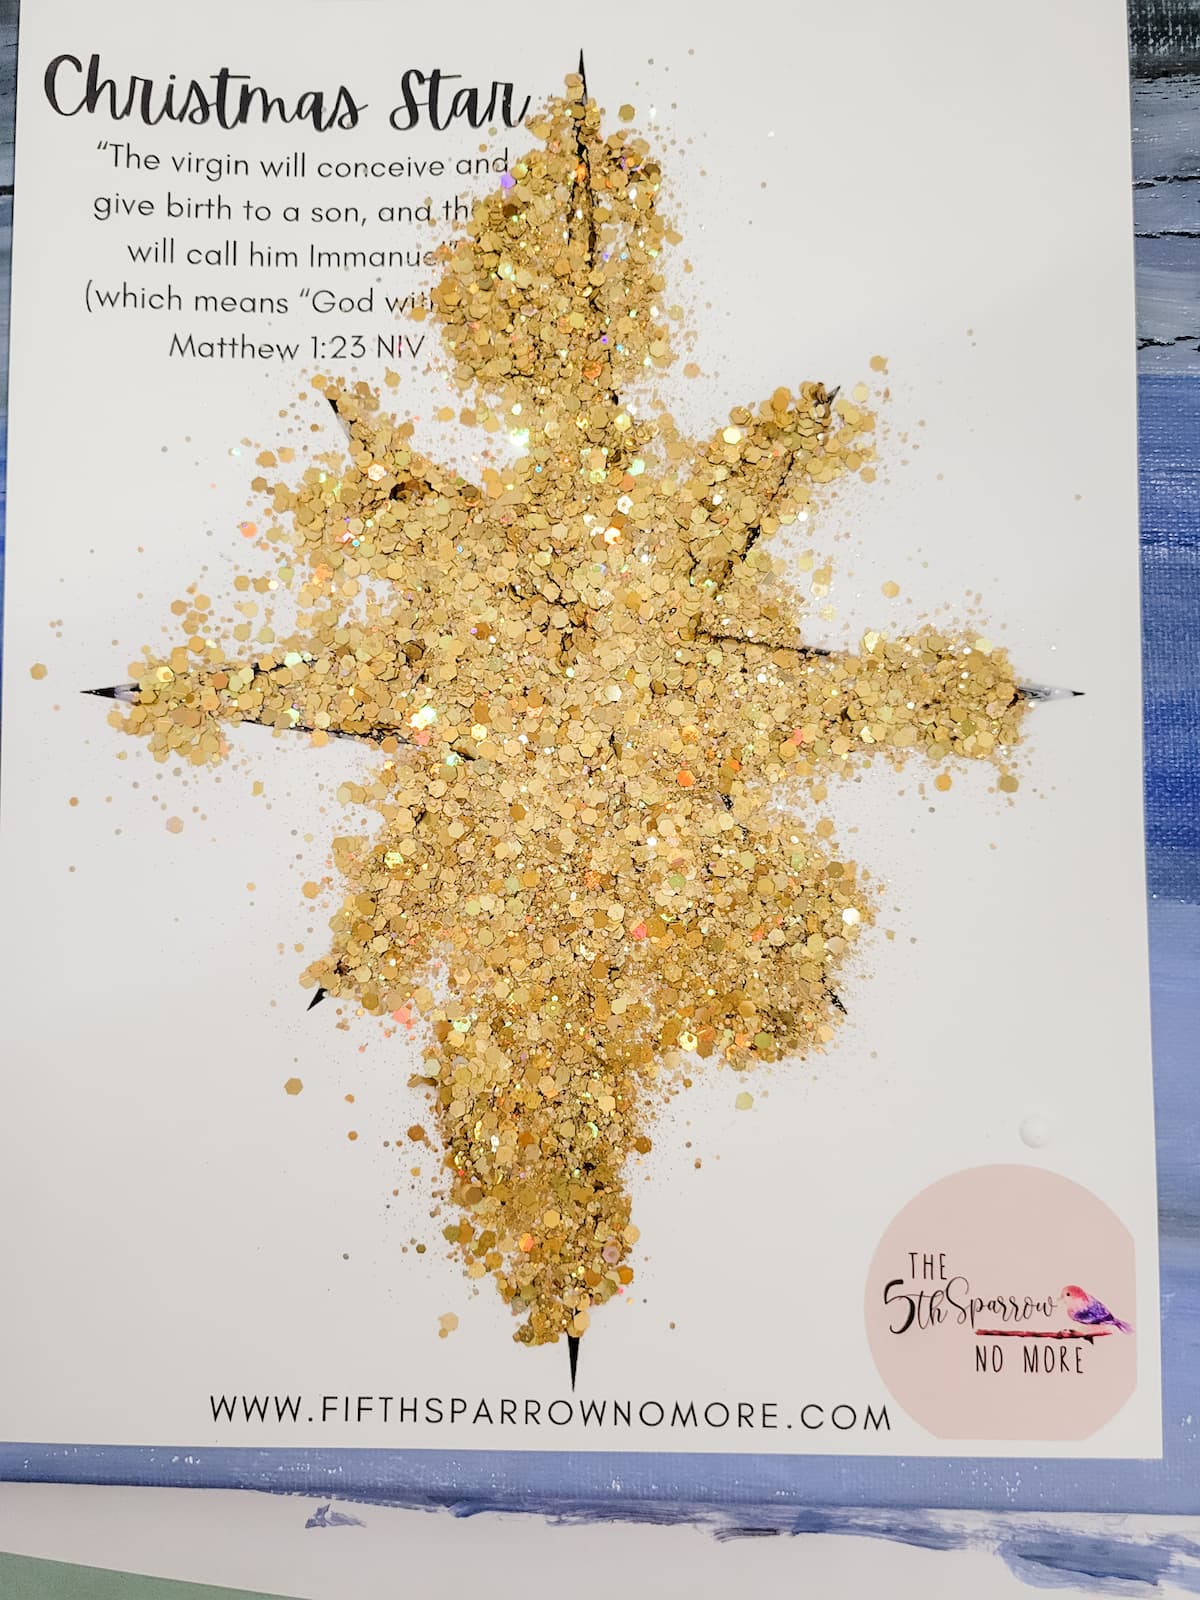
A Christmas Star Printable For Your Christmas Crafts

Grab The Christmas Star Printable
Stencil, Coloring Page, Banner, Ornament
Create family tradition surrounding the nativity, use to share the wonder of the Christmas Star.
Create A Christmas Star On Your Canvas
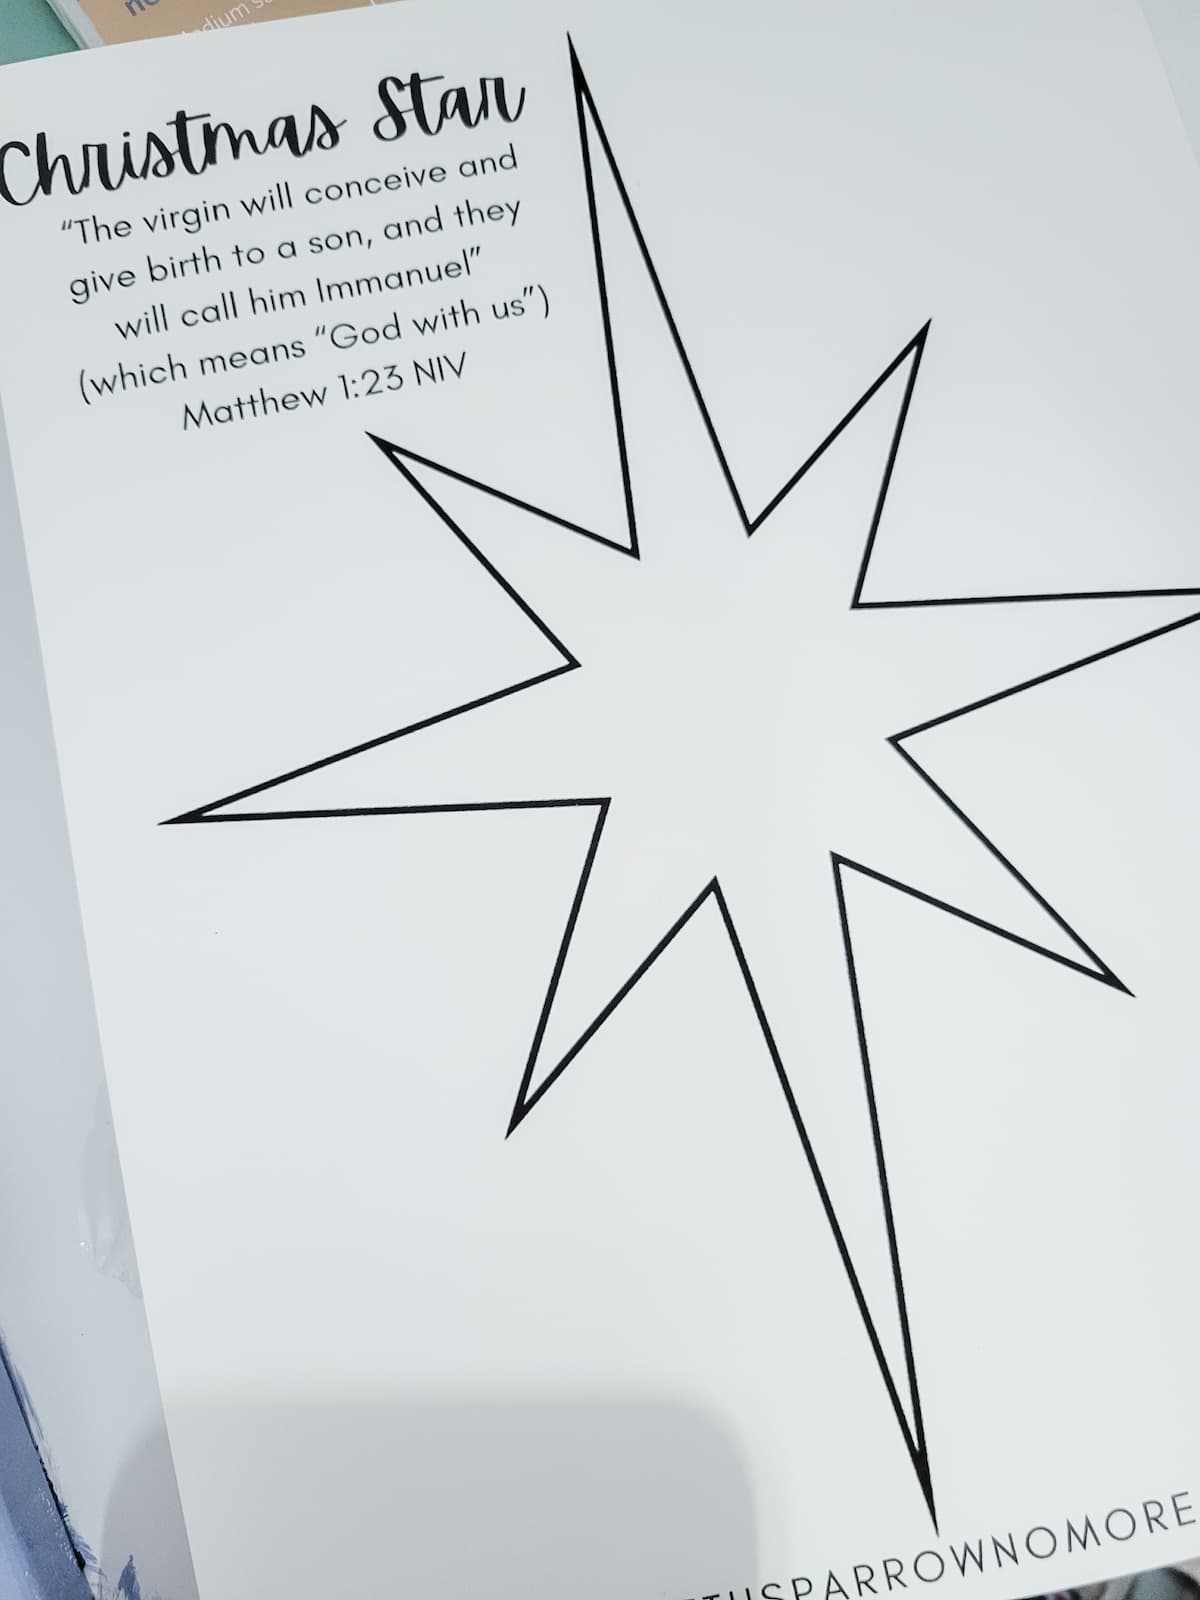
Christmas Star Stencil
Print the Christmas Star stencil on cardstock – the printable is above!
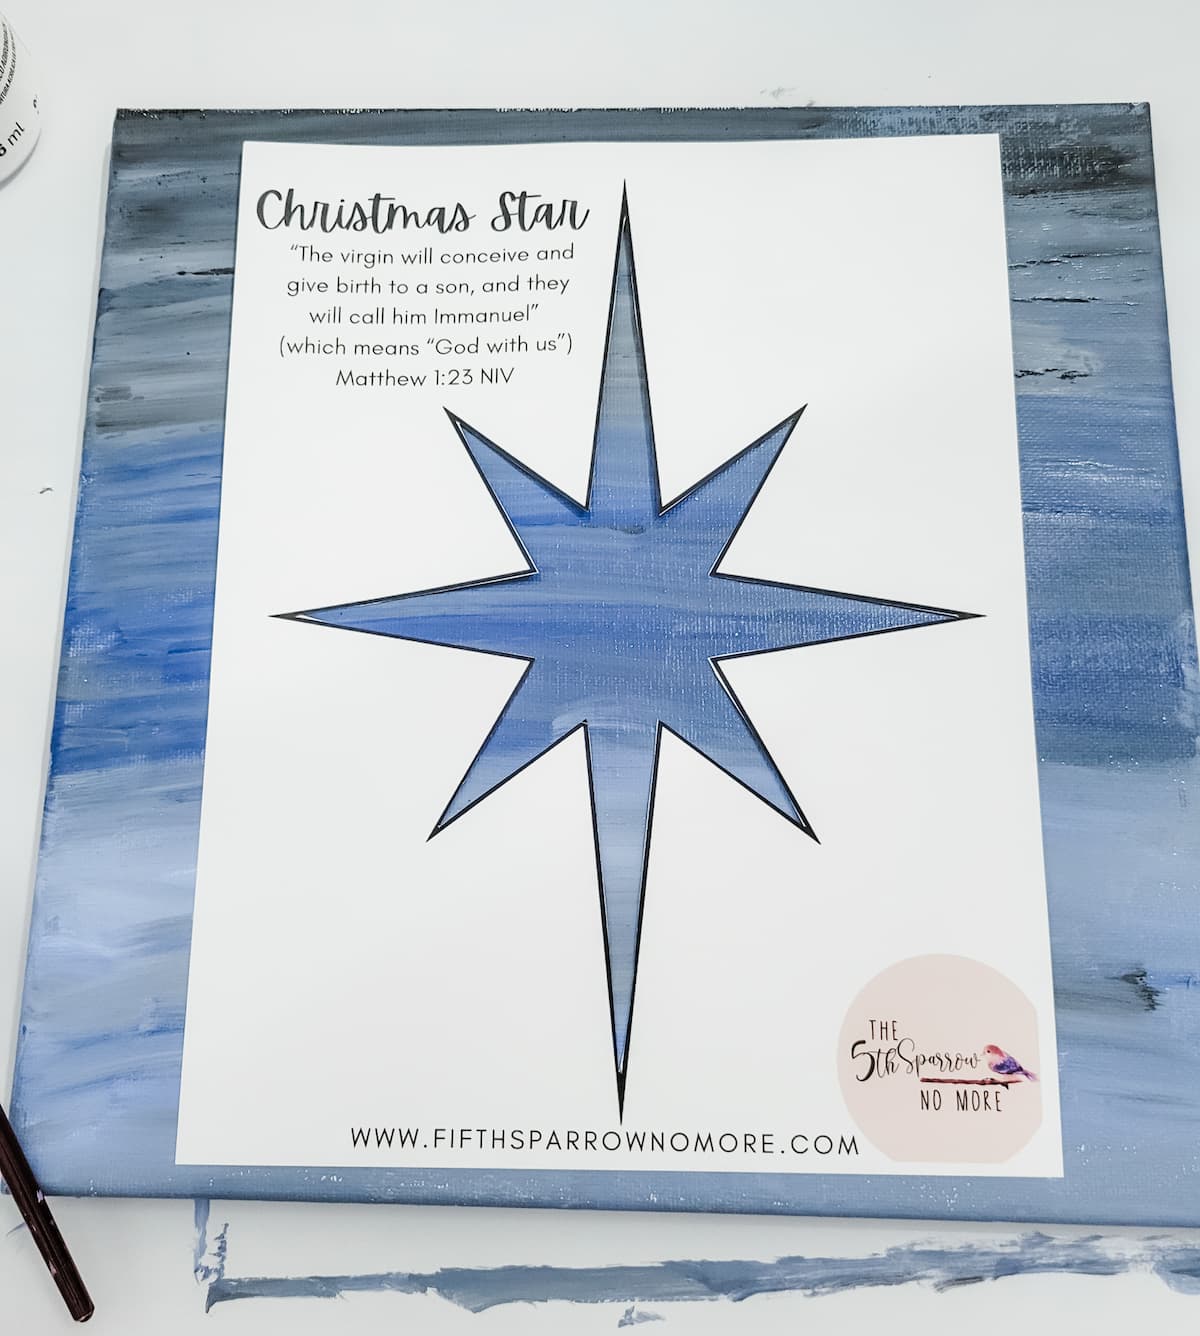
Prepare Your Stencil
Cut out the inside of the star and lay on your painted and dry canvas.
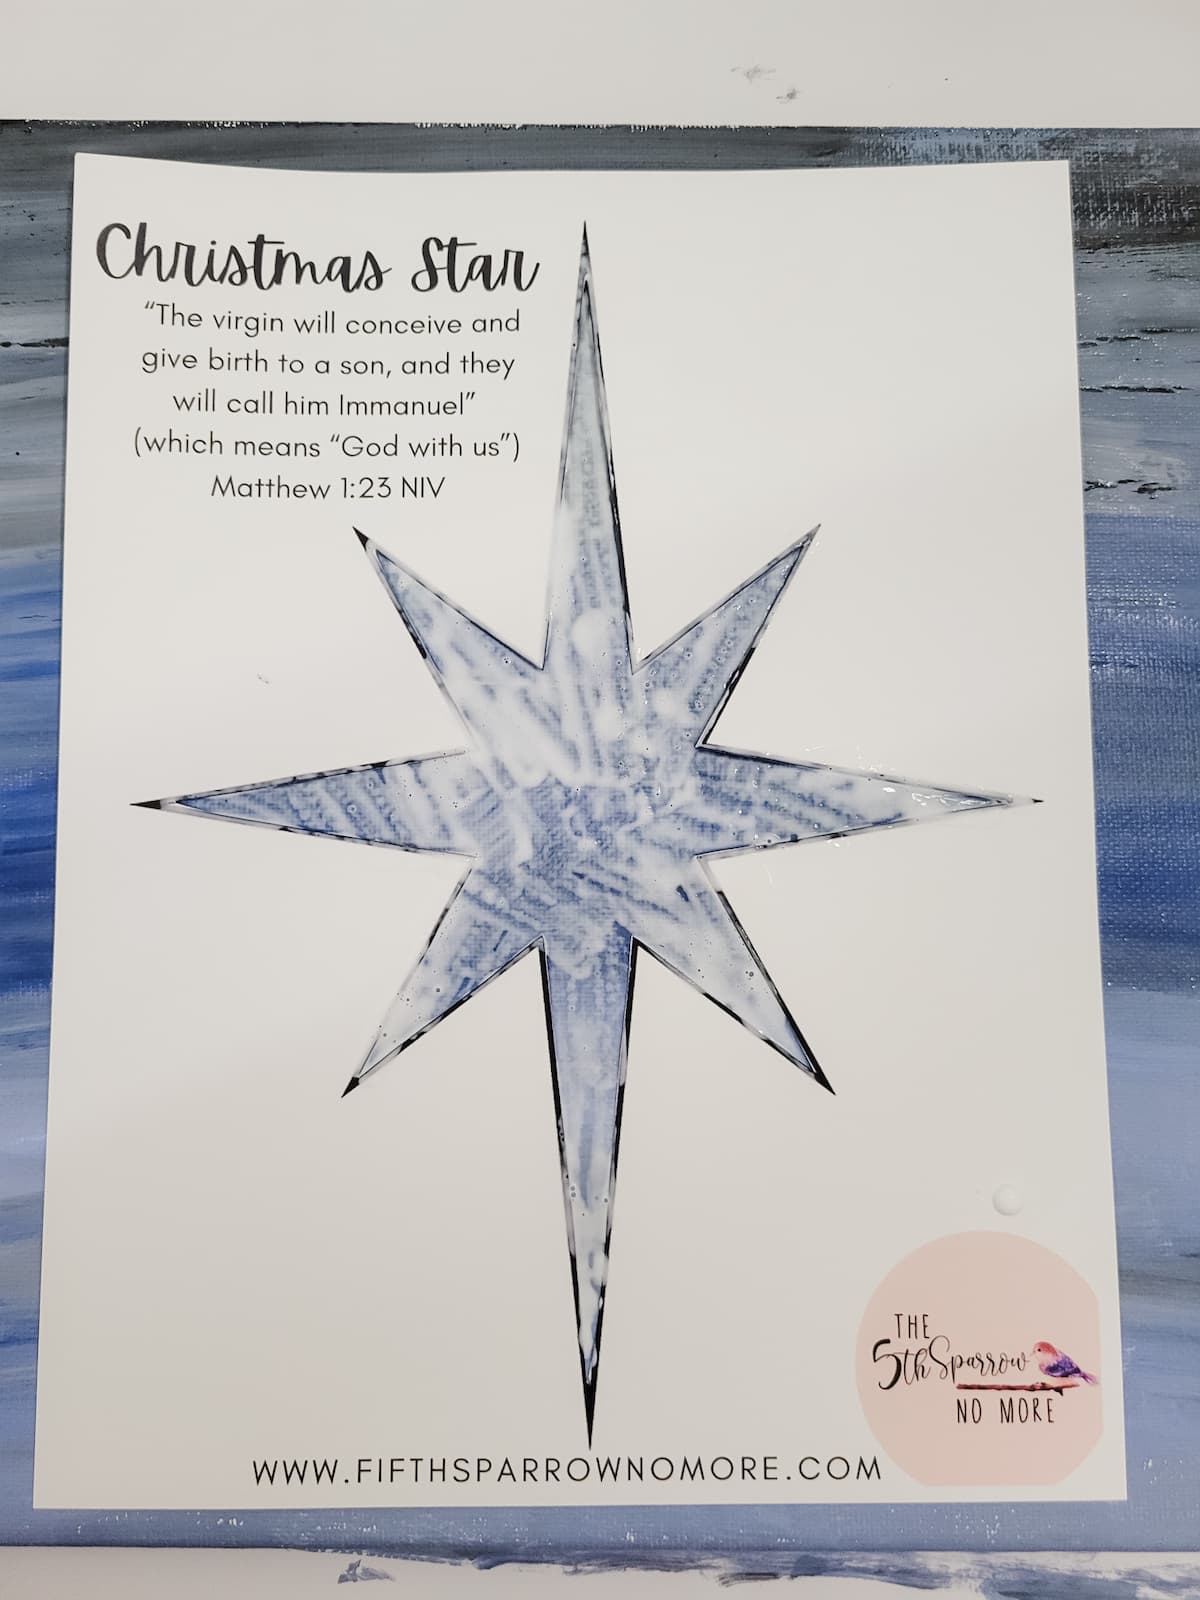
Mod Podge or Favorite White Glue
Apply mod podge inside your stencil.
Glitter Time!
- Shake glitter on to your mod podge.
- Remove the stencil carefully.
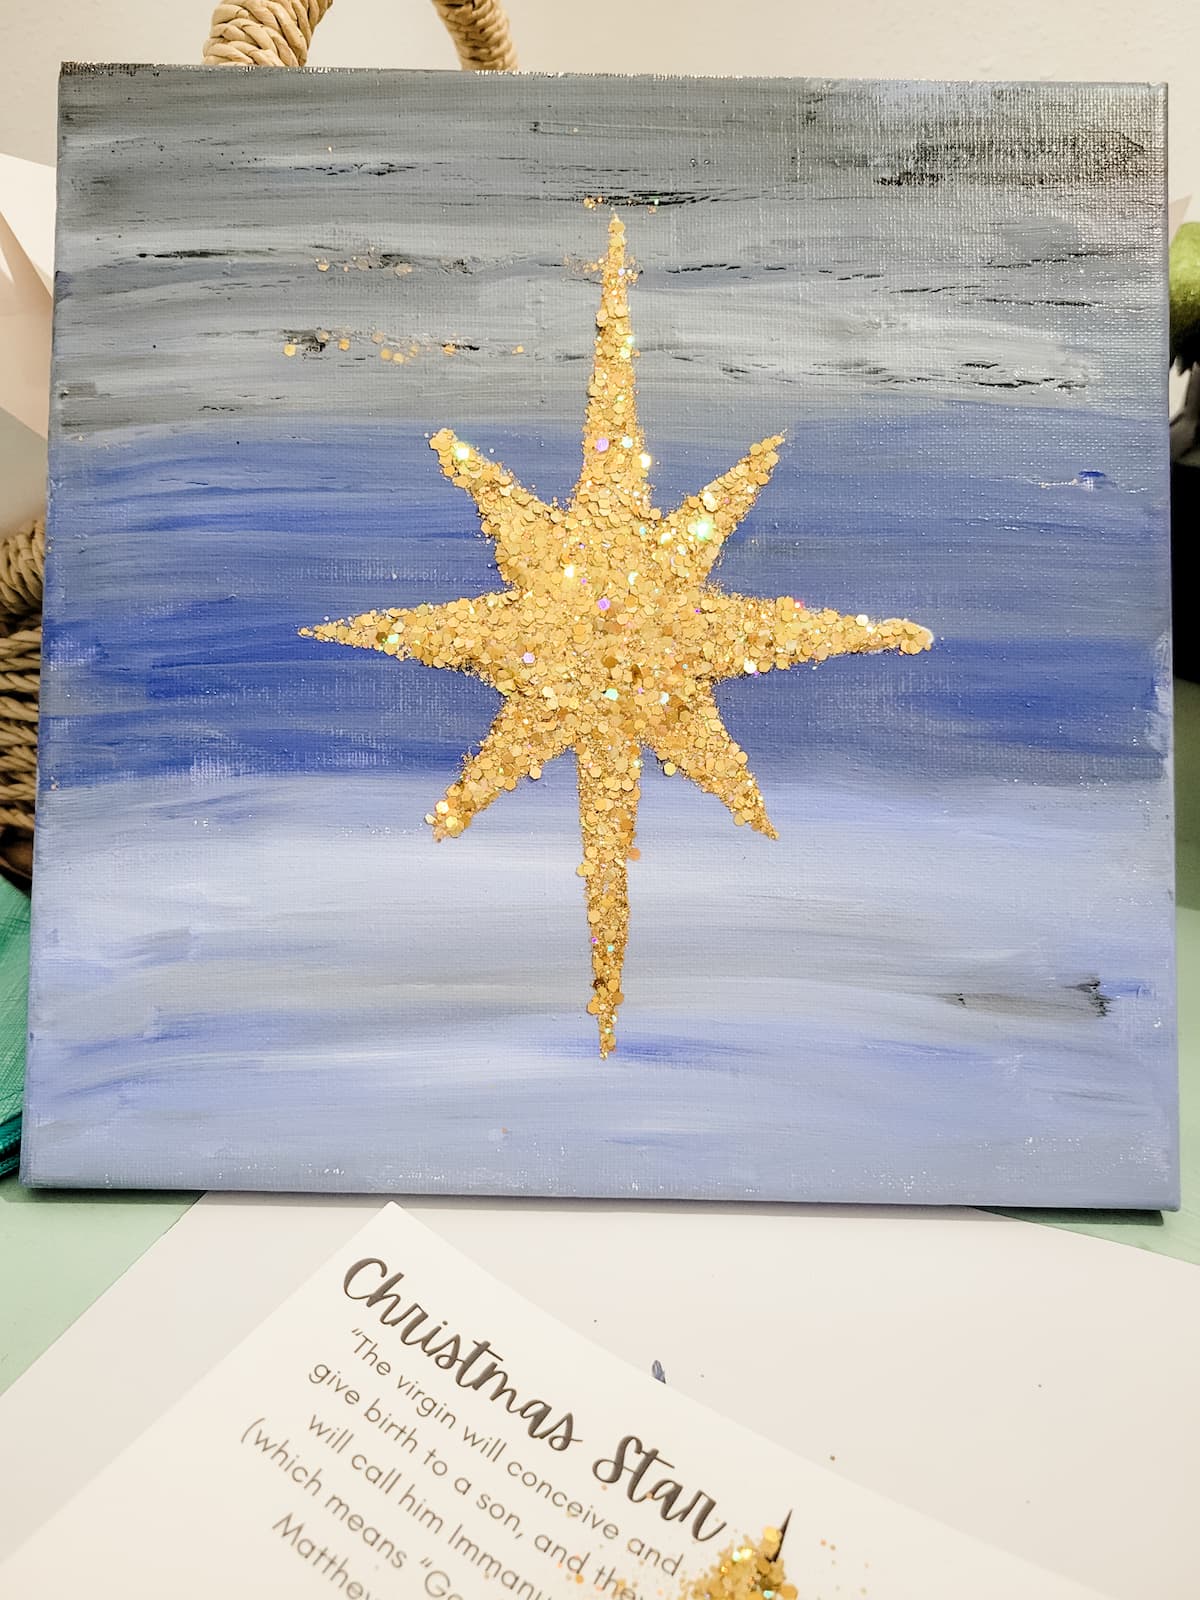
A Finished Christmas Star
Let dry. Knock off any excess glitter with a paintbrush or with your hand gently.
You Might Also Like These From Twigs & Fluff

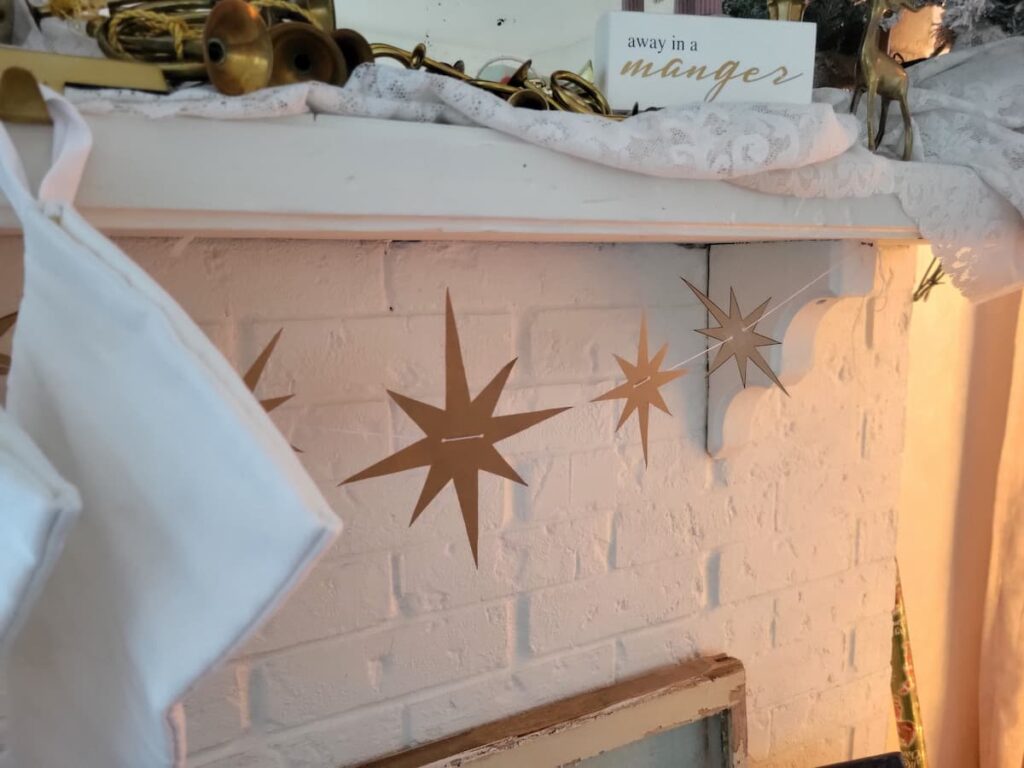
Your Painted Christmas Star in Your Nativity
Display your Christmas Star above your Nativity. Use an easel, hang it directly on the wall or use a rake head (I talk more about using a rake head for decor here) for a small shelf for your Christmas Star to sit on.
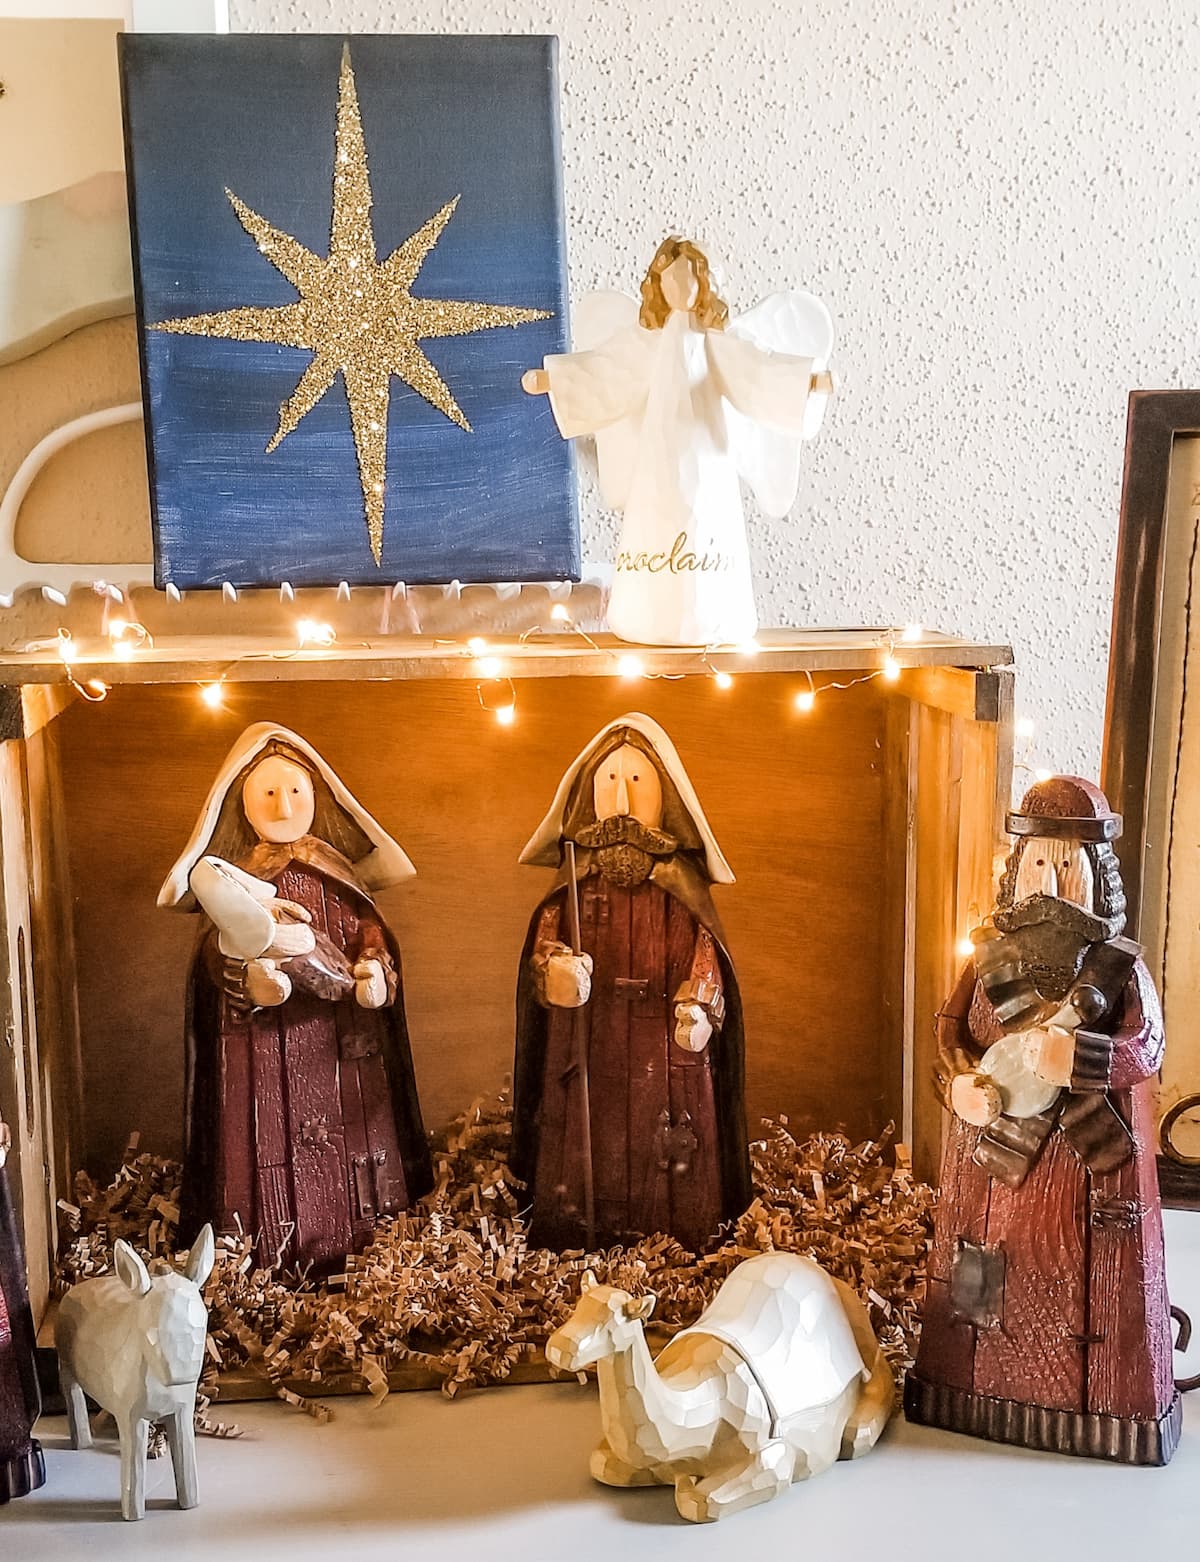
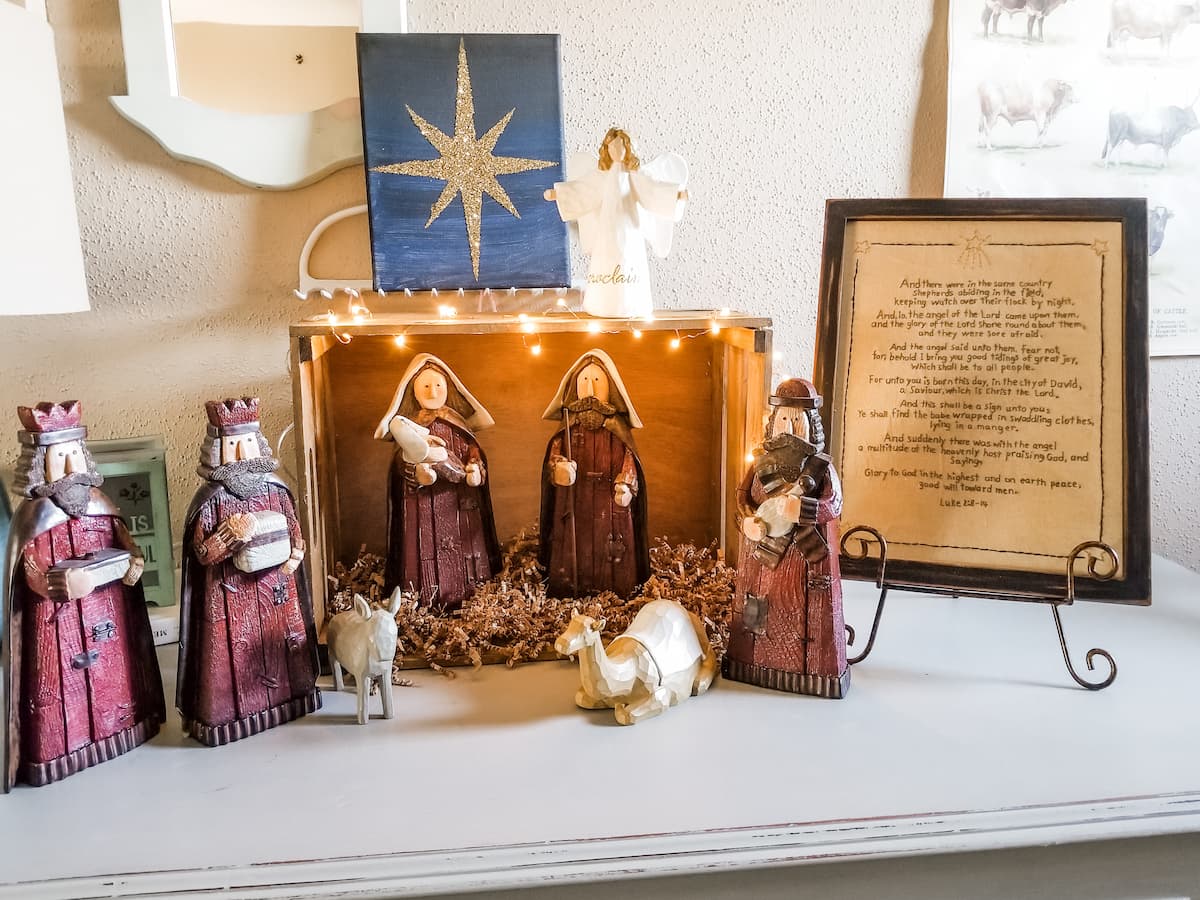
You can also use an easel to hold your Christmas Star. Here I placed the Nativity set in an upcycled repurposed jewelry box. When setting up your Nativity think outside the stable or creche!
Before You Fly Away To Make An Easy Christmas Star With A Printable Template
Pin any of the images to Pinterest so you can create your own Christmas Star for your Nativity – hover over any picture to save the pin to your Pinterest account. So easy!
Christmas Inspiration Hop
Thank you Julia with a It’s a Loverly Life for hosting this Christmas inspiration blog hop! Please visit each of the ladies linked below for more Christmas ideas!
Visit My YouTube Channel!

Very cute project to do with the kids on Christmas Day! It came out lovely. About how long will it take to dry?
Thank you Tara! Drying time depends on how much paint the painter uses 🙂 but I was able to dry with a hair dryer fairly quickly with the amount of paint I used. Have fun on Christmas Day with this project!
I’m so impressed with your creativity! The star looks amazing! I would have never thought to put artwork above my nativity. Love it! Happy Holidays, Donna
Thank you so much Donna! I love to put small expressions of ourselves (whether my daughters or myself) throughout our home. It truly makes a house a home when your people are woven through it!
I love this addition to your nativity scene. My girls would also love to create their own Christmas star. They are better artists than I am! 🙂 Thanks for sharing your sweet DIY. Merry Christmas!
Susan, this one is so easy! Trust me I am no artist and I made it happen! This would be a fun activity for all of you 🙂
This is so lovely! The glitter for the star was a great call. I’ve always wondered how people paint such beautiful ombre backgrounds. Definitely need to follow your tutorial sometime!
Thank you so much Ashley! I’m not sure how you technically paint ombre but this is how I’ve discovered how to do it. I’m sure there are more artisty ways to do it;)
Kristin, the star turned out so beautifully.
It is the perfect addition to your nativity.
Wishing you the Happiest of Holidays!
Thank you so much Juliet! Happy Christmas to you and yours!
Love this dIY Kristin! I will certainly be trying my hand at this one! Happy Holidays!
Thank you Stephanie -make sure to show it off and tag me, I want to see! Happy Christmas to you and yours!
What a beautiful addition to your nativity scene. We love your creativity, Kristin!
Thank you ladies! Happy Christmas to you and yours!
Love this Kristin! You make it look so easy, and what a pretty addition the nativity set!
Thank you Kimberly! It is easy – for everyone!
This is so pretty, and the gold glitter makes it perfect over your nativity. Pinned!
This is beautiful and I really appreciate the step by step process. I’ll have to give it a try.
Kristin you make this look so easy! I could even do this with my grandson! Pinned.
Kristin this looks awesome! Loved linking up with you today!
What a lovely painting! Love your nativity scene too! So happy to hop along with you!
Oh this is so cute! I love how it ties everything together!
This is a really neat idea. We don’t have a star in our nativity set and now we need to make one! Thanks for sharing. My son will like this project.
Marie – oh how much fun to do this with your son! A great idea ????
Kristin –
Your star is just beautiful! It’s the perfect addition to your nativity scene. Love it!
I love everything about this! Your beautiful star (stunning), the directions to follow (easy), your Nativity (so special) and your message (❤️❤️❤️)! Saving it all so I can get started early next year! Wishing you a blessed Christmas!
What a blessing you are – love that this could inspire you! Have a beautiful Christmas treasuring and pondering all that is around you!