Make Simple Tiered Tray Risers From Thrifted Pieces
When putting together my tiered trays I like to add interest and height to each level. I do this using many things but then I began to make simple tiered tray risers from thrifted pieces and since it was so easy I knew I had to share!
Creating Height In A Tiered Tray
Different levels within your trays create interest and keep the eye moving throughout the tiers.
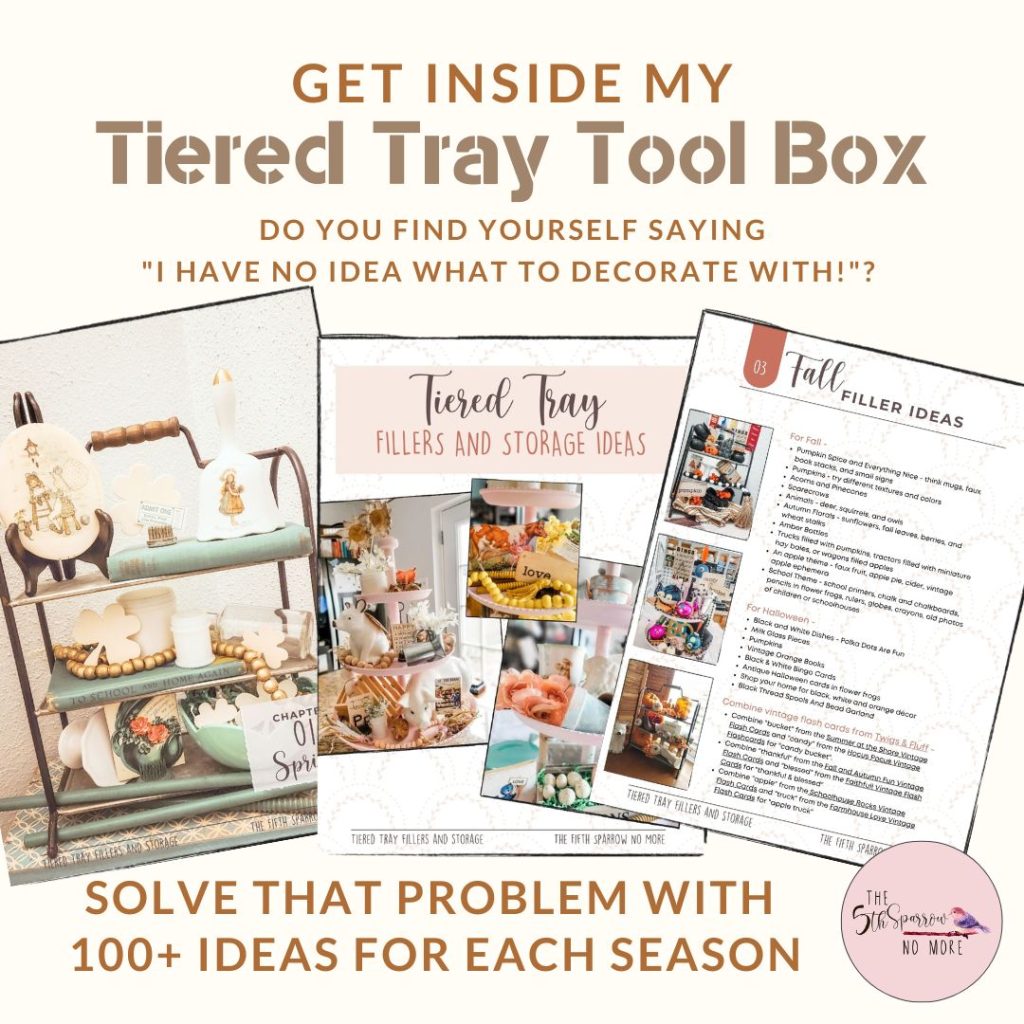
Grab my free Ebook
Tiered Tray Fillers For Every Season
I have used books to elevate certain items. On this monster themed tray I used an orange book to sit a bowl of pumpkins on.
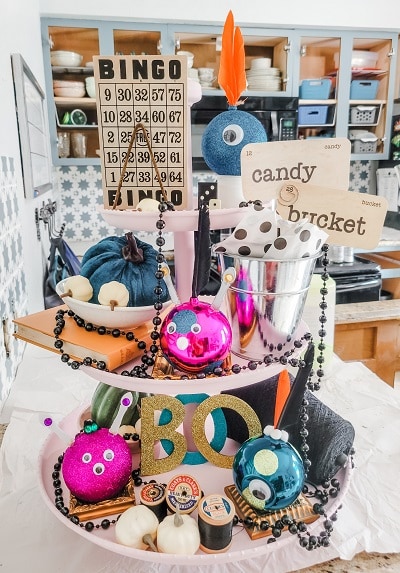
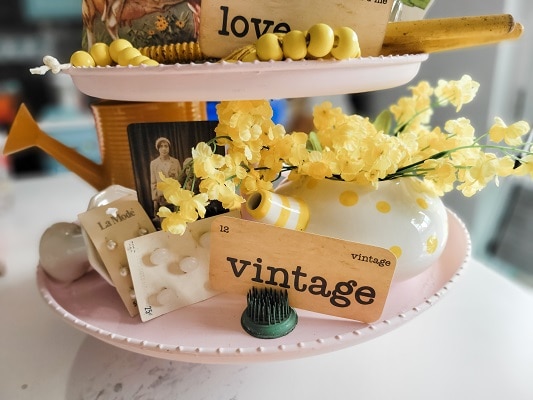
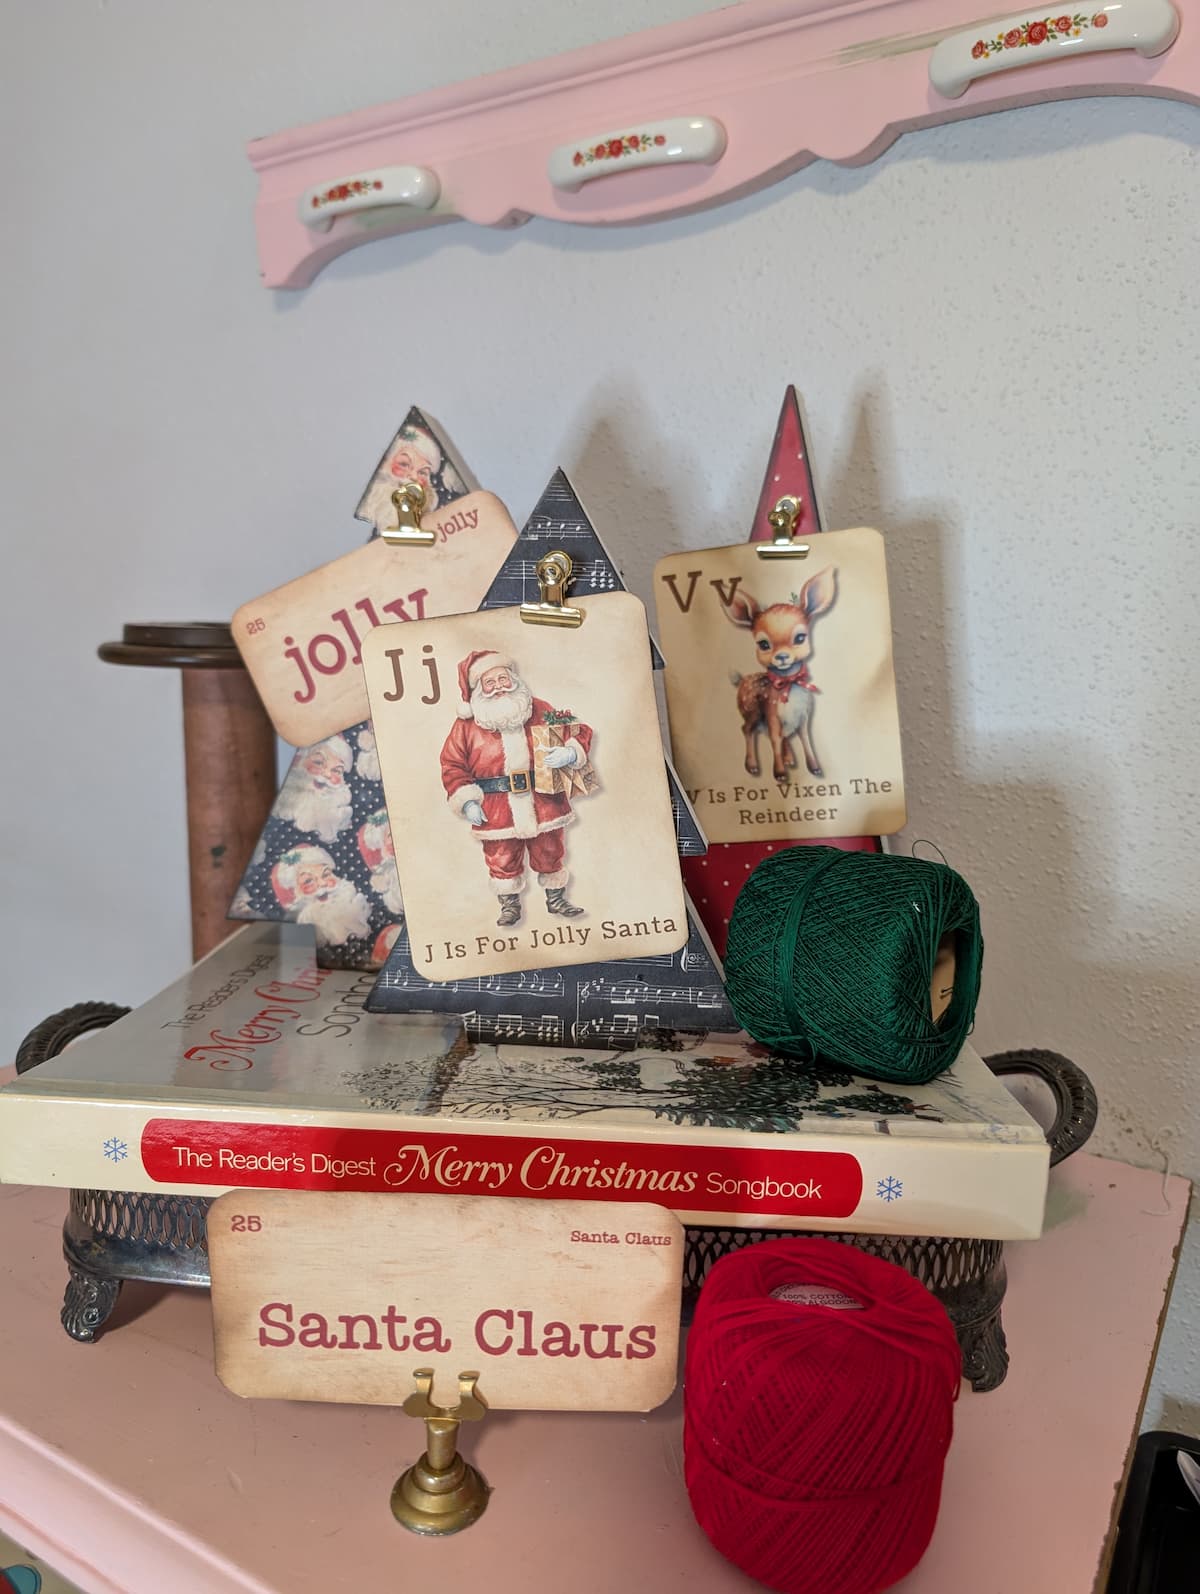
In this tray (and on many) I used a flower frog to stand ephemera in like this vintage flash card.
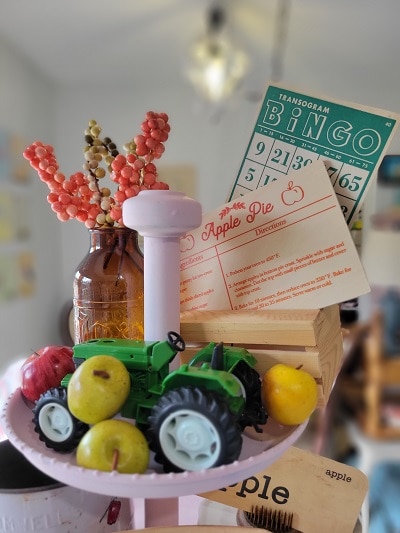
In this apple themed tiered tray I used a small wooden crate to create height and display this recipe card and bingo card.
For this Christmas tiered tray I used a cupcake stand to bring attention to my repurposed Christmas tin.
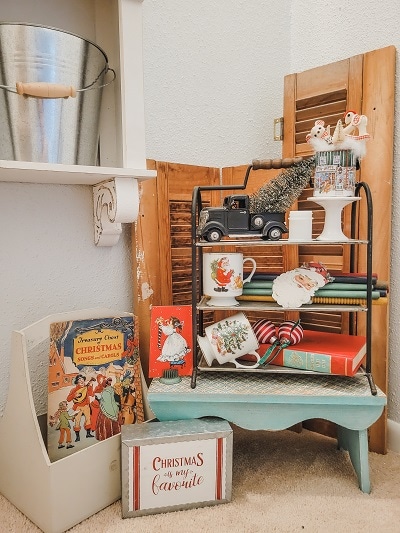
All of these are great ideas but I wanted a way to make small risers that I could customize. Risers that were the perfect color for each tray I was creating plus small enough to tuck in with all the vintage goodies and thrifted items I like to decorate my tiered trays with.
Simple Tiered Tray Risers Start With These Thrifted Pieces
I visited my local thrift store and headed to the aisle of cookie cutters, utensils and mugs. I did not get distracted and hunt for vintage coffee cups, copper cookie cutters or the silver cookie cutters with the red knobs. Nope, I was on a mission to find coasters. Yes, coasters!
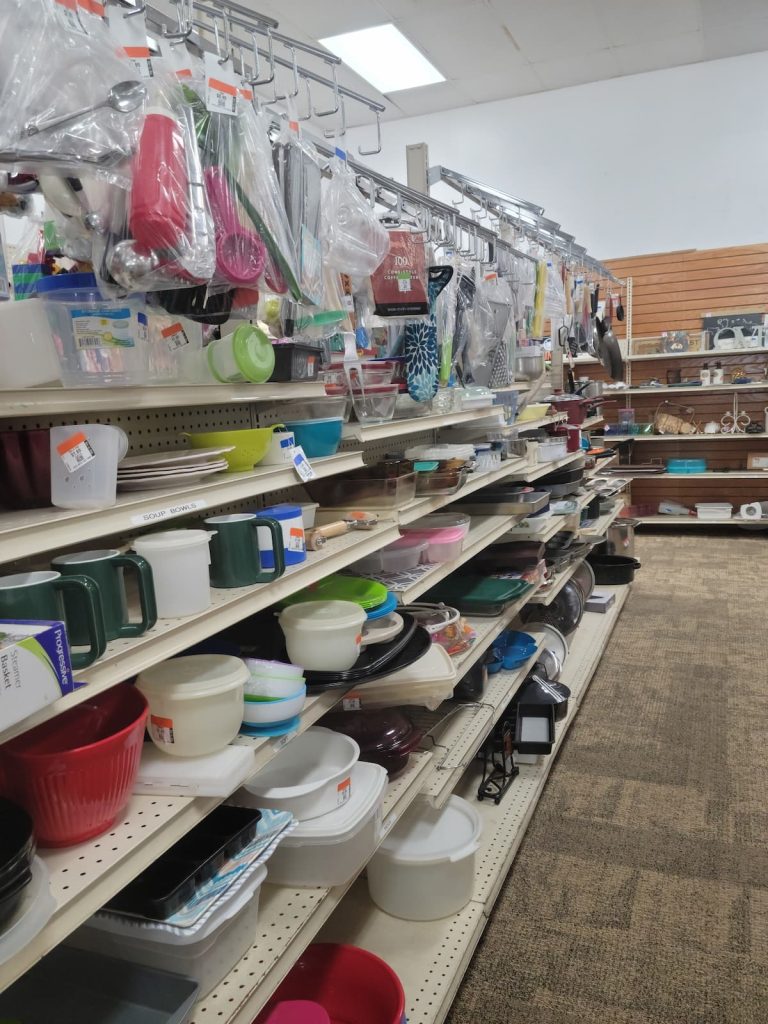
These coasters would be perfect on a small candle cup, wooden beads or and extra small candle stick. And these thrifted pieces would make the perfect tiered tray risers! They would be small, I could make them any color I wanted, and cheap! Coasters at my thrift store were twenty nine cents each!
From Our Shop – Twigs & Fluff
Find informative guides, vintage flashcards and digital wall art in Twigs and Fluff, the blog’s online store.
Make Simple Tiered Tray Risers From Thrifted Pieces
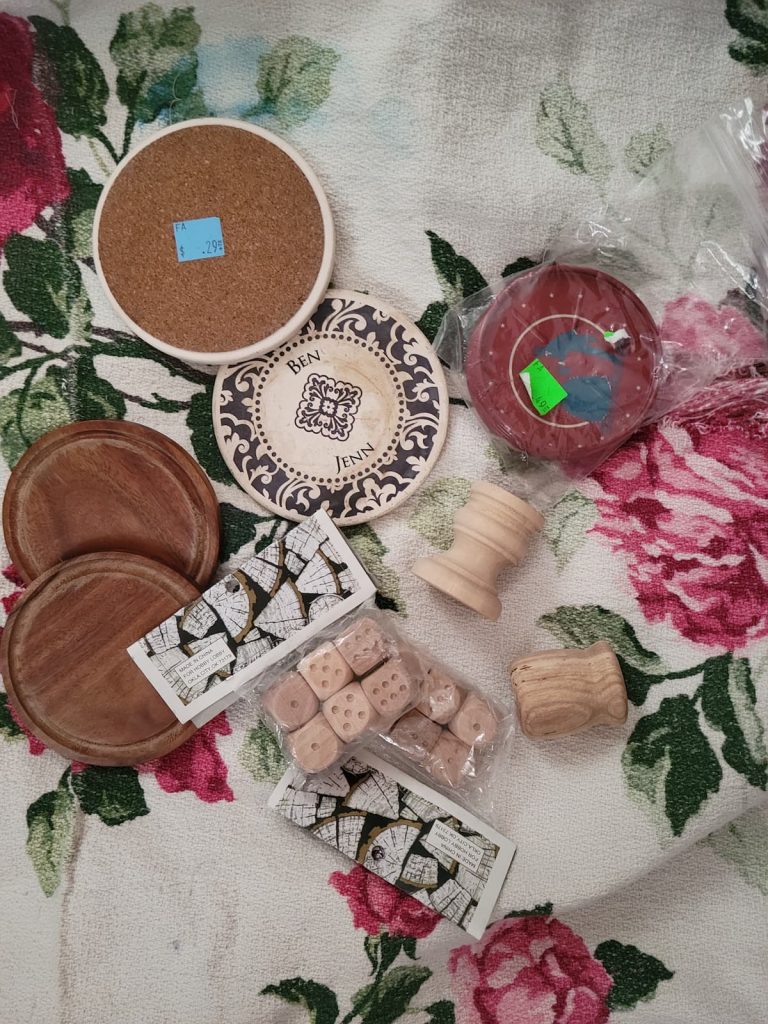
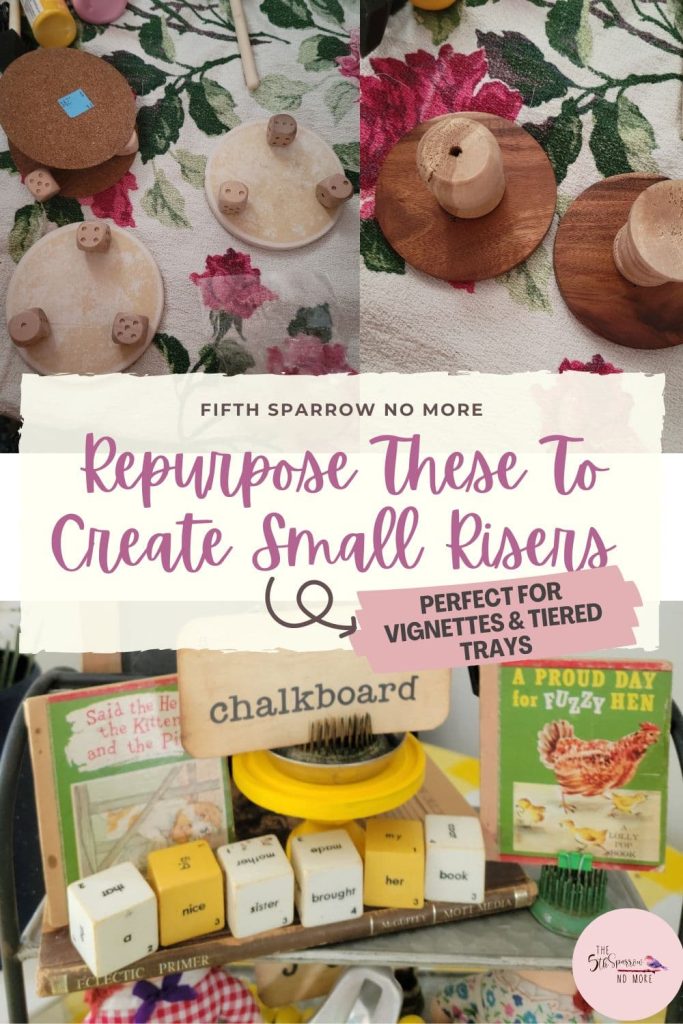
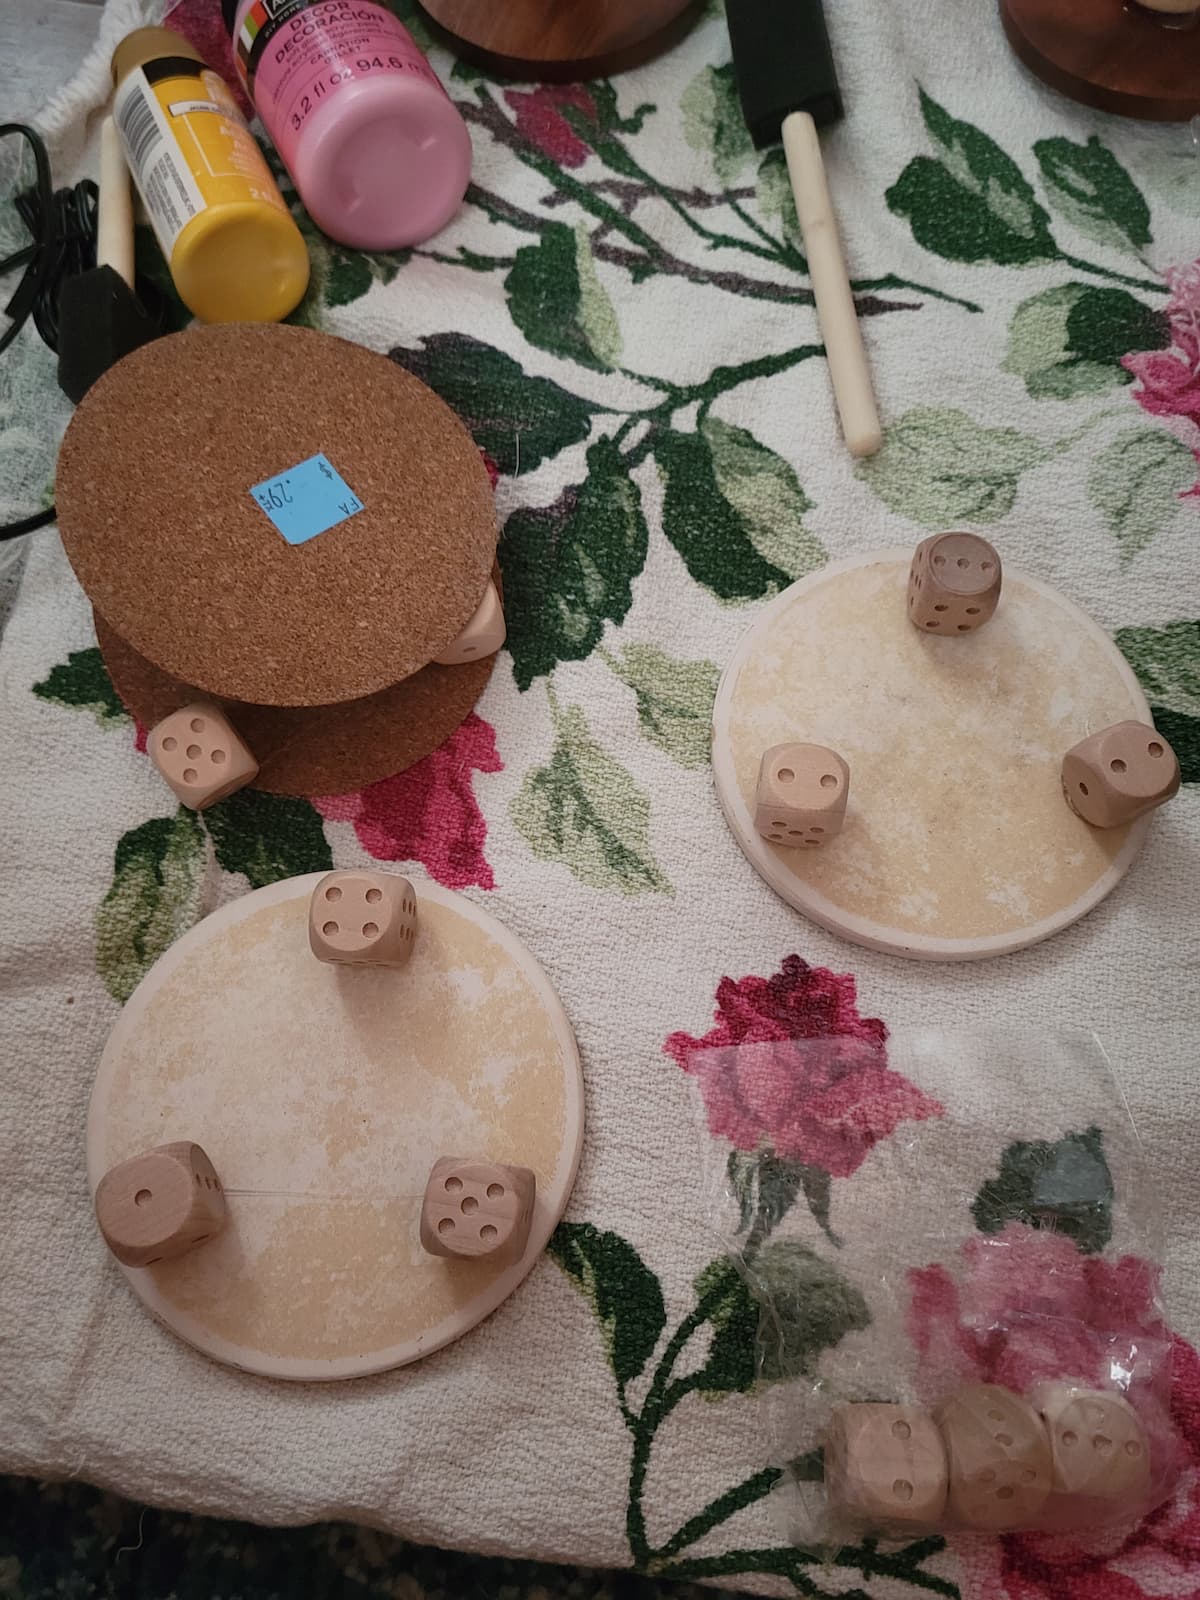
I chose two types of coasters, wooden and ceramic. While I was in the thrift store I picked up a large bag of wooden craft supplies. Inside was this candle cup, a small candlestick and these dice shapes. I used these as the pedestals for my tiered tray risers. Another option would be to use wooden beads for feet as well.
Steps To Make Simple Tiered Tray Risers From Thrifted Pieces
Step 1
- Clean coasters really well, allowing the ceramic ones to dry overnight (remember they are meant absorb water)
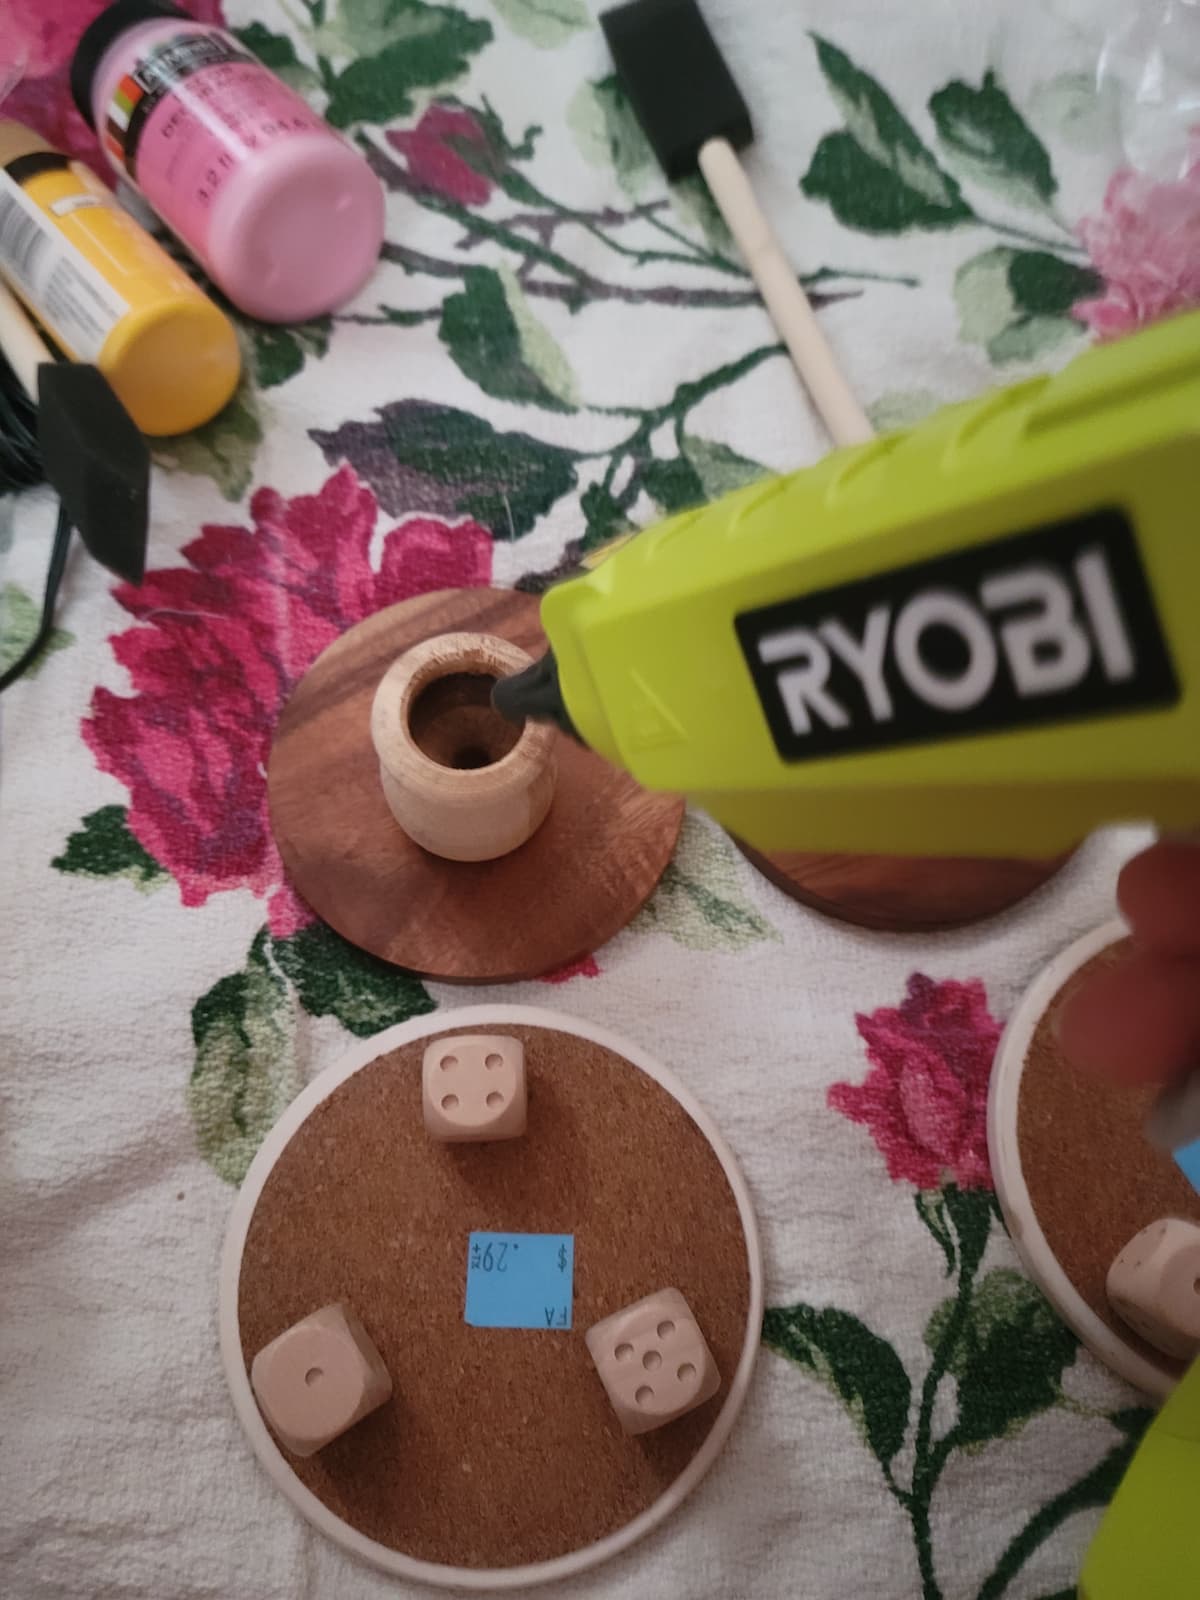
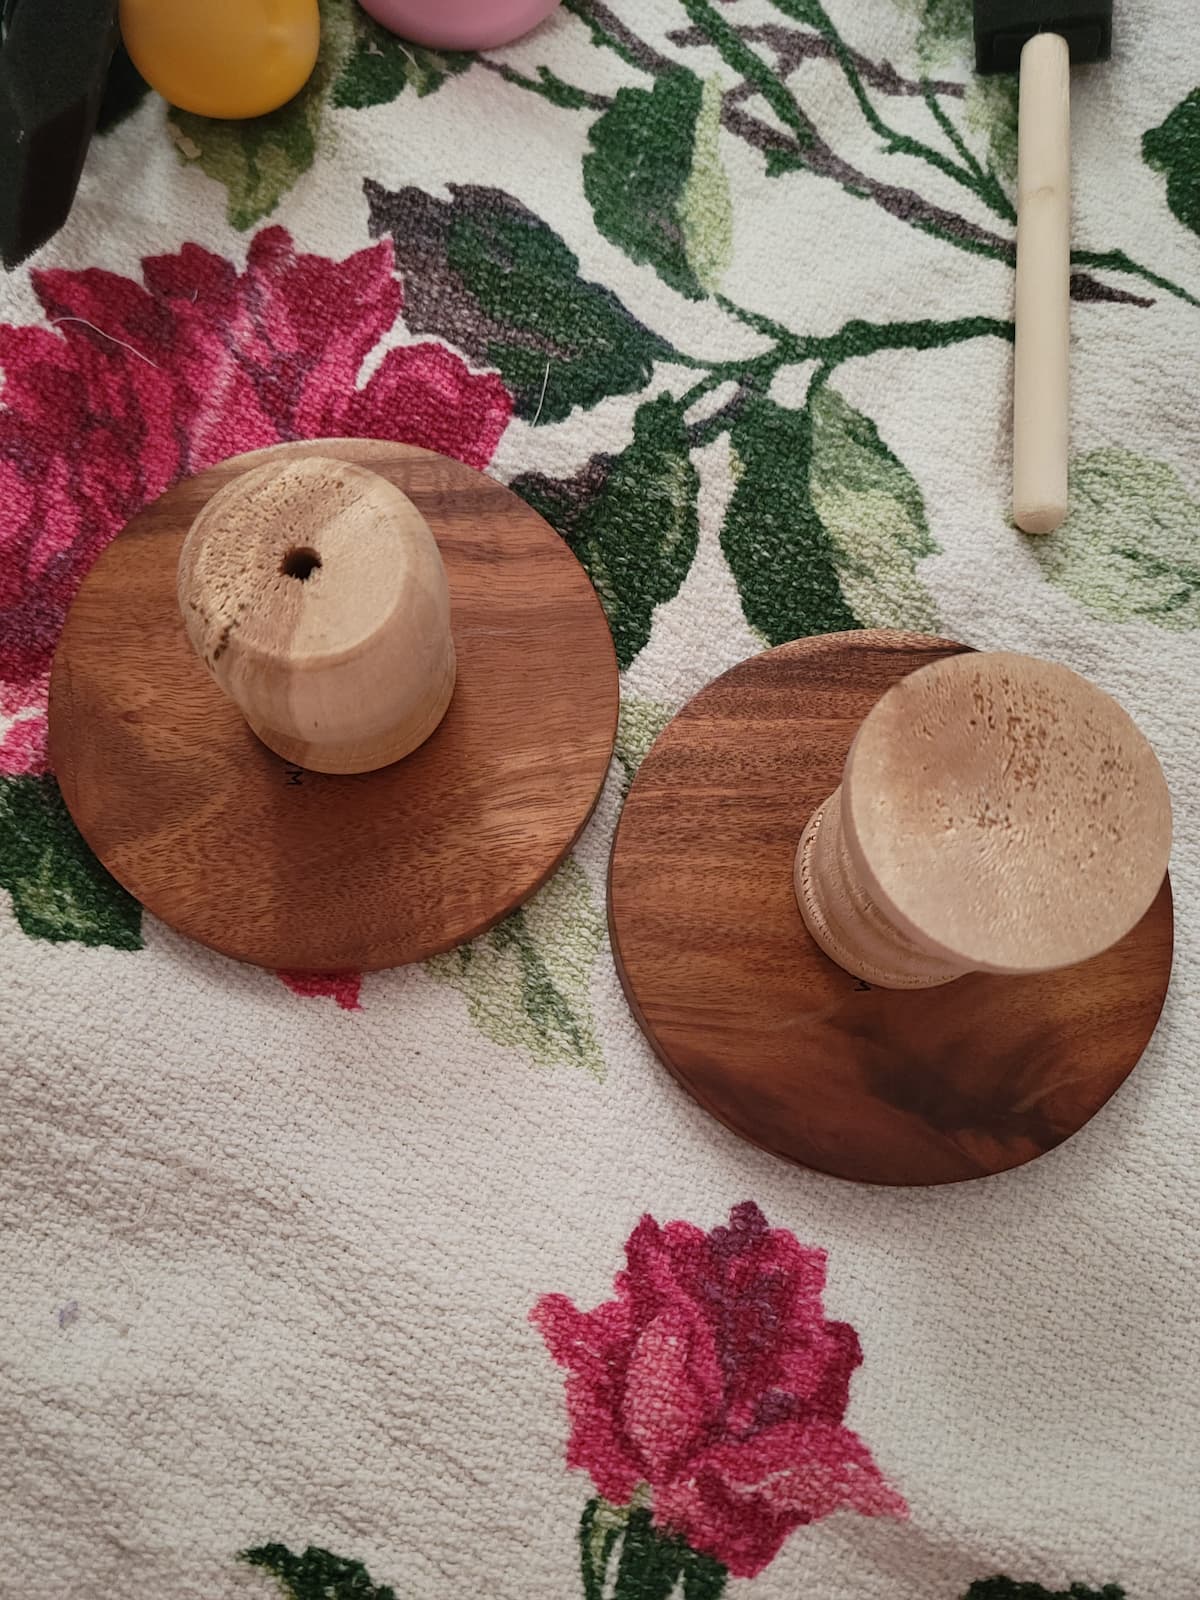
- Use hot glue to attach your pedestal pieces to the bottom of your coasters. I used three dice evenly spaced and then one candle holder in the center.
I love my Ryobi cordless glue gun. Notice that after gluing the feet (dice) to my coaster, the cork came off – I then glued them directly to the coaster.
Step 2
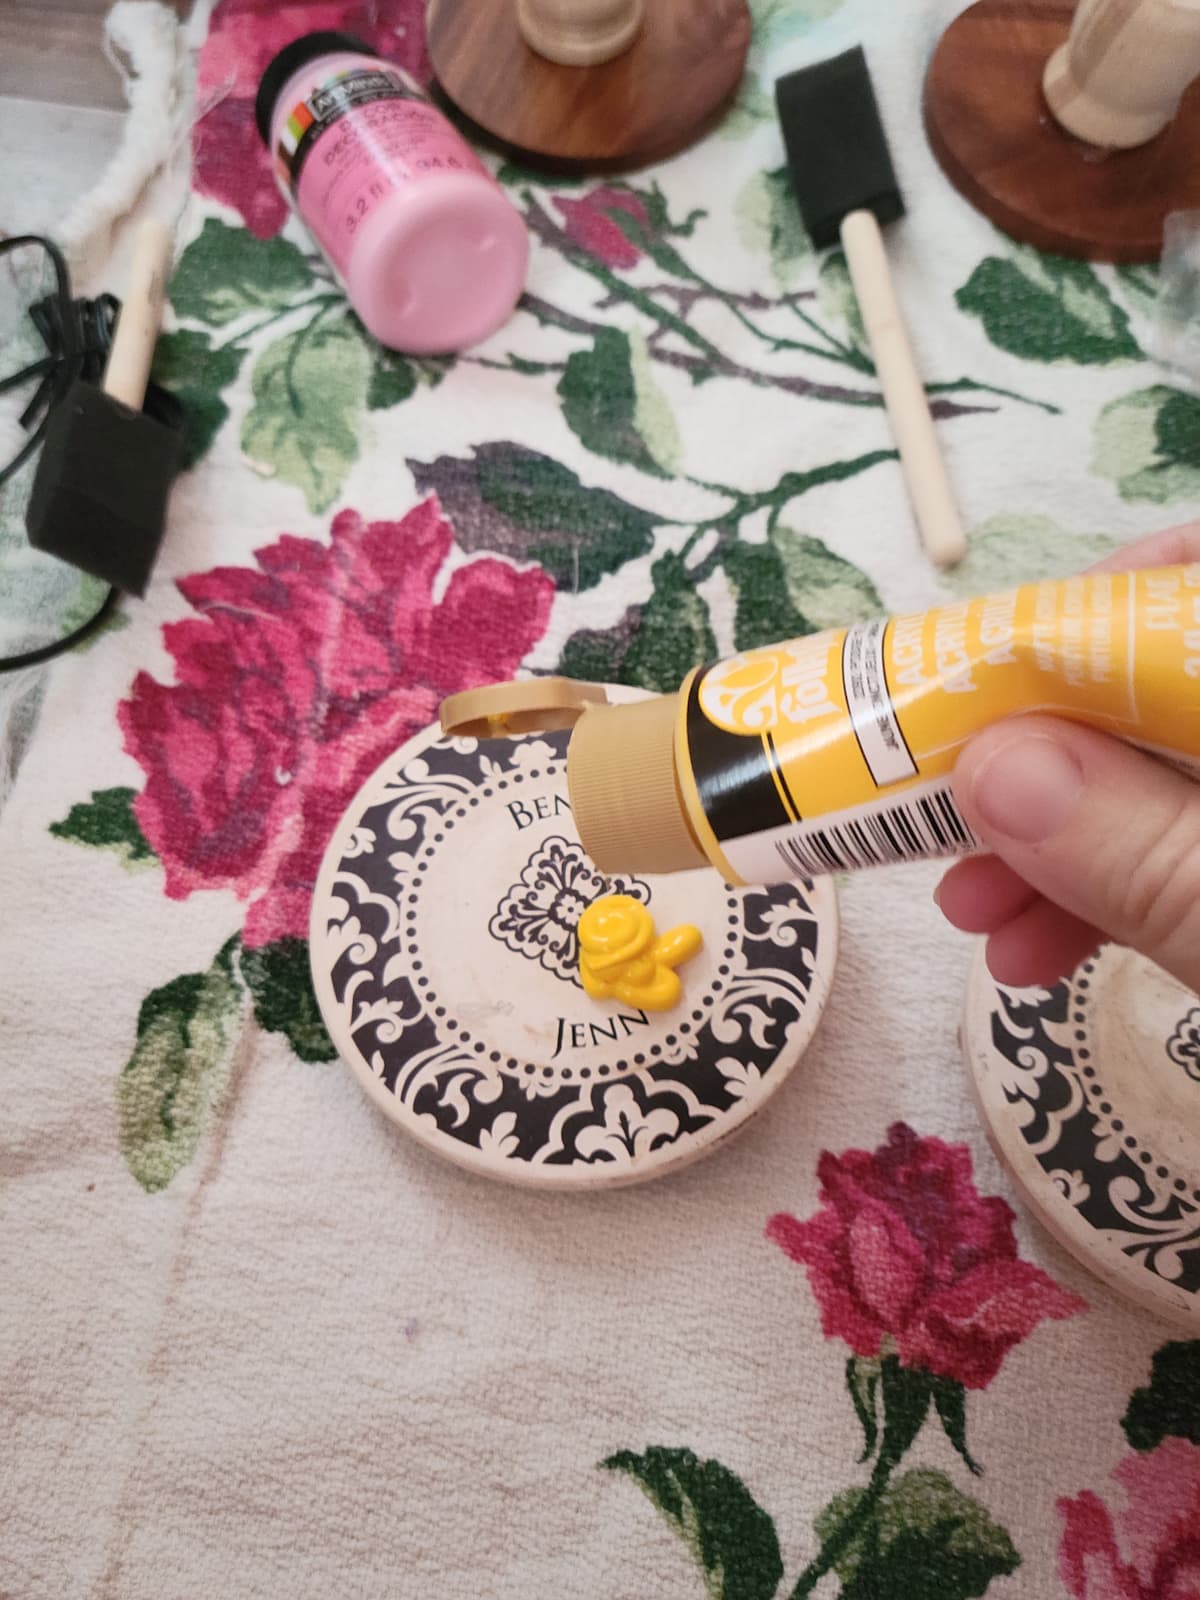
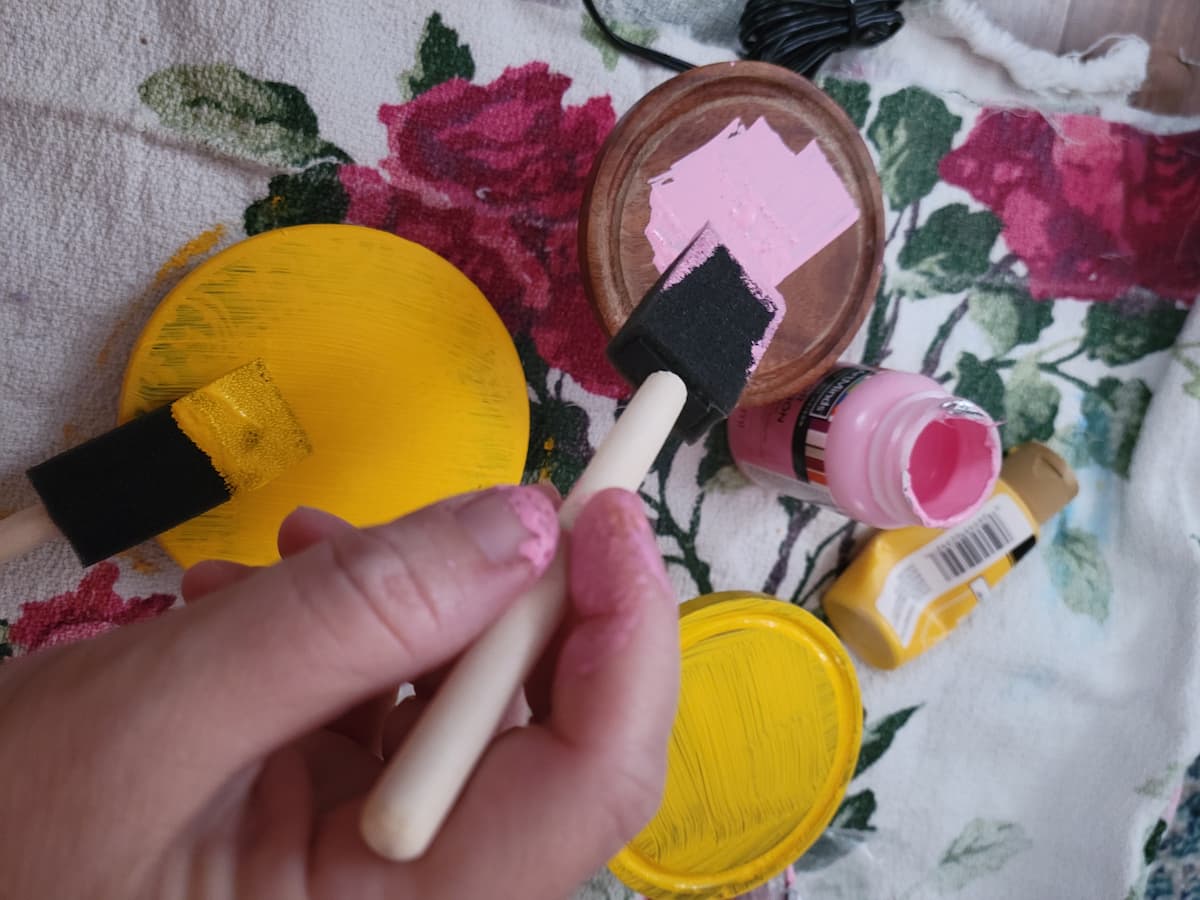
- Paint your coasters
- Sorry Ben and Jenn but I had to cover you up with bright yellow paint!
- I used a foam brush to apply three coats to cover the pattern completely.
Use Your Simple Tiered Tray Risers
I used my tiered tray risers on this vintage toy tiered tray.
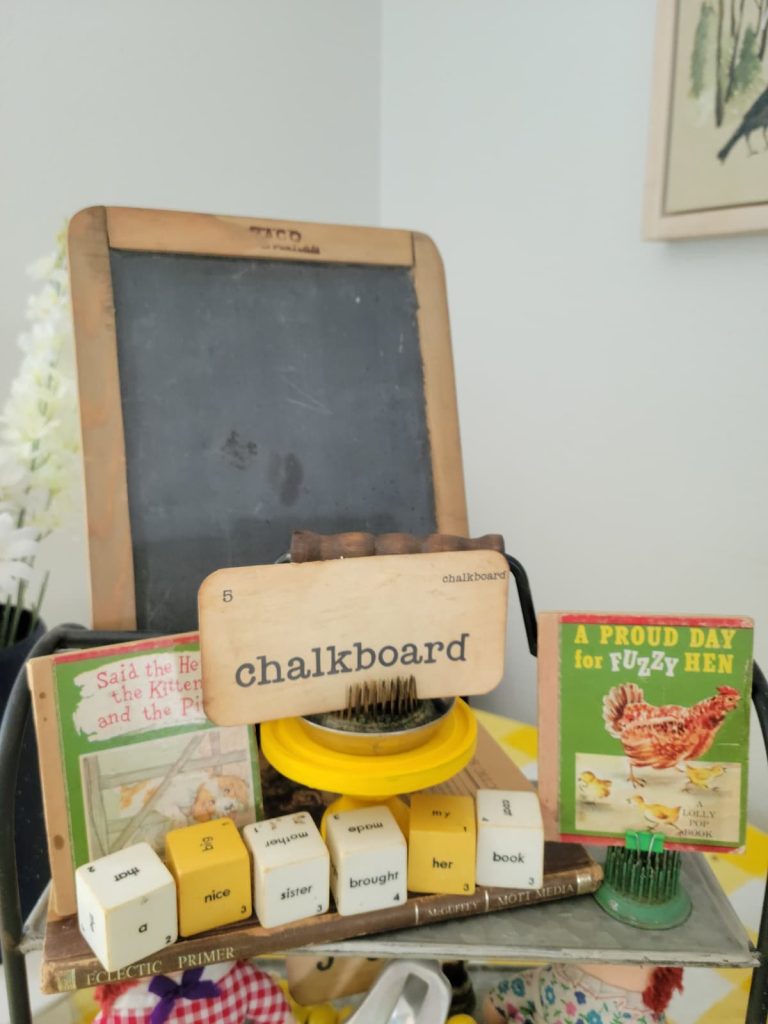
I used the riser on this top shelf to place a flower frog with a chalkboard flash card tucked in it. Around the bottom I placed these fun blocks to spell a sentence. I finished off this tray with children’s books and the chalkboard.
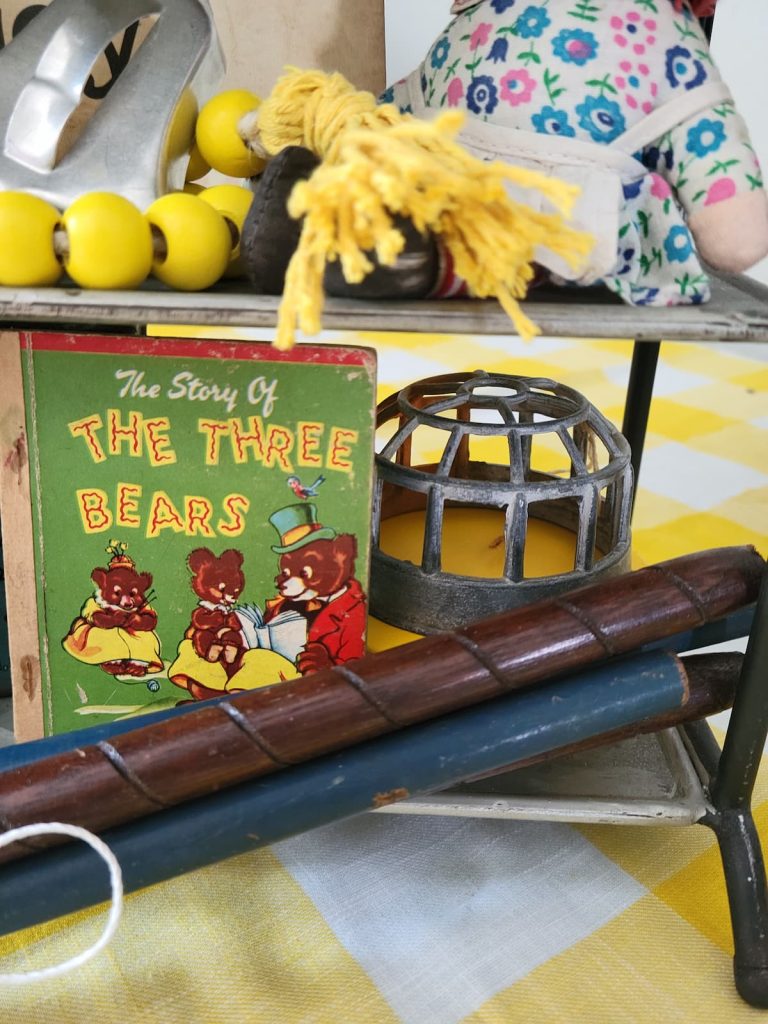
On this tray I used the riser to place this flower frog on next to another children’s book. If I had not used the riser the flower frog would have gotten lost behind the bundle of spindles.
My IBC Friends And Their Projects
I have joined the International Bloggers Club (IBC)! The IBC is a group from all over the world who challenge each other every month to make something using a common theme. This month’s theme is Tray Chic. I hope the small risers I made for this project will help you make your tiered tray tray chic!
Below you’ll find my friends’ amazing tray chic ideas
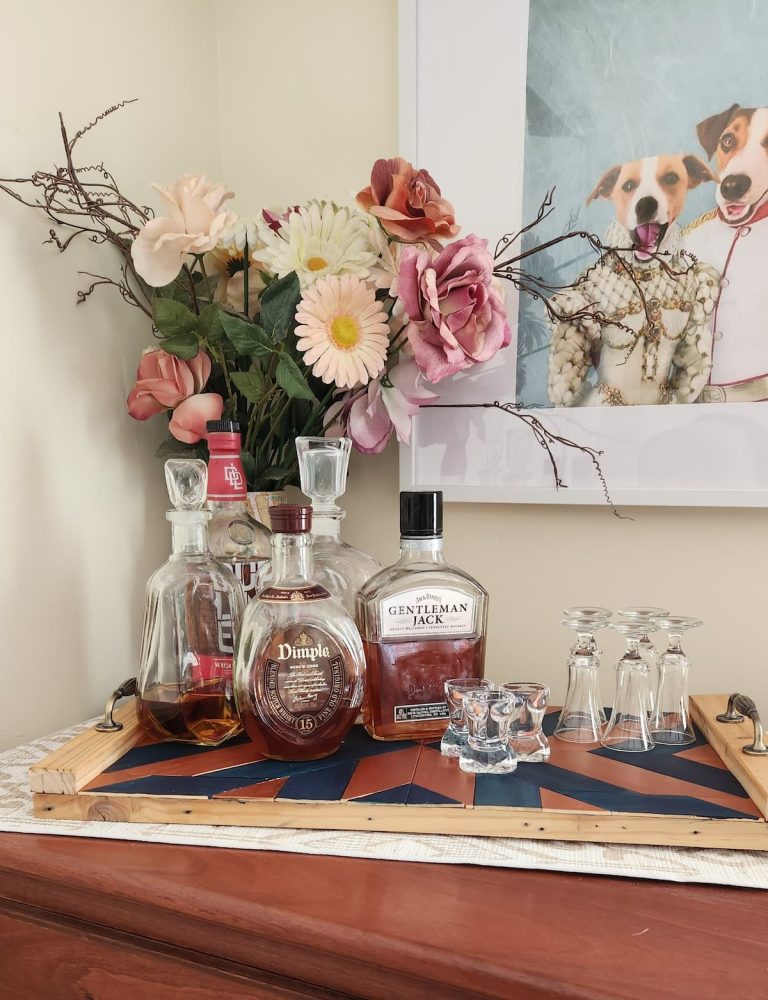
- Unique Creations By Anita – I love barn quilts – throughout Tennesee and Virginia you can see them painted on barns and outbuildings. I love that she created a tray with a barn quilt.
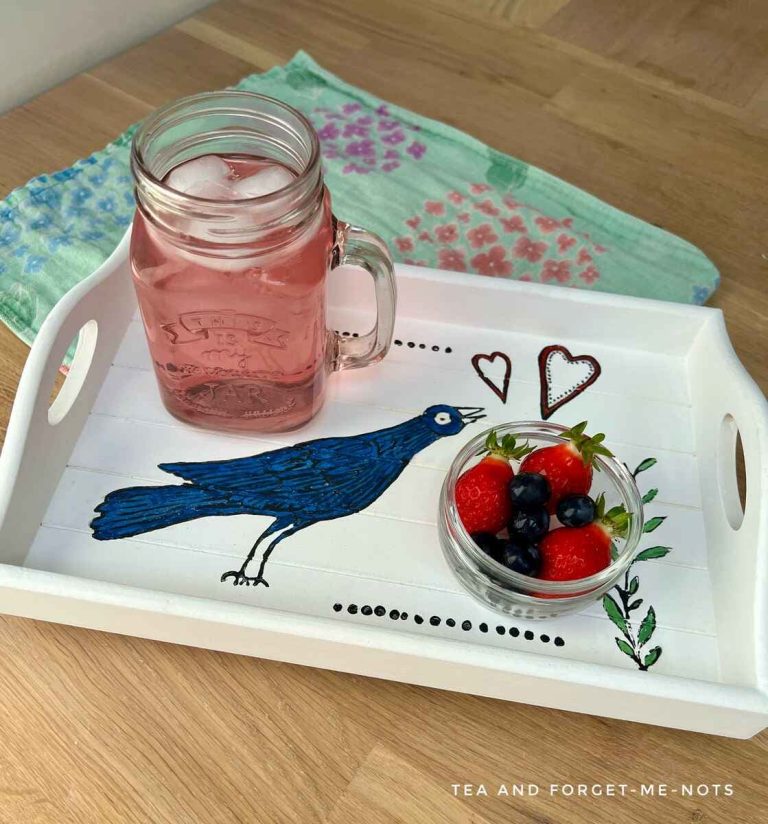
- Tea and Forget Me Nots – Another gorgeous project that Rachel makes look easy to create!
- A Crafty Mix – this is the most unique tray ever – you need to check out what she did!
Before You Fly Away To Make Simple Tiered Tray Risers From Thrifted Pieces
Pin any of the images to Pinterest so you can create risers for your tiered tray – hover over any picture to save the pin to your Pinterest account. So easy!

[mailerlite_form form_id=4]
I wish I had your eye for things at the thrift shop. I always love what you come up with.
Thank you so much Rachel – I even question myself at the thrift store when I see something I love! But then it all works out and turns out fabulous!
So many interesting items in your display you have very good taste. I wish our thrift store were this cheap. Ours have become bouquet stores now they are so popular.
As thrifting becomes more popular the shops get more and more expensive. It truly takes the fun and purpose out of it!
I admire the way you tell beautiful stories in your tray displays. Before reading your posts, I never really got the point of using tiered trays. In my head, they were just there to put things that didn’t have a proper home somewhere else. Now I’m more mindful and think “What would Kristin do”. Just goes to show, you’re never too old to learn 😀
Thank you so much Michelle! That’s a beautiful way to say it – tell stories in my displays. That’s exactly right and I never thought of wording it that way!