Hang Jell-O Molds On The Wall For A Fun Accent
I want to share an easy way to hang Jell-O molds on the wall for a fun accent. We will do this by using a common household item without inflicting any damage to your vintage mold.
Are You Ready To Nail Some Jell-O to the Wall?
Do you know the meaning of nailing Jell-O to the wall? It means trying to give exact details for something that it is not possible to know about exactly. And that’s exactly how I feel about the hanger I used for this project. Because the hanger I am using is a clear L bracket I had in my stash. But I don’t know where it came from or what it is called.
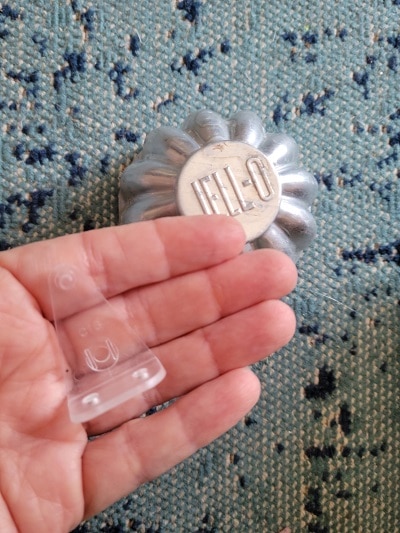
Essentially you need to find a clear L bracket that is thin on both ends like this one. This will attach to your Jell-O mold as a hanger.
How To Hang Jell-O Molds On The Wall For A Fun Accent
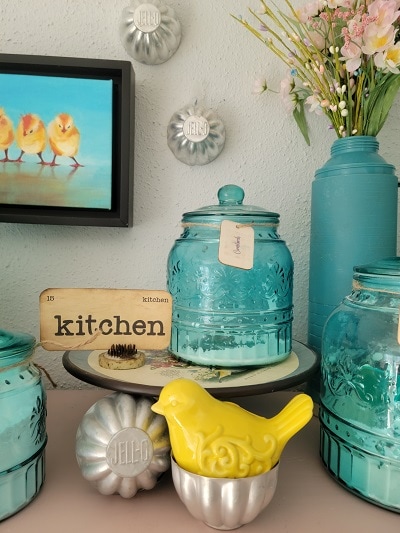
The light weight and small Jell-O molds only need a small bracket. I’m using them in a small gallery wall above my kitchen glass canisters on my pie safe. So the plastic corner bracket will be perfect for this.
First Step
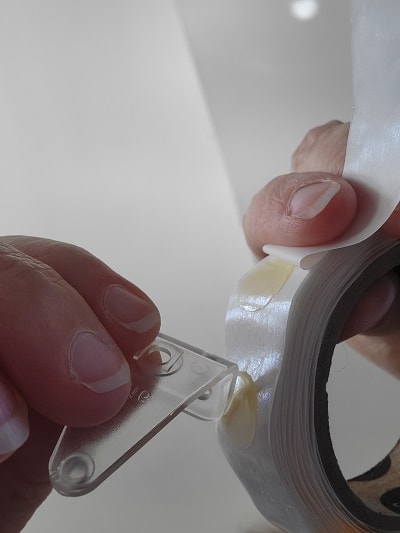
Place a glue dot on each edge of your L bracket on one end.
Second Step
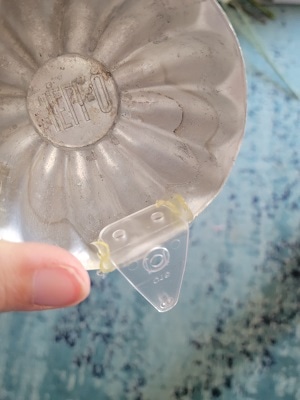
Position your L bracket at the top of your Jell-O mold and press to the inside of your mold.
Third Step
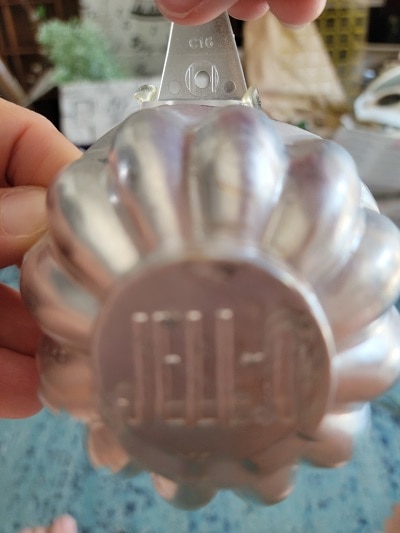
Your Jell-O mold is ready to hang on the wall as a fun accent!!
Hang Jell-O Molds In A Cluster Wall
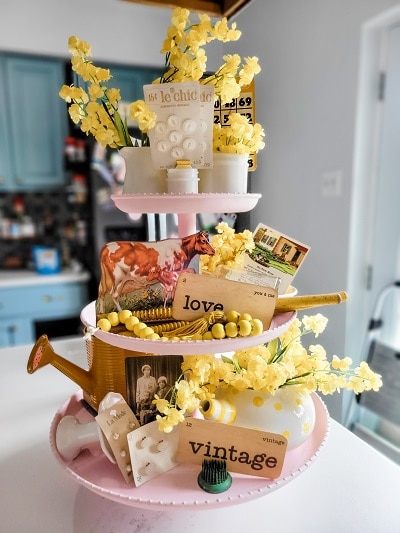
The Jell-O molds were hung in my kitchen dining nook above our pantry-pie safe. I also used one as a “nest” like I did on this tiered tray.
Before You Head Off To Nail Jell-O (Molds) To The Wall
Pin this post to Pinterest to help you remember all of the steps – hover over any picture or the image below to save it to your account. So easy!
From Twigs & Fluff, Our Shop
Or visit my Etsy Shop for more vintage décor and vintage inspired flash cards!

[mailerlite_form form_id=4]
