An Easy Christmas Tree Box With An Image Transfer
Come along as I show you how to make an easy Christmas tree box with an image transfer (free printable included!) and use Dixie Belle paint and WoodUBend gears to dress it up!

Welcome to HoliDIY! Projects to inspire you to DIY Christmas decor for your home easily and inexpensively all while having fun! We will use two methods of image transfer and Dixie Belle paint and products to “fifth sparrow no more” thrift store finds and make craft store finds our very own. You can see the mini rolling pins and book stack we made for a gingerbread tiered tray for the other HOLIDIY project here.
At what point does a home have too many Christmas trees?
Is there a point?
And my point is no, you can’t have too many!
For the trees in my kitchen / dining room, which is all one room, I am doing a gingerbread and baking theme. I decided something needs to be baking in there because it is not me! And my Charlie Brown trees needed a home so that’s how these Christmas tree boxes came to be.
Turn Your Box Into A Christmas Tree Box
I used two Prant boxes from Ikea – I got these from Goodwill for $1.99 each. I shop year round for the holidays so buying these in July for Christmas made total sense! They look to be discontinued but I found some comparative boxes that would work!
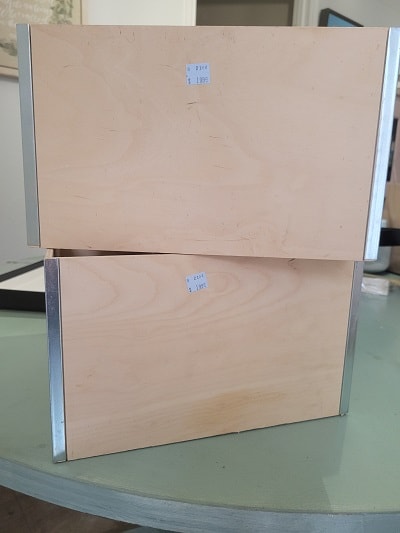
These are wooden crates that are comparable that have a flat side to place the gears and image transfer on:
Painting The Christmas Tree Boxes – Step One
I painted both boxes with Dixie Belle’s Whitecap Silk Mineral Paint. I left the silver banding alone – I like the industrial feel of it. Since these will be Santa’s Workshop and Elf Headquarters’ boxes I wanted them to be “work” crates.
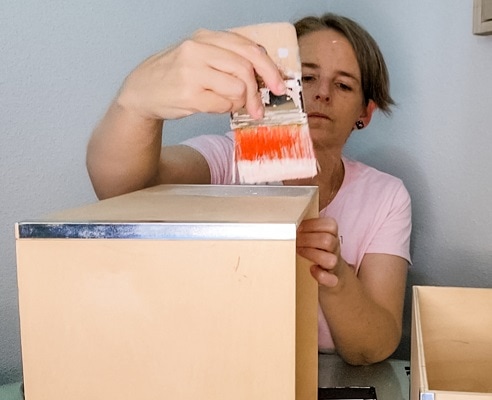
Can we just pause a minute and look at the concentration on my face and the fact that I have paint on my forehead? I am serious about my painting and seriously into my painting! HAHAHA
Distressing The Christmas Tree Boxes – Step Two
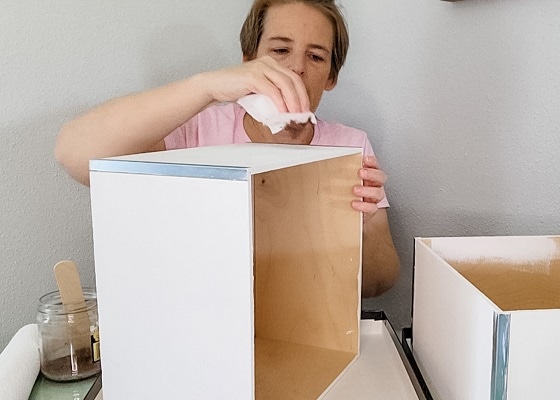
I mixed water with Dixie Belle’s Chocolate Chalk Mineral Paint to create a very light aging wash for the Christmas boxes. They were too white and they needed to be a little grungier since they were from a hardworking place like The North Pole! Mix approximately twice as much water as paint in a small container and mix well. I use popsicle sticks to stir my paint.
Using a paper towel (or better) a lint free rag dip into your brown wash squeezing out most of it. Wipe down the surface of your project. You can also sand afterwards to further distress your piece! For another easy distressing technique check out my pie safe – I used tape!
Painting Gears For Your Christmas Tree Boxes – Step Three
Get it into gear! I wanted these boxes to be have an industrial yet antique feel to them. I knew that gears would do the trick. The elves are building toys and using gears, pulleys and other thing-a-majigs (certainly a technical term), right? Dixie Belle has some really cool Steampunk Transfers that I considered but in the end loved the idea of a 3D effect of the WoodUBend gears.
First I painted the gears using Dixie Belle’s Anchor Silk Mineral Paint. After letting that dry I brushed on a small amount of Moonshine Metallics in Wedding Belle to make them look metallic.
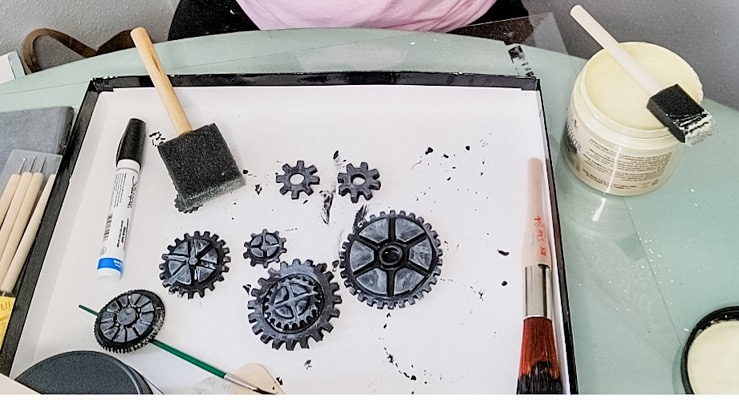
Image Transfers For Your Christmas Tree Box
Get Your Printable To Complete Your HoliDIY!
Download the free HoliDIY transfer printable!
Print the HoliDIY printable. It contains two printable signs to transfer to your project. The first is a Santa’s Workshop sign and the other is an Elf Headquarters sign. You can use as is or resize when printing to use as a transfer for your HoliDIY project!
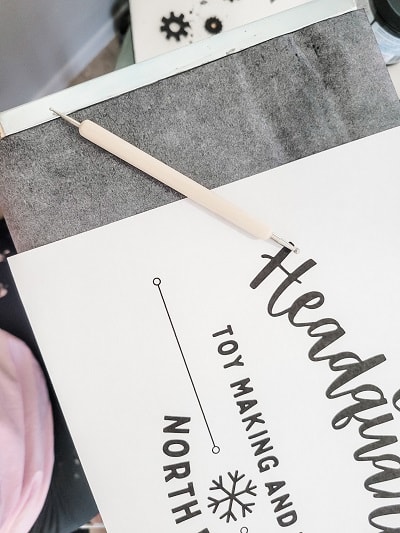
Place the transfer paper on your project black side down/gray side up. Place your printable on top of that. Using the tool that came with your transfer paper or the end of a small paintbrush trace your letters.
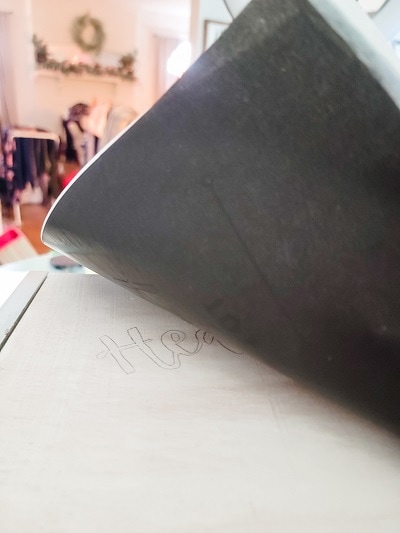
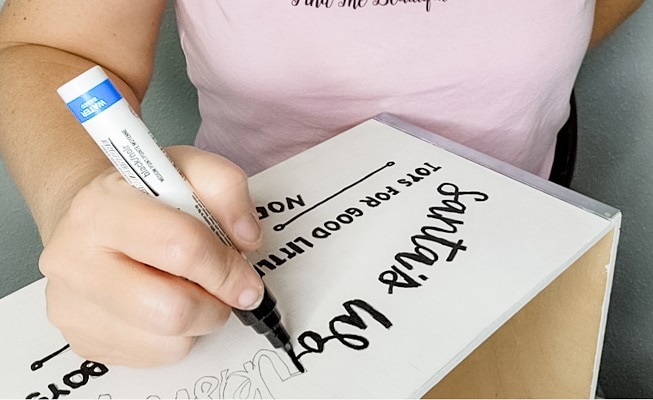
When done tracing your letters remove the transfer paper and printable and fill in with paint marker or with Dixie Belle’s paint in Anchor and a small paintbrush.
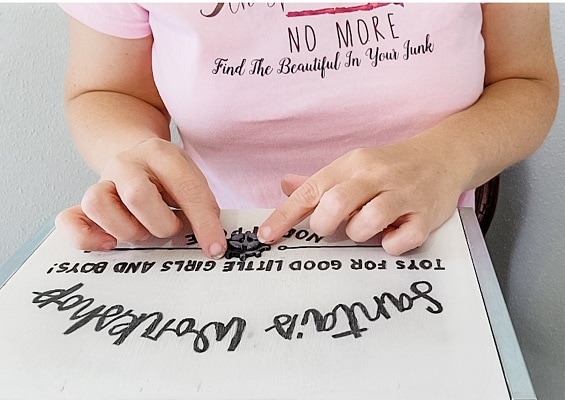
An optional step is to sand the lettering when done to distress the lettering.
Final Touches To Your Christmas Box With An Image Transfer
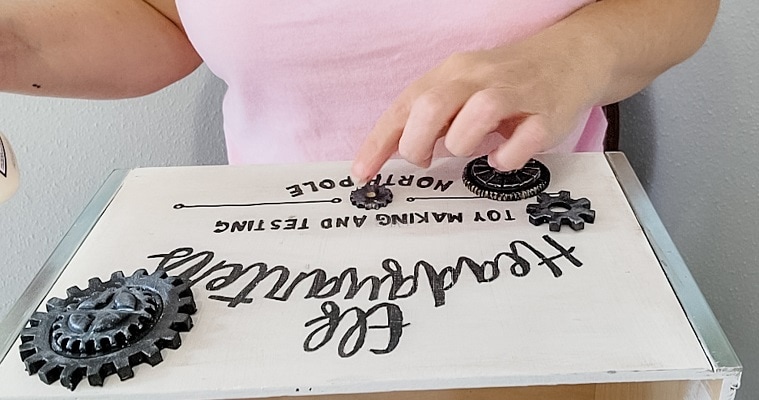
It is time to attach our WoodUBend gears to our boxes. Using Tite Bond wood glue on the back of the gears attach to the front of your box around the words you just transferred.
Place Your Charlie Brown Trees in The Easy Christmas Boxes You Just Made!
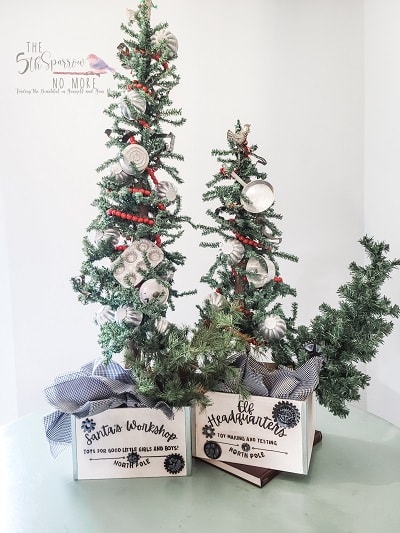
Before You Fly Away To Make An Easy Christmas Tree Box With An Image Transfer
Pin any of the images to Pinterest so you can make your box for Christmas trees or gifts for your Christmas decor – hover over any picture to save the pin to your Pinterest account. So easy!

[mailerlite_form form_id=4]


You always have the best finds from thrift stores Kristin. I wish we had this kind of selection this way. No such luck though! Thanks for sharing.
Kristin I love how these came out! So cute! I just pinned it!
The boxes are so cute! I love how you added the 3D gears to give them texture. I also can usually be found with paint on my forehead…or in my hair…the list goes on. lol Thank you so much for sharing your beautiful project!
I am absolutely obsessed with how cute this project turned out, Kristin! Thanks for the inspiration!