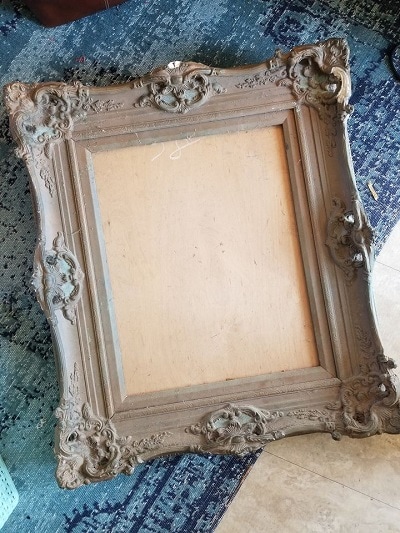
DIY Faux Shiplap Walls That Are Easy And Cheap
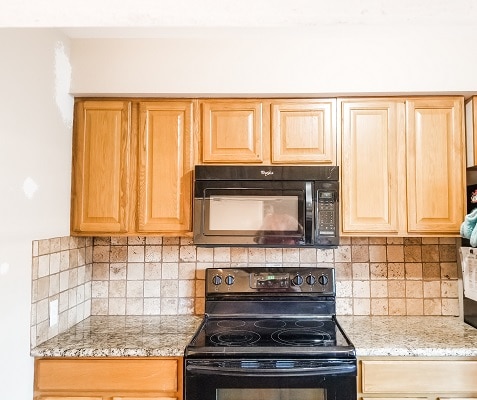
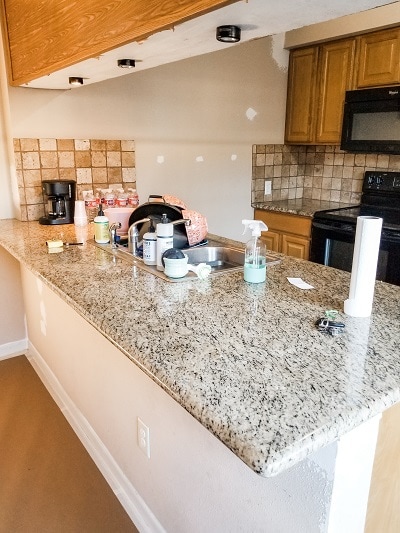
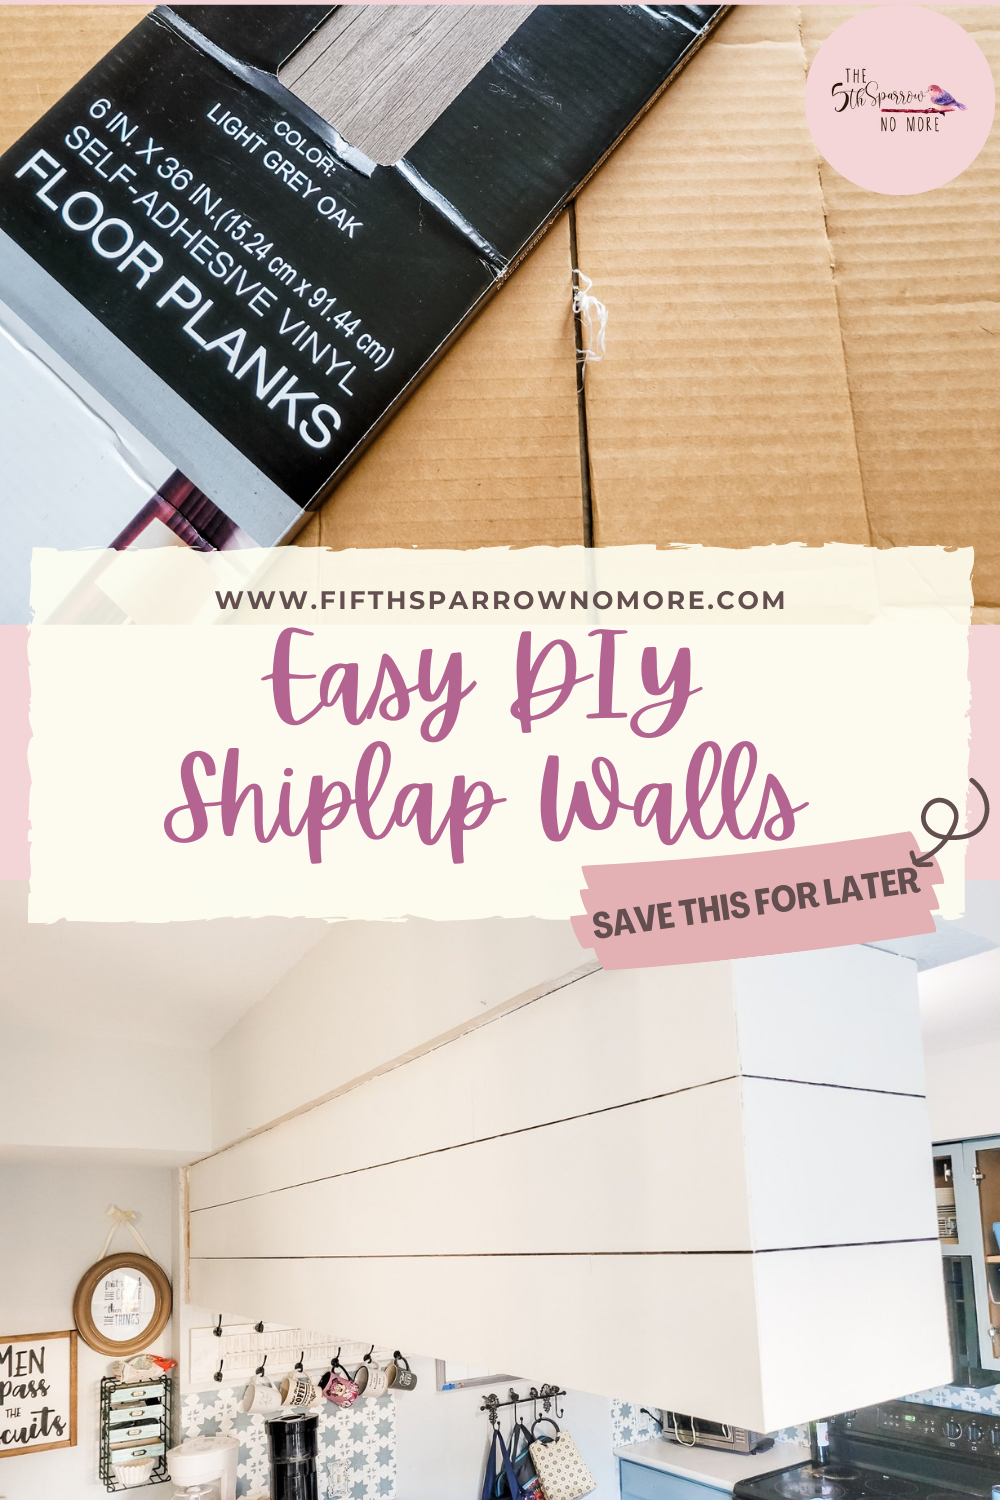
When we moved in, everything from the living room to the master bedroom and everything in between was decorated (I am using that term loosely) in shades of brown and a random, not pretty shade of peach. The kitchen was not too fondly referred to as the fifty shades of brown kitchen. It was not a happy place, it didn’t inspire me to want to cook let alone just be in! It was a sad combination of honey oak, fake granite countertops, a tan stone backsplash and contact paper (!?) on the peninsula bank of cabinets. A shiplap accent wall was one of the first things I did in my kitchen and it was a perfect solution to add a little bit of interest and brighten up the kitchen. This post shares my DIY faux shiplap walls that are easy and cheap to do in your own home.
I chose to find a way to do this shiplap wall project without a nail gun, circular saw, table saw or any other power tools. It was my first time doing a DIY faux shiplap wall and I wanted an easy way to do it and for me that was by using the right tools for me. Which were things I could find inexpensively and easily at the local hardware store (or Amazon).
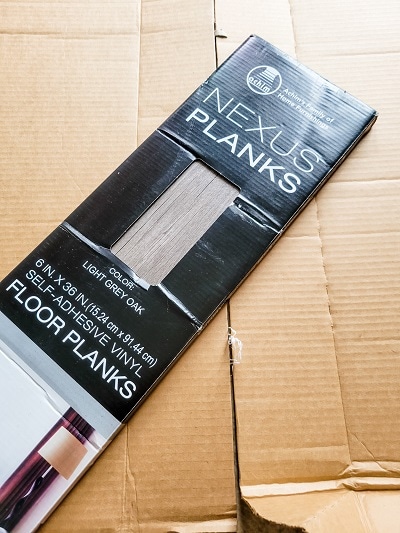
Supply List For DIY Faux Shiplap Walls That Are Easy And Cheap
Tools you’ll need
The links below are Amazon affiliate links – I make a small commission at no cost to you when clicking through the links.
An Easy Tutorial For DIY Faux Shiplap Walls That Are Easy And Cheap
The First Step of Creating A Shiplap Look
The peninsula bank of cabinets faces the dining room. The bottom of the wall is heavily textured and I chose that to have a fresh coat of paint and only place the faux shiplap boards at the top of the wall or on the back of the upper bank of cabinets. Not doing an entire wall (well wall and cabinet backs) made this project easy – I did not have to cut around electrical outlets or light switches!
One of the first things I did was to tear off the contact paper, which was ever so satisfying. Why would anyone put contact paper on the outside of their cabinets? I scraped off any sticky residue left with a putty knife. I removed the crown molding at the top of the cabinets with the crowbar I got myself for my birthday – best birthday gift ever.
Step Two Of Getting The Look Of Shiplap
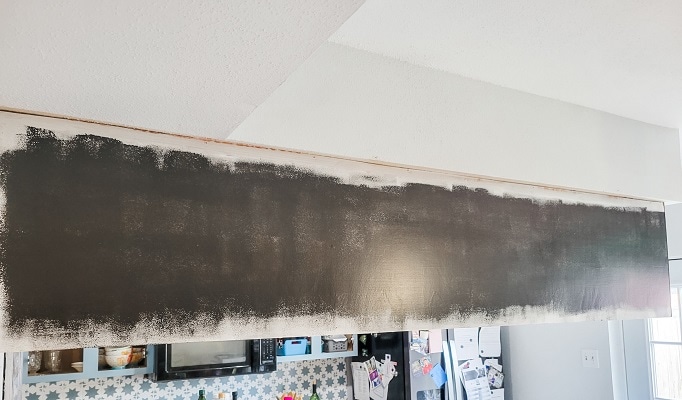
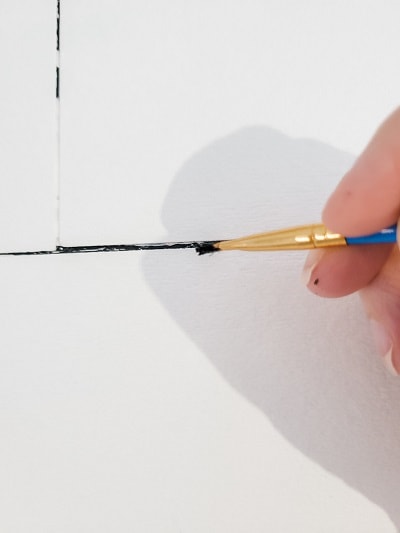
The back of the bank of cabinets was painted black with a sample I got from Home Depot. As you can see this does not have to be perfect because it will just be peeking through the vertical seams in between our faux shiplap.
The Third Step Of The Way That I Installed DIY Faux Shiplap Walls
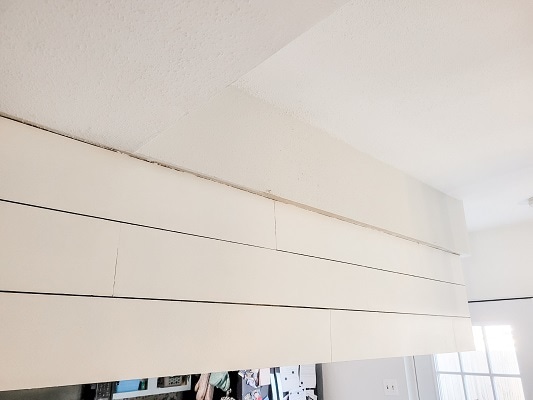
A great way to get the look of real shiplap boards is to stagger your pieces. Use a long first plank, then the second board should be cut into smaller pieces. You do not want a straight line going down your whole wall. See my handy dandy diagram to see what I am talking about because I am not sure of the best way to tell you how to make this planked wall look like the real deal!
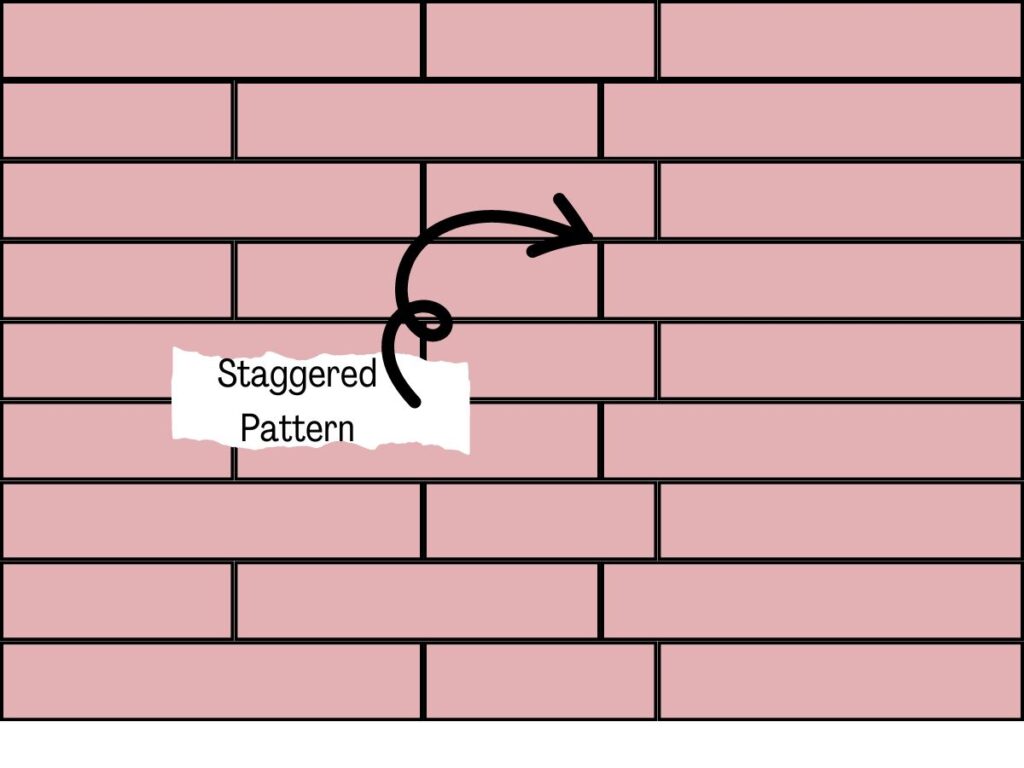
I chose to measure my bank of cabinets and lay out the sizes of planks that I needed and cut all at once. If I needed to trim those pieces because math is not in my wheelhouse I made additional cuts as I went. If you have small walls this method might work for you too but feel free to cut as you go on a larger wall.
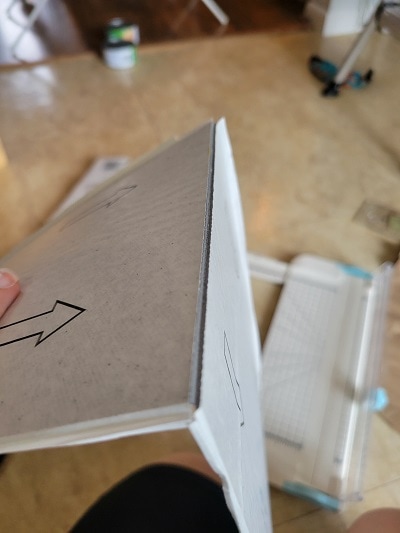
After measuring and marking on the back of the vinyl flooring where it needs to be cut, place your flooring piece in your paper trimmer to score it. Another way to score your flooring piece is to use a square tool and an X-acto knife.
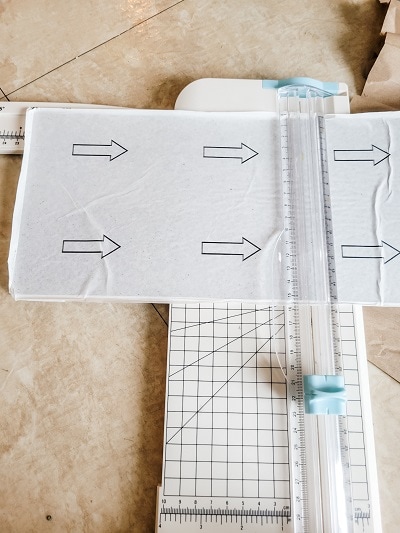
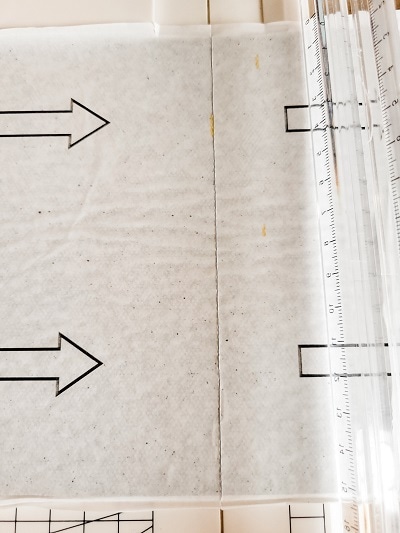
Fold at your cut line to gently snap the flooring piece. If it doesn’t break easily, use your X-acto knife on the front side to cut through the piece.
Sparrow Tip: It’s About To Get Messy!
Although the peel & stick flooring is sticky (stickier than I ever imagined) I also applied flooring glue to the back of the pieces. All of this glue is no joke.
- Keep pets and children away. It’s hard to remove floor glue from fur, trust me, I know.
- Keep your hair tied back – see above reason.
- Keep a wet cloth handy for wiping up glue immediately!
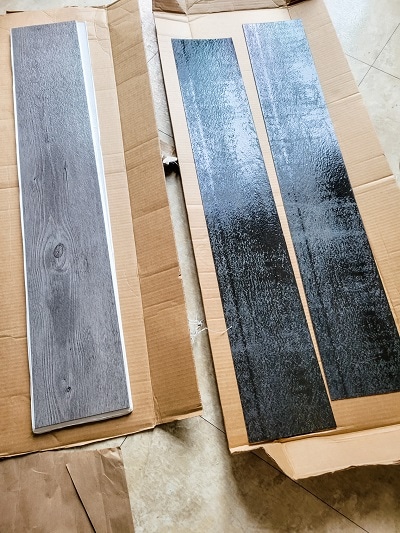
- And use the box it came in to lay your pieces on and apply the glue.
Fourth Step Of Your Faux DIY Shiplap Wall
Using one of your plastic putty knives hold down the flooring piece and peel away the paper.
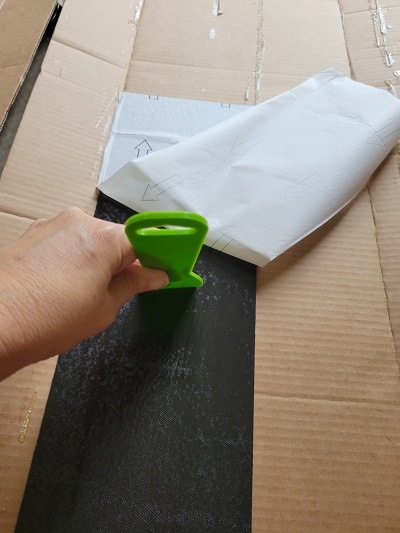
Don’t touch the back of the piece – remember the scene from Christmas Vacation when Chevy Chase is sticking to all the magazine pages and then her hair – yeah that will be you.
Smear (now that’s a technical term) a thin layer of the flooring glue (you can also use liquid nails) on the back of your first board. Give it a few minutes to set up and then start your first row of shiplap by placing this piece against the adjoining wall. Place the edges of the boards in the row snuggly together leaving no gap. Before starting the next row it’s a good idea to remember you will be leaving a small gap (about a penny width) in between rows. Using tile spacers can help keep the horizontal lines straight and even.
Your DIY Faux Shiplap Walls Are Installed, Now What?
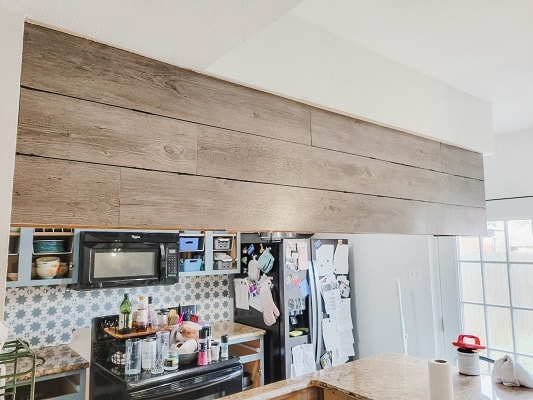
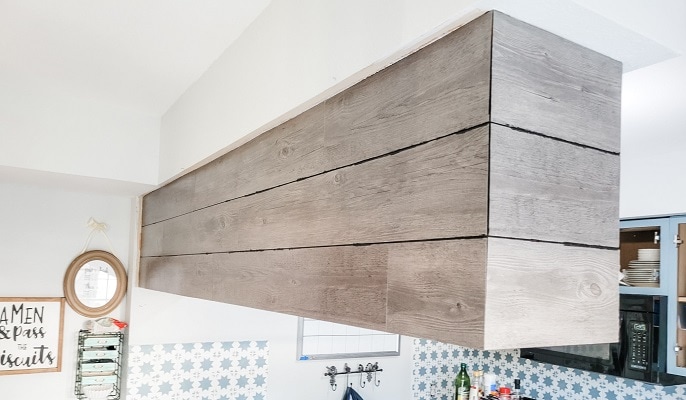
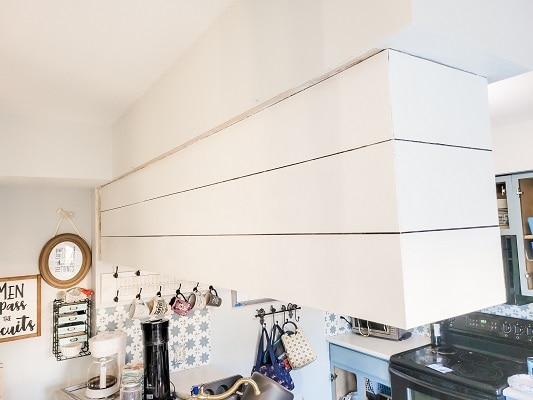
I let the faux shiplap dry and become one with my bank of cabinets before I painted it white and touched up the black with an artist paintbrush. Really I’m not sure if it needed time to cure but I needed to sit back and admire how much character it added to my kitchen and dining room.
I covered the planks with two coats of paint – Heirloom Traditions in the color Cashmere. This color was also used it on the backsplash which you can see done here. I touched up the black paint between the planks with an artist paintbrush.
Final Thoughts on my DIY Faux Shiplap Walls That Are Easy And Cheap
This shiplap wall is one of my favorite DIY projects to date. The best part was that it really was easy and has a big impact. Visitors can’t tell this isn’t the real thing and that says a lot! Because I had the paper trimmer, X-Acto knife, paint and brushes on hand this project’s total cost was right around $35.00!
I think this DIY faux shiplap would be perfect in a laundry room. Because it is a vinyl product it will clean up easily.
Before You Fly Away To DIY Your Own Faux Shiplap Walls That Are Easy And Cheap
Pin any of the images to Pinterest so you can install your own faux shiplap wall – hover over any picture to save the pin to your Pinterest account. So easy!
More
Kitchen Projects

[mailerlite_form form_id=4]
