Make An Adorable No Sew Halloween Gnome
I have a better use for a mop and bucket than cleaning something! In this easy craft you can make an adorable no sew Halloween gnome. This gnome DIY uses supplies from the Dollar Tree and can be done in less time than it takes to watch the Hallmark characters fall in love in a cheesy Hallmark movie! Do you have your movie picked out? Let’s get to creating your own gnome – here is what you’ll need for these Halloween gnomes that you don’t need a sewing machine for!
The Minimal Supplies You’ll Need For Adorable No Sew Gnomes
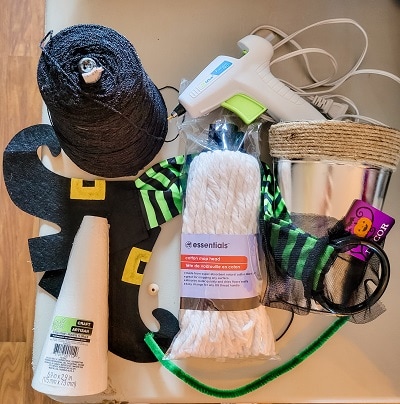
Head to your local dollar store to pick up the supplies for your DIY gnomes.
- Dollar Tree has fabric witch legs in purple and black stripe, orange and black stripe or a green and black stripe. I chose the green color combination because I’m thinking I can pull Nonny the Gnome out at St. Patrick’s Day too. Another idea is to use adult crew socks in different sock prints. (this will be your gnome’s hat and legs)
- Cotton balls, pillow stuffing (for a thrifty way to get poly fil use old throw pillows)
- Mop Head – also from Dollar Tree (this will be your gnome beard)
- Metal Bucket with Rope, 5.5 in.- Dollar Tree (this will be your gnome body)
- Floral Styrofoam Cones, 3×7 in – Dollar Tree (this will be your gnome’s head)
- Green pipe cleaner and a wooden bead or a green pom pom
- Black yarn, string or twine
- Black rubber band or hair ties
- Hot glue gun, hot glue and scissors
Do you love all the little gnomes? Get this Christmas gnomes set now!
Make An Adorable No Sew Halloween Gnome As Easy As 1-2-3
1. An Adorable Gnome’s Body
Using the a little hot glue adhere your floral cone to the bottom of the bucket.
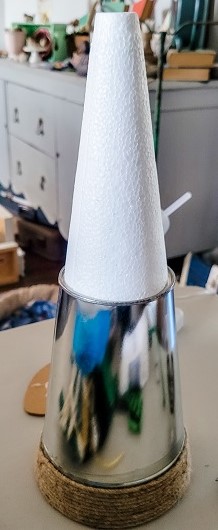
2. Make The Gnome’s White Beard
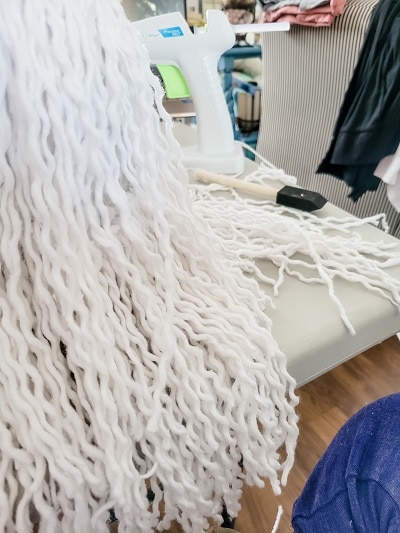
Remove all the strings from the mop head cutting as close to the black part or head of the mop. These will be for your gnome beard.
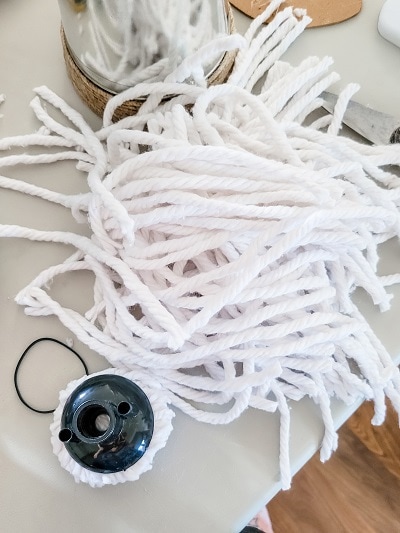
Use a bit of hot glue to glue the mop strings to your bucket about a third of the way up the bucket. These will be the bottom of the beard. Use a skewer or the wooden end of a foam brush to push the mop strands into the glue so they stick well. And you don’t want to burn yourself. That would be totally distracting from the fact that the Hallmark characters are in wine country and whether she going to fall for the small town man in the flannel shirt or go back to the big city guy she left.
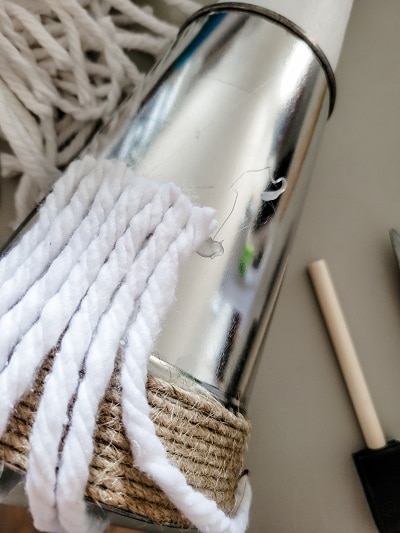
Using a line of glue, attach another row of mop strings to the bucket at the bottom of the bucket (which is now the top) directly under the lip and at the bottom of the cone, overlapping the bottom row.
After all the strings are attached start unraveling each string gently. Inevitably some strands will fall out. Use your trusty glue gun and a bead of hot glue to fill in any holes that you see after unraveling. You are so close to an adorable Halloween gnome and knowing who she picks in the Hallmark movie!
2. An Adorable Gnome Hat
Cut your witch legs in half. Well that sounds horrible, doesn’t it? Set the half of the legs with the feet aside. Cut the remaining “leg” from the ring.
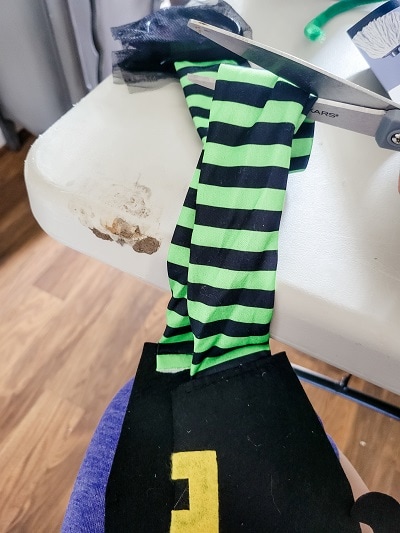
Pull one witch leg down, stretching it out into a wide strip over the cone. This will be the bottom of the hat. Pull the second leg down over that tucking in the raw edge and letting the top hang off to make a pointy hat. If you would prefer it to stand up, use stuffing to fill it. I used green trim I had in my craft closet to cover the gap. You could also do another row of gnome beard!
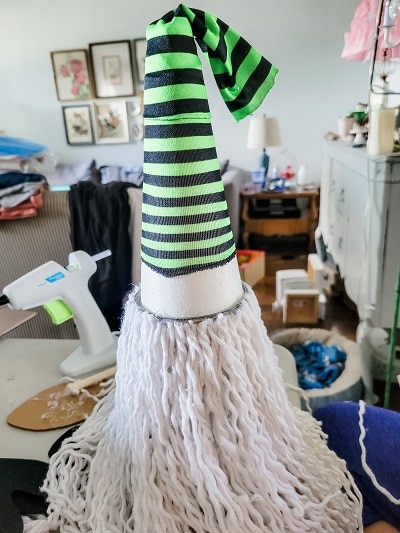
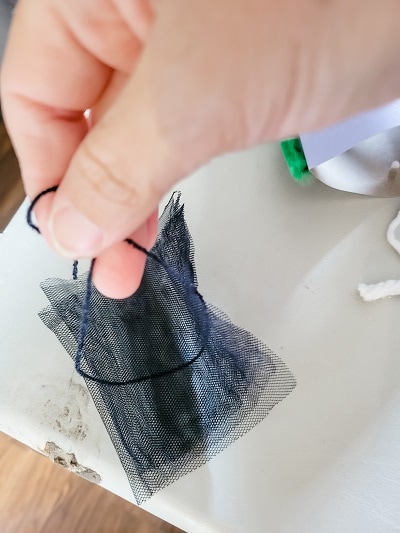
Using the piece of tulle that was at the top of the witch legs (because nothing goes to waste!) make a bow for your adorable gnome hat.
- Using a piece of string tie a knot around the center of the tulle.
- Snip twice on each side.
- Fluff.
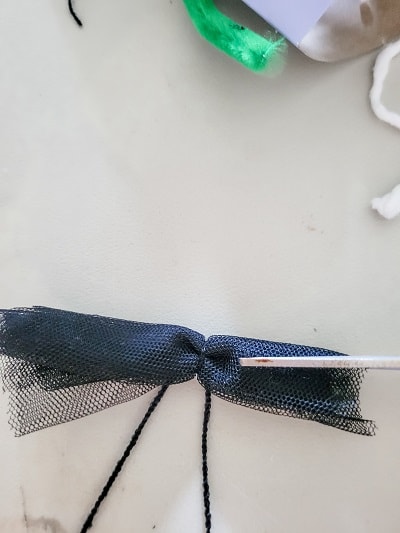
Use the rubber band (or hair tie) at the end of the hat to gather the material and tie your tulle bow on.
3. An Adorable Pair of Gnome Legs
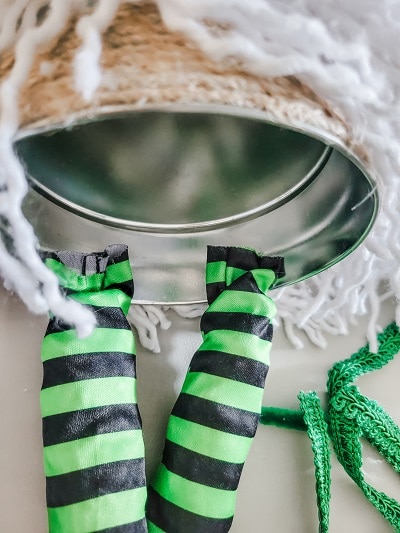
Hold up your legs to the inside of your bucket and determine whether you need a beard trim. I chose to cut about an inch off so you would be able to see the legs better. I held my gnome in the air and cut as evenly as possible just around the bottom of the gnome.
Stuff each leg that’s attached to a foot with leftover mop pieces. If you do not have any pieces left over, use cotton batting, cotton balls, polyfil or tissue paper. Use a line of hot glue to close these. Has the Hallmark character decided to stay in the wine country and pursue her life long dream of being a winery owner yet?
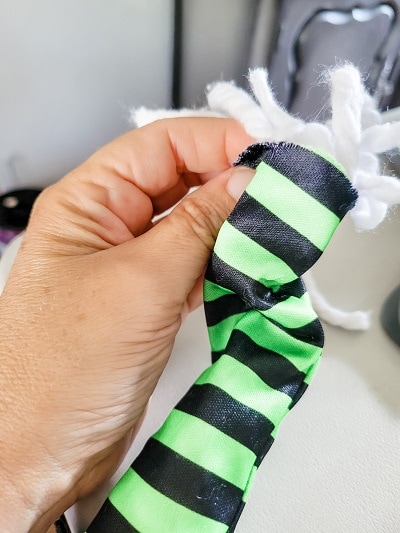
Hot glue these to the inside of your bucket paying attention to which side you want the front to be.
4. An Adorable Gnome Nose
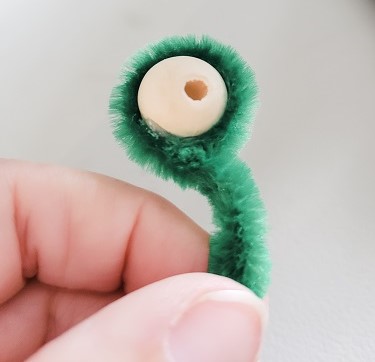
Use a pom pom or wrap a wooden bead in a pipe cleaner to create a nose. Use a dab of hot glue right below the hat edge to attach it to the body of the gnome.
Another idea is to use a half bead and paint it green for the gnome’s nose.
A Gnome For Every Holiday Season, A Great Project That’s So Easy!
You can make these little guys for your holiday decor craft projects. For Easter gnomes you can add cute bunny ears. For Christmas make a couple of extra gnomes because there are different ways to add holiday flair – add small Santa boots, at the top of your hat add a Christmas greenery pick or bow.
From our Shop
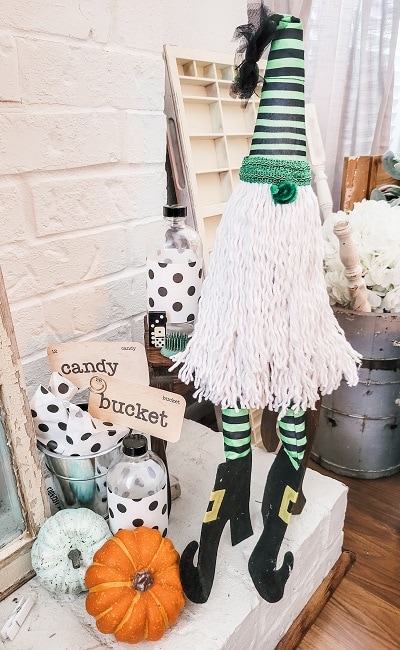
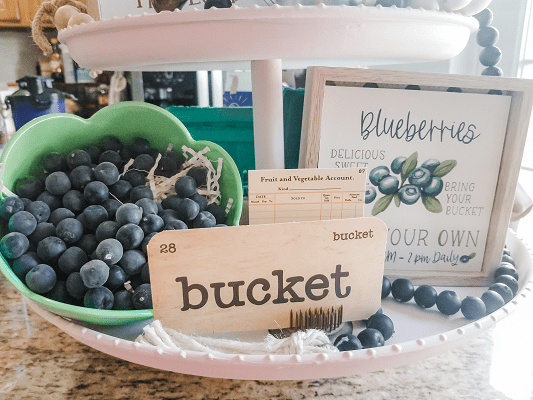
Twigs & Fluff is full of vintage flashcards, digital prints and more to help you feather your nest. Use the candy flashcard from the Hocus Pocus set and the bucket flashcard from the Summer at the Shore set to create candy bucket for your Halloween vignettes.
Make An Adorable No Sew Gnome In Less Time Than a Hallmark Movie!
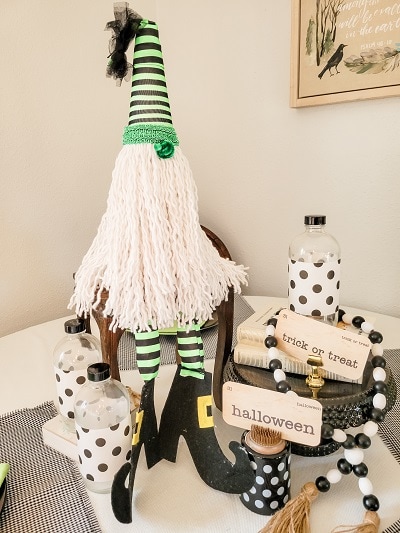
What’s black, white and cute all over? This Halloween table! Create it for yourself!
- Hocus Pocus Vintage Style Flashcards are in my shop Twigs & Fluff!
- Thrifted bottles are wrapped with polka dot tissue paper.
- See my favorite cake stands in Feather Your Nest!
- A dollar store votive, thrifted books, a stool and a wood bead garland complete the look!
- Make setting a beautiful table easy with my 1-2-3 Formulas, get your copy here.

Get the guide when you join our nestletter!
See this adorable gnome sitting on a Halloween Mantel here!
Before You Fly Away To Make Your Own Adorable No Sew Halloween Gnome
Pin this post to Pinterest to help you remember all of the steps to make your own adorable gnome – hover over any picture or the image below to save it to your account. So easy!

Some links in the post might be affiliate links, meaning I make a commission at no cost to you if you click thru the link.
The Fifth Sparrow No More is a participant in the Amazon Services LLC Associates Program, an affiliate advertising program designed to provide a means for sites to earn advertising fees by advertising and linking to Amazon.com. Clicking on a link is no charge to you and helps The Fifth Sparrow No More to keep writing posts to help you find the beautiful in your home and yourself!

[mailerlite_form form_id=4]


How original! Adorable indeed!
Thank you Rachel! I appreciate you stopping and I hope this helps you make an adorable gnome of your very own!
Great tutorial! He’s adorable!
Thank you Christin for stopping by and loving on my gnome tutorial! I hope this helps you make one of your own 🙂
Ha ha! What a fun craft. A day of crafting & Hallmark movie sounds pretty perfect.
Oh my goodness Marie, it’s my favorite! I either have worship music on so loud the neighbors can praise Him too or a Hallmark movie while I am crafting, painting, etc!
I love this cute little gnome! What a great idea, Kristin!
Thank you Becky!!
So fun! What a clever idea for a Halloween gnome.
Happy Fall,
Kippi
Thank you so much Kippi!