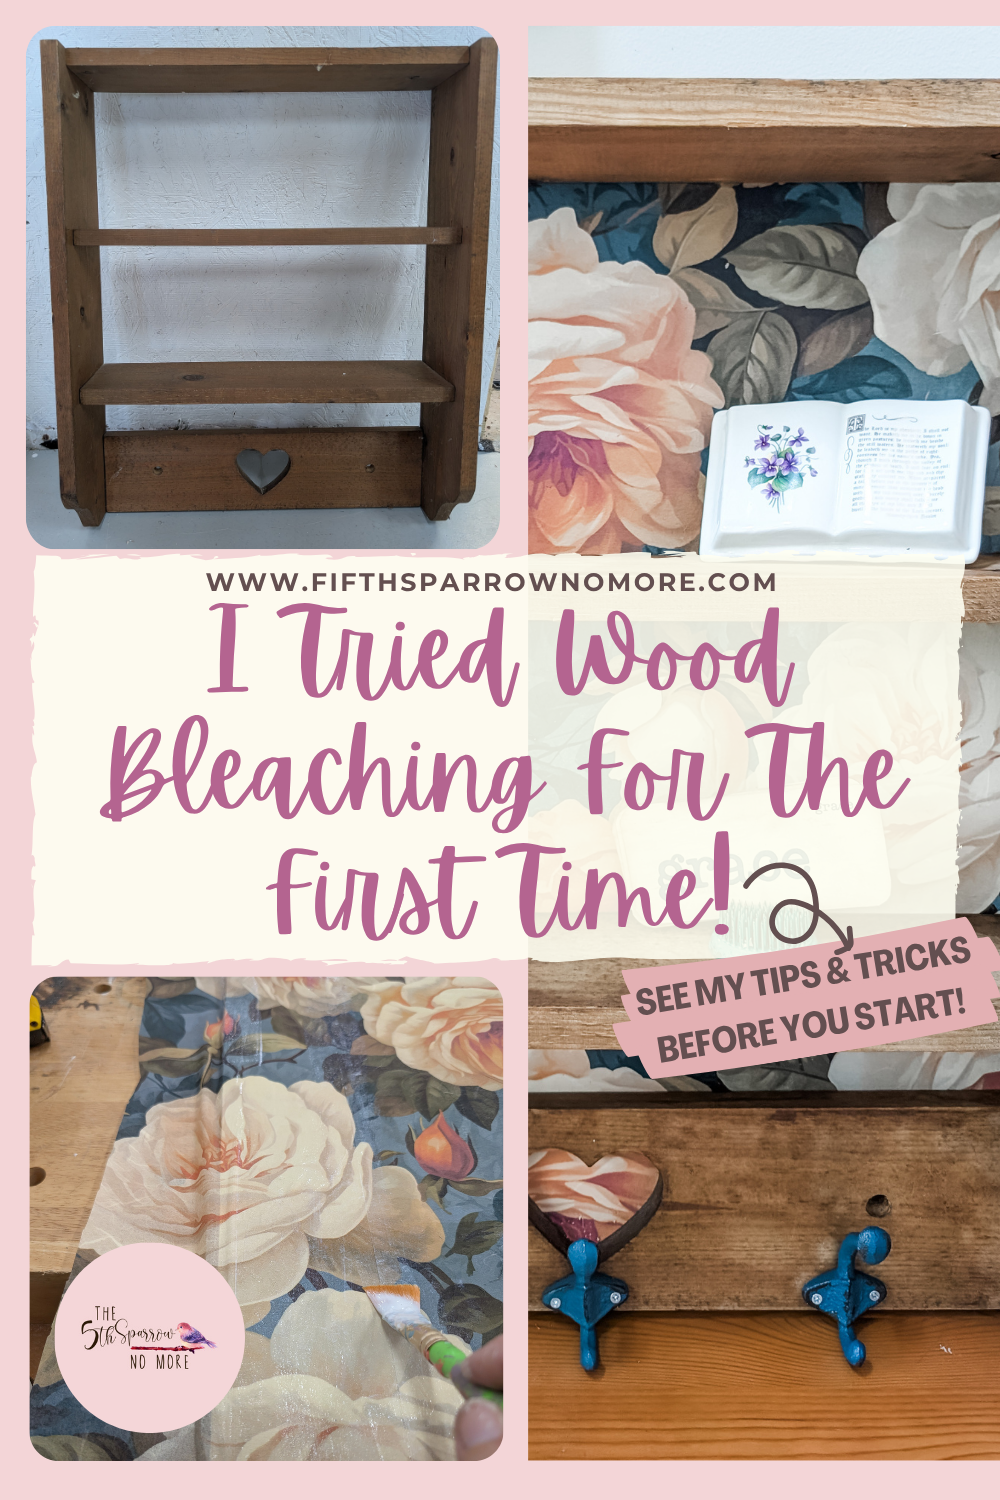
Trying A New Wood Bleaching Kit For The First Time
I am trying a new wood bleaching kit for the first time in this post. This bleaching system is a two part process from Dixie Belle. This process is a great way to lighten or even remove the natural color of the wood you are working with.
Three different types of bleach and different methods:
- Household bleach: Pull some of this out of your laundry room to give wood a lighter color. Household chlorine bleach is inexpensive and readily available. This bleaching process will not change the natural color of the wood, however it will remove dyes and stains.
- Oxalic Acid: This is a cleaning agent used to remove iron stains and rust stains. It may lighten some types of wood, but it won’t remove the color. It is also toxic and must be used with extreme caution. This can be bought at hardware stores.
- Two-part bleach: The Dixie Belle kit is a two part bleach system, also known as an A/B bleaching process. Most two part solutions are made with sodium hydroxide and hydrogen peroxide or parts A & B. When combined on furniture pieces, they cause a chemical reaction that alters wood’s natural color. This is the only true way to bleach wood.
Transforming A Shelf With This New Wood Bleaching Kit
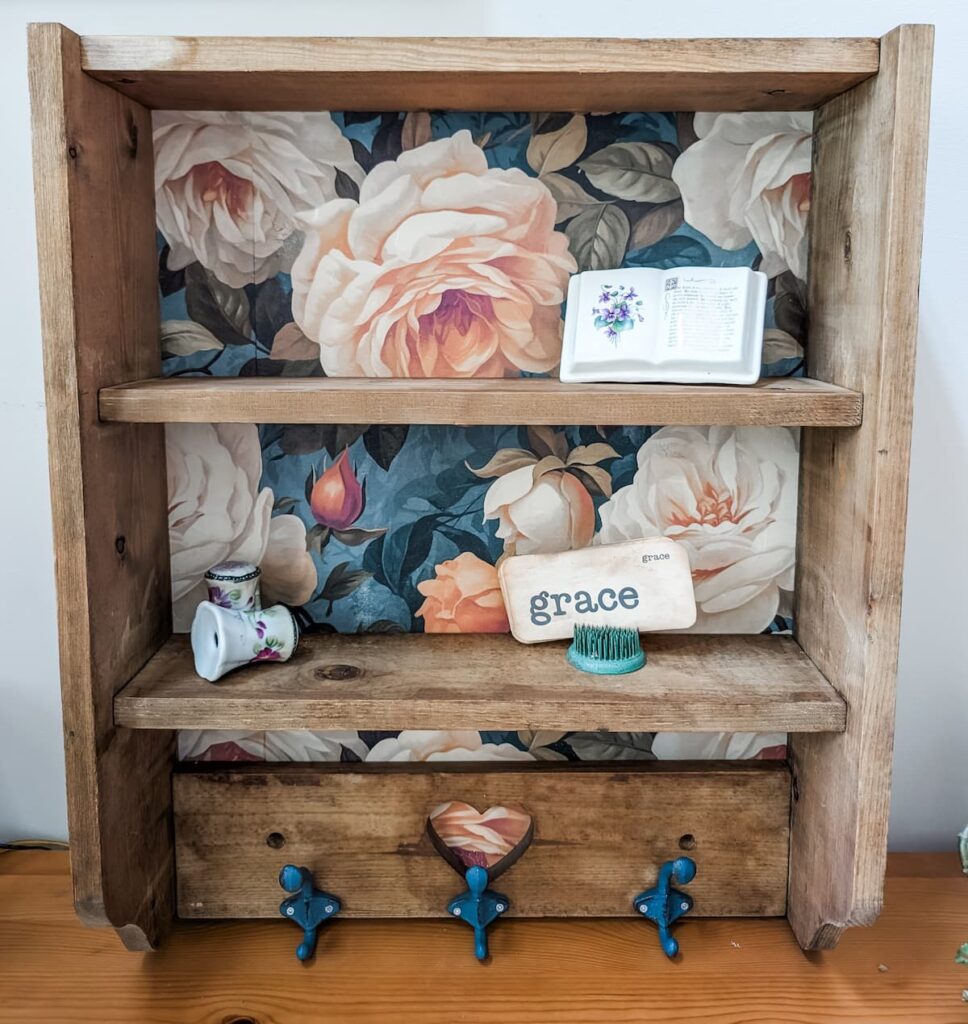
I love furniture makeovers. “Fifth Sparrow-ing No More” a piece of furniture gives it another life, helps others find its worth again. This dark stain wood heart shelf was found at a garage sale for not much money and I knew it would be a beautiful piece in a lighter color. Heart shelves, geese and other 1980s pieces have been popular in the booths in recent years so I was excited to find it and give it a new life.
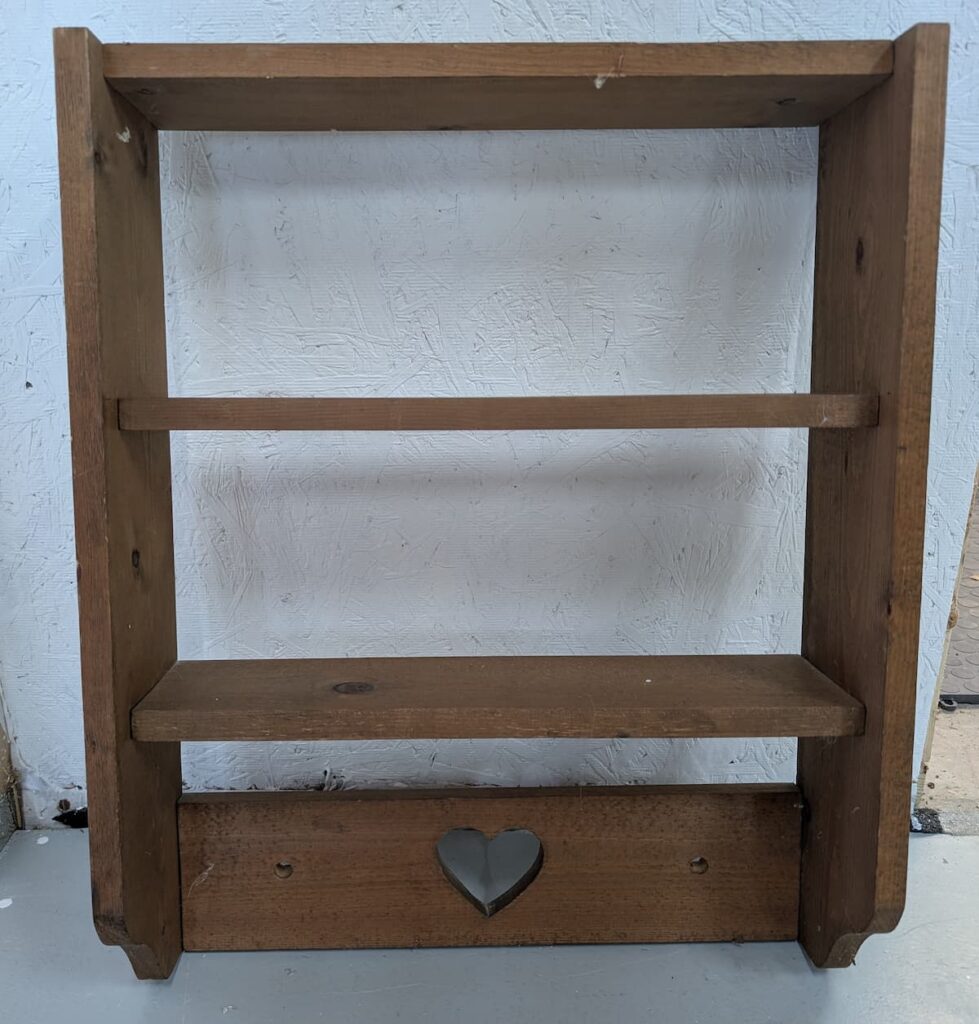
When using the Dixie Belle 2 step kit the wood surface must be raw wood and stripped of paint, old finish, wax, or polish. If your wood furniture has old hardware remove it because the coat of bleach will destroy it!
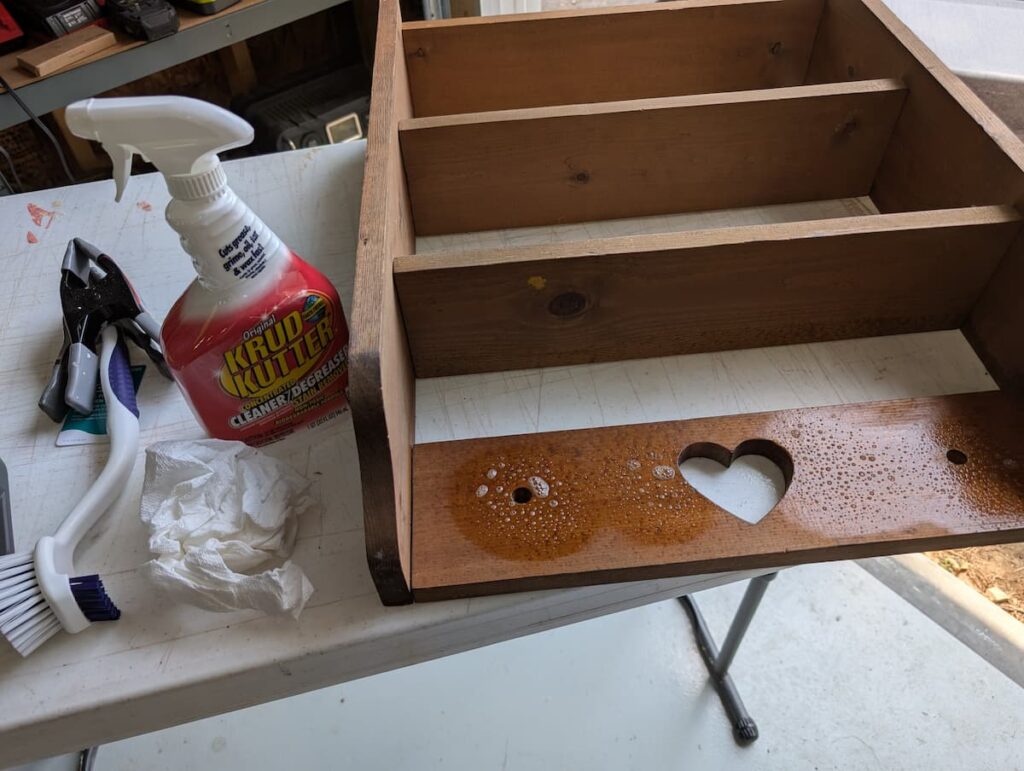
Cleaning The Shelf To Prepare It For The New Wood Bleaching Kit
My first step was to clean the shelf with krud kutter and a scrub brush. This actually removed most of the dark stain (was this actually more dirt and dust than stain?!) than I thought it would. But I had to do a light sanding to get it to bare wood. After sanding I used hot water and a clean rag to wipe down the piece to get rid of dust and any residue.
Safety First For This New Wood Bleaching Kit
After this I made sure I had all my safety precautions in order.
- Work in a well-ventilated area. I did not notice that it had a strong smell but chemicals can sneak up on you. I worked by the open garage door with a fan blowing on my work surface.
- Wear gloves and eye protection. For this rubber gloves would be a great thing to wear and in my opinion is non-negotiable. I accidentally touched the bleached surface when applying with my arm and it burned for quite some time after.
- A dust mask would be an additional safety step that you should wear if sensitive to smells.
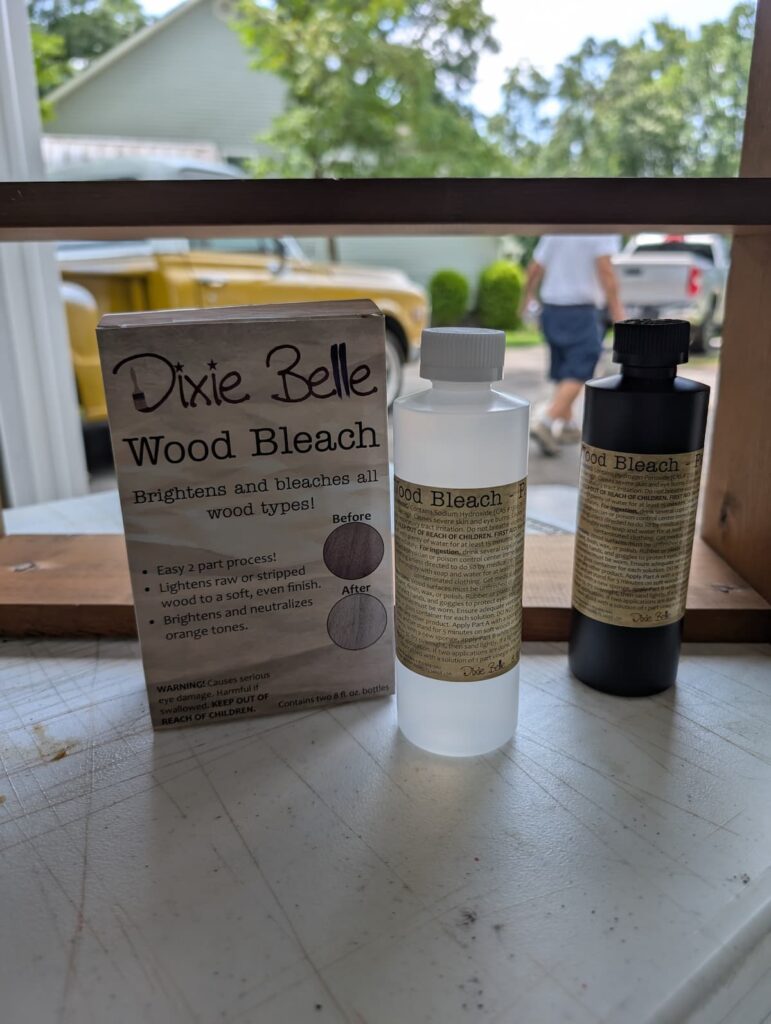
Next Step In Trying This New Wood Bleaching Kit
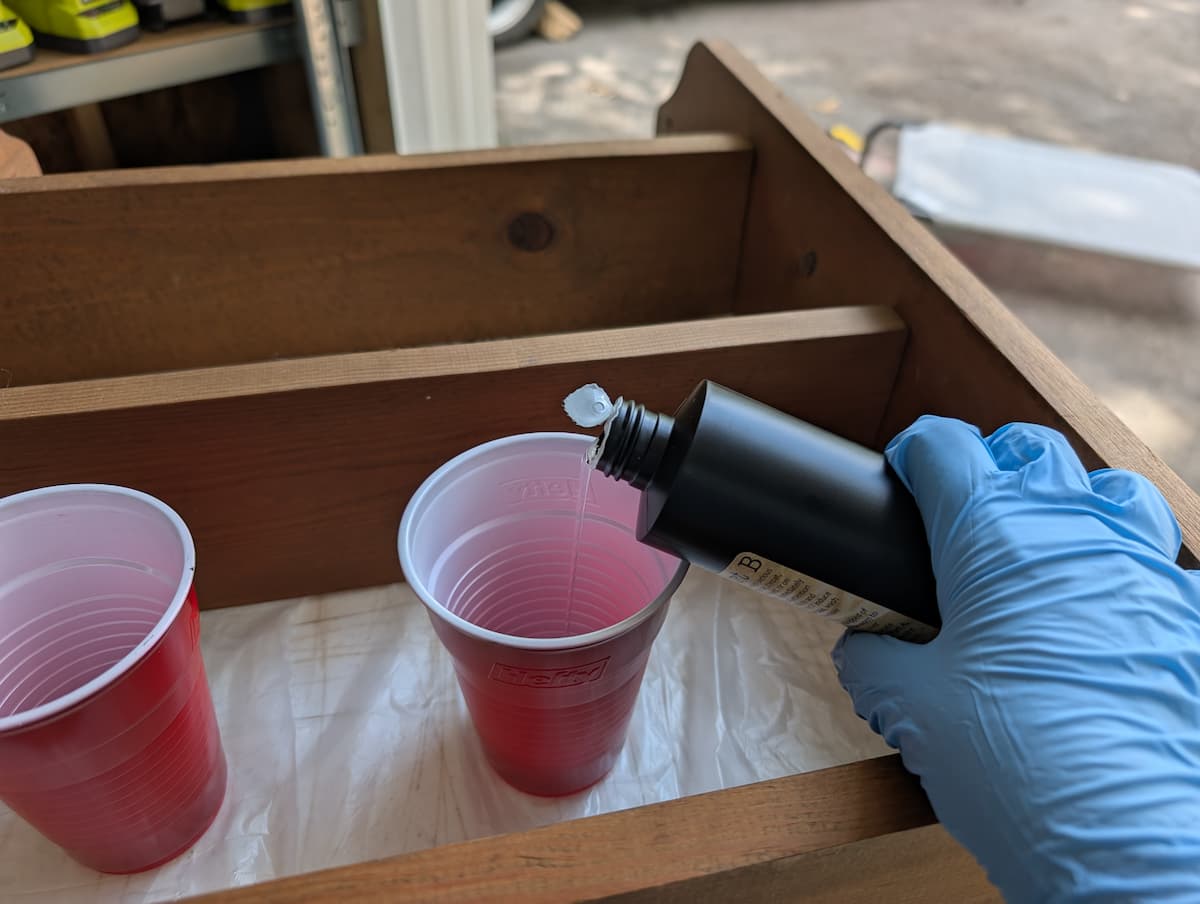
The kit will come in this box with a bottle of part a and a bottle of part b.
Pour each of these into a separate plastic container like a solo cup. Also have a sponge or foam brush for each part to apply it to the product.
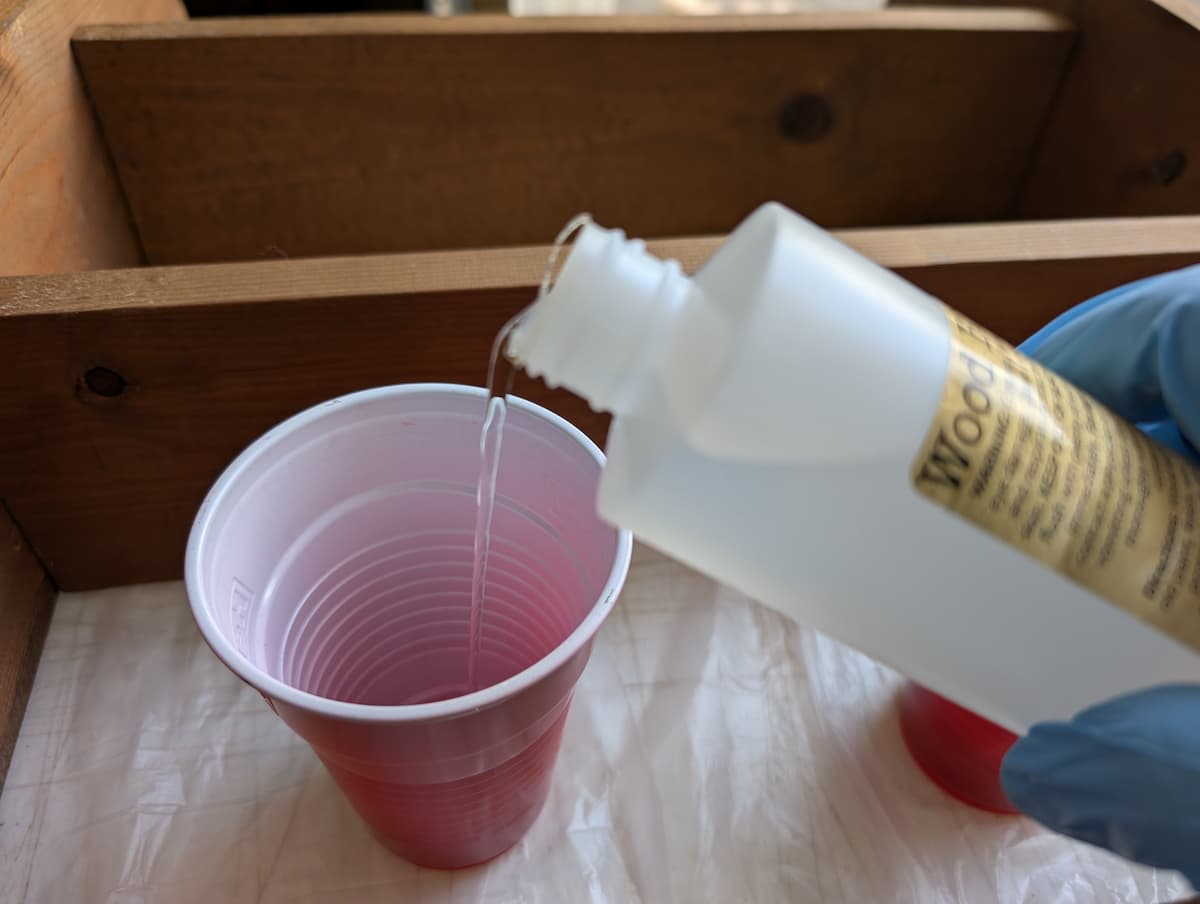
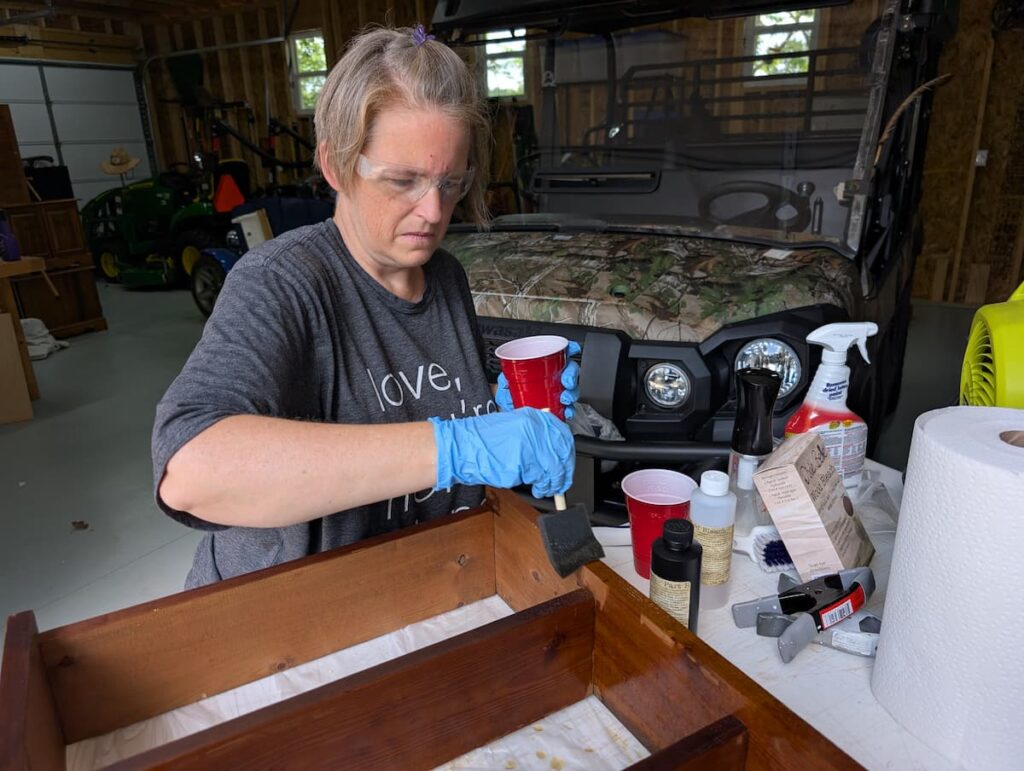
I applied Part A with a foam brush, saturating the area. Allow to soak for 5-10 minutes, 5 minutes on soft woods, or 10 minutes on hard woods.
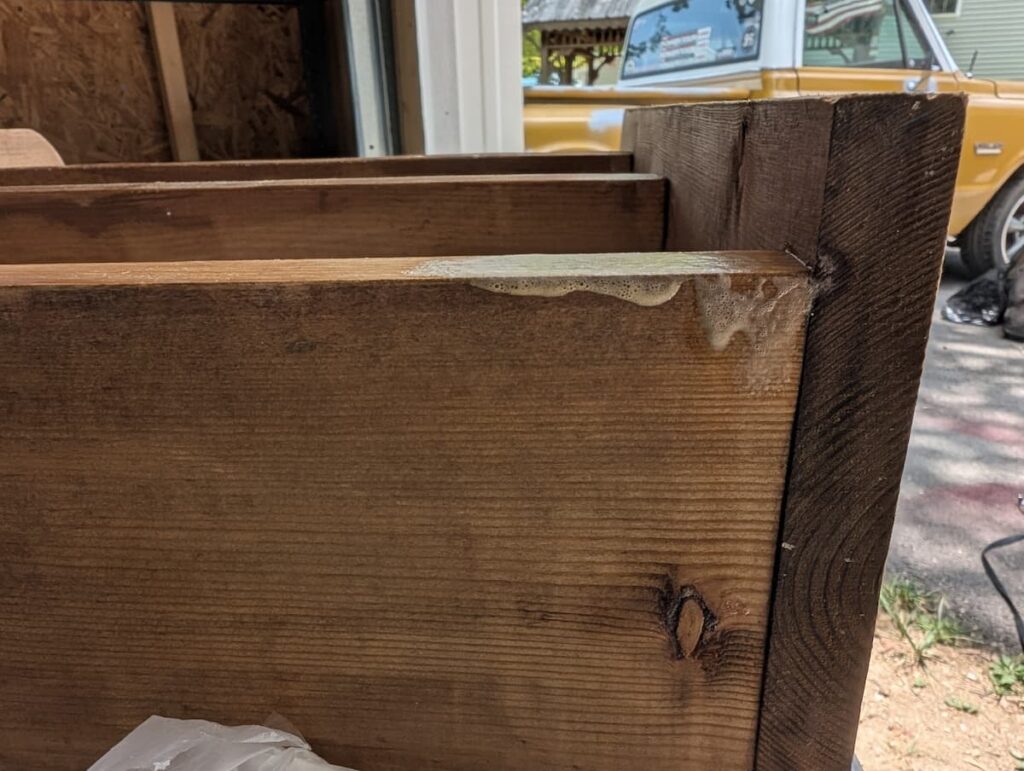
While Part A is still wet, use a new sponge to apply Part B. You can see here how it foams up when part b is added on top of part a.
Then the hard part comes. Let your furniture projects dry overnight.
The next day, sand lightly to remove residue and lighten wood. If a lighter color is desired you want to lighten the color of the wood surface, repeat steps 1 through 4, adding more coats of bleach. After sanding I used a rag and some tap water to wipe away the sanding dust.
What I Learned When Trying A New Wood Bleaching Kit For The First Time
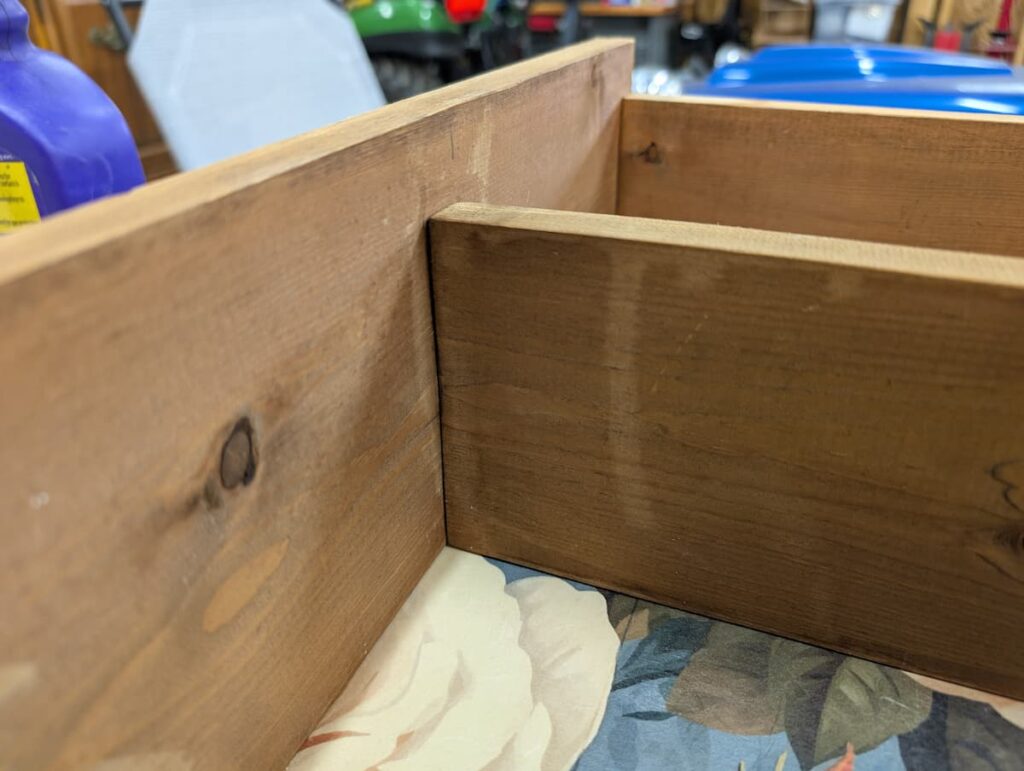
To be honest I was disappointed in the outcome. But I believe it was my fault because I did not really know what I was doing! I followed the directions but I had several drip marks and spots where it pooled on the edges.
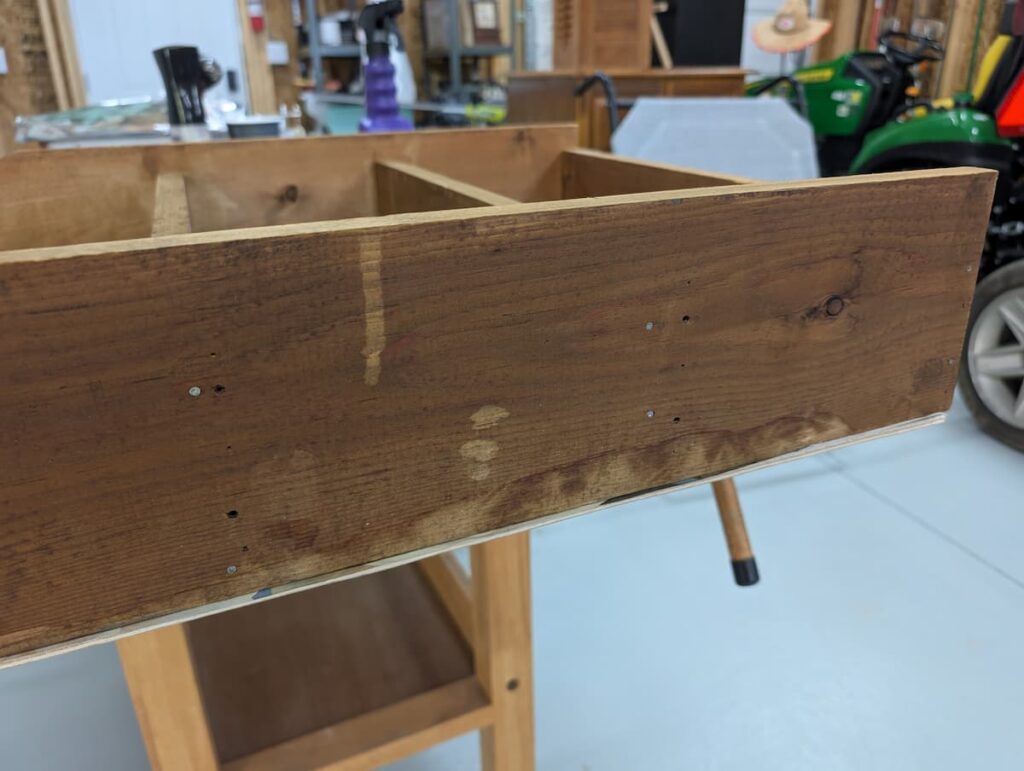
If I used the wood bleach kit again on an old furniture project I would find a way for it not to drip.
Also the wood grain was very pronounced on my shelf and it seemed to bleach unevenly where the grain of the wood was darker.
The only way I could be successful with the bleached wood look is with more practice with this product knowing that it has different effects on types of woods.
Wood Bleaching Tools You’ll Need
These items below are affiliate links, I make a small commission when you purchase. Thank you!
The Last Step On The Shelf I Bleached With The New Wood Bleaching Kit
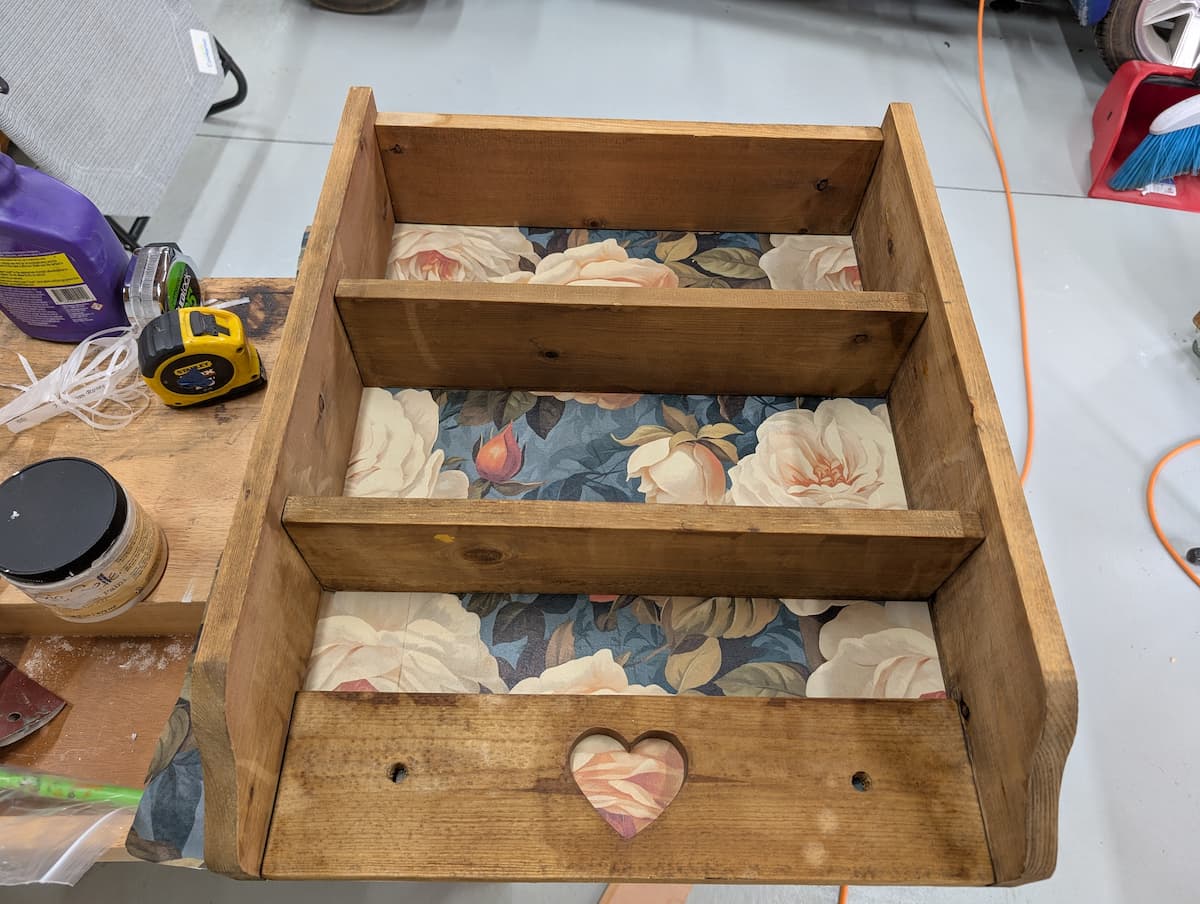
I added a backing and hooks to this little heart shelf to make it prettier and more functional.
Make The Shelf Pretty & Add Function

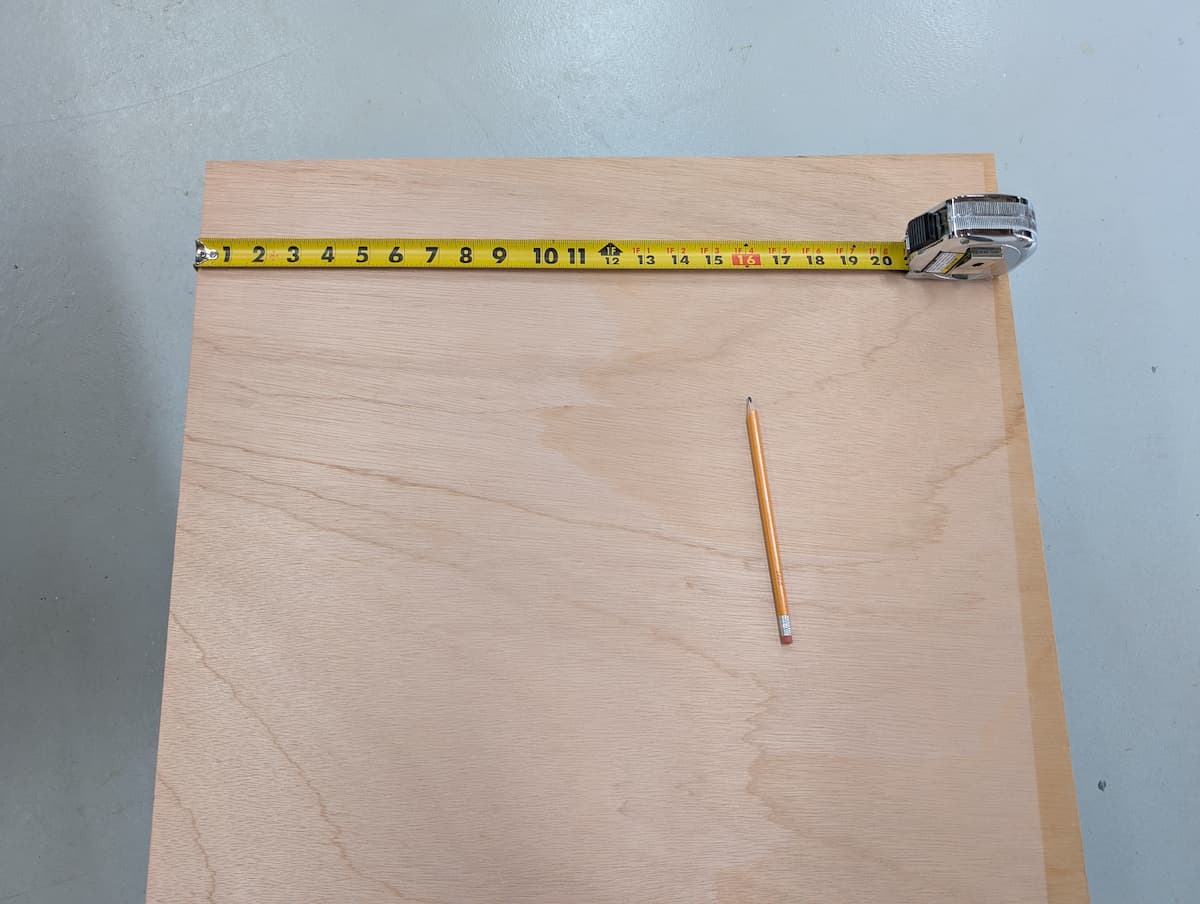

Cut Backing To Size
- Measured the shelf to cut my piece of luan wood to size.
- I used a jigsaw to cut this piece of wood to size.
Paint And Decoupage
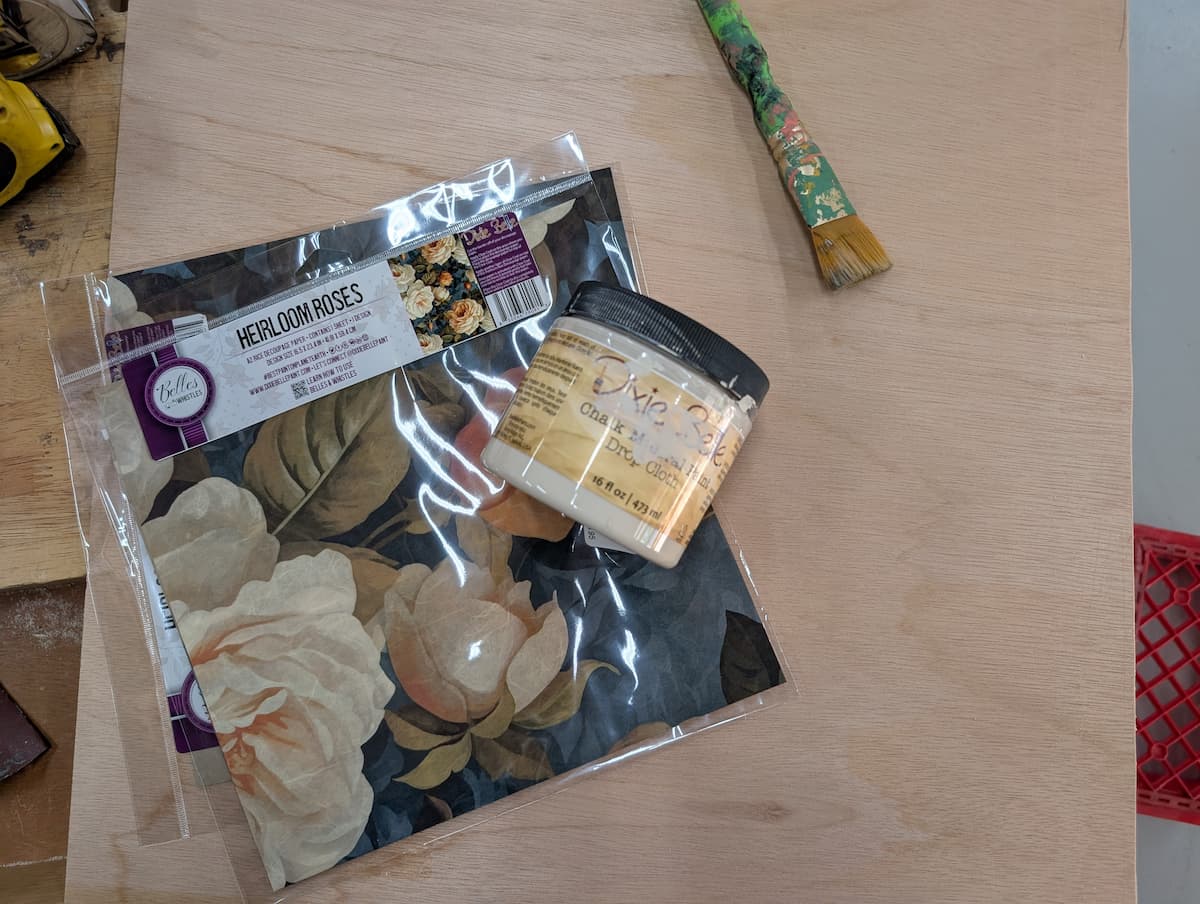
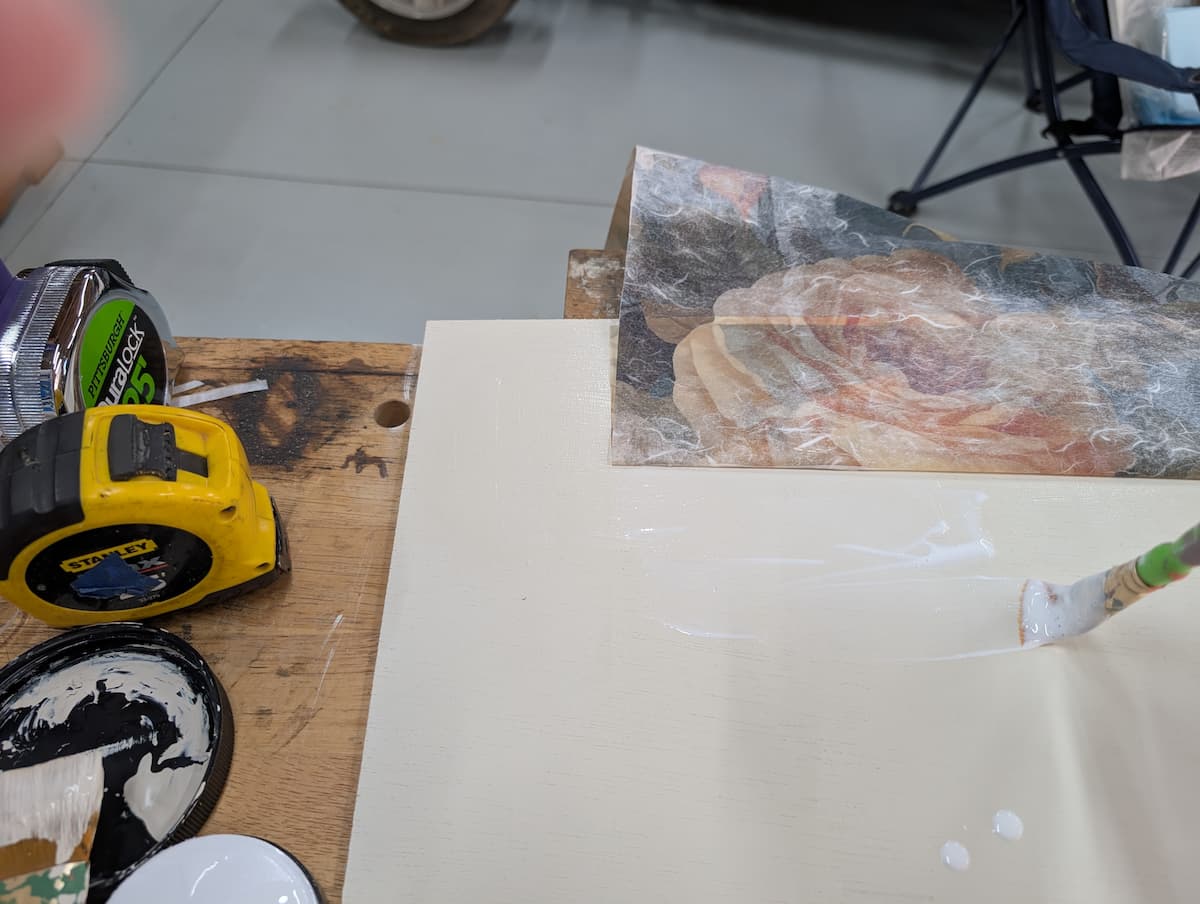
- The natural wood of the luan sheet was covered with a coat of drop cloth chalk paint. I feel like this helps the pattern stand out.
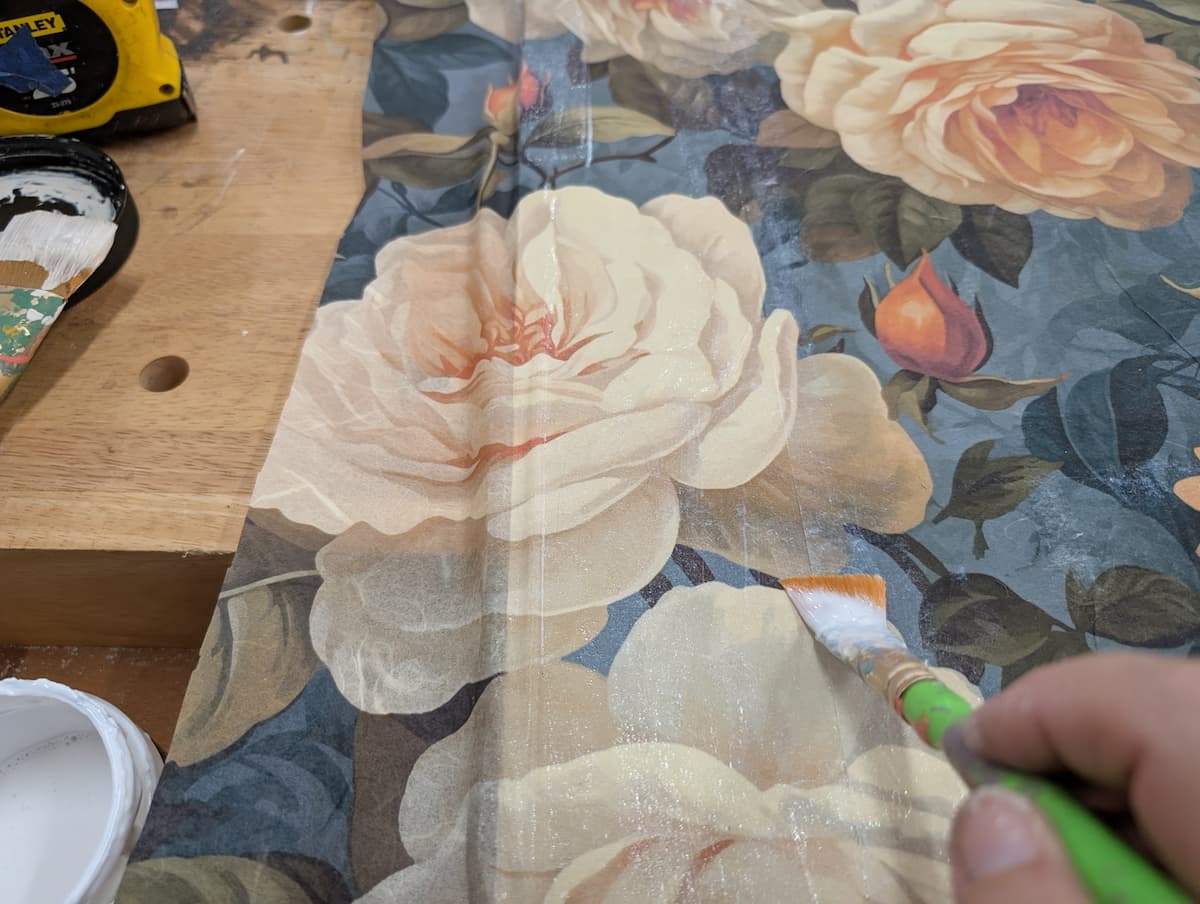
- I used the water-based topcoat Clear Coat to apply Dixie Belle’s Heirloom Roses – Rice Decoupage Paper to my luan board. It was not wide enough for my project but I was able to piece it together easily because the pattern repeats.
- I sanded the edges of the board to remove the excess decoupage paper.

Attach Backing And Hooks
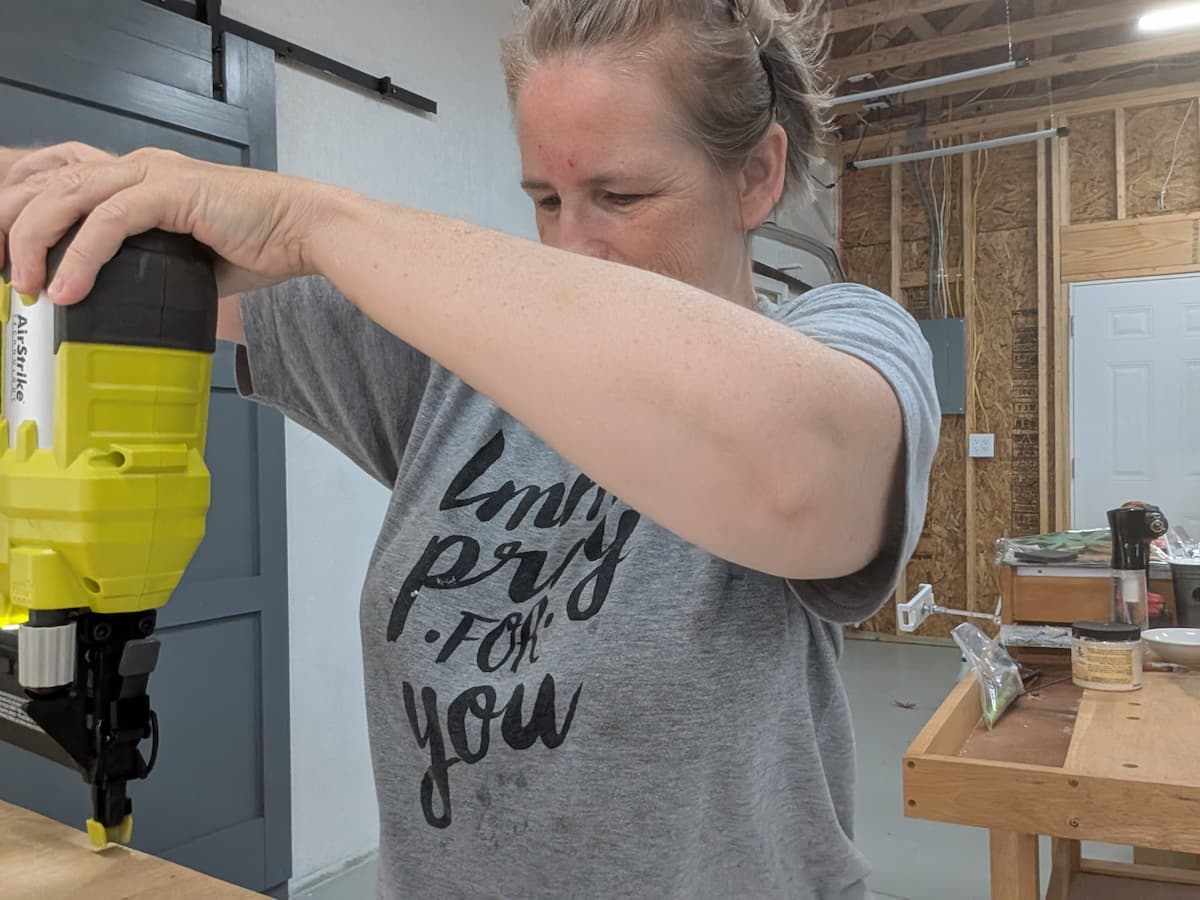
- I used a brad nailer to attach my backing to the heart shelf.
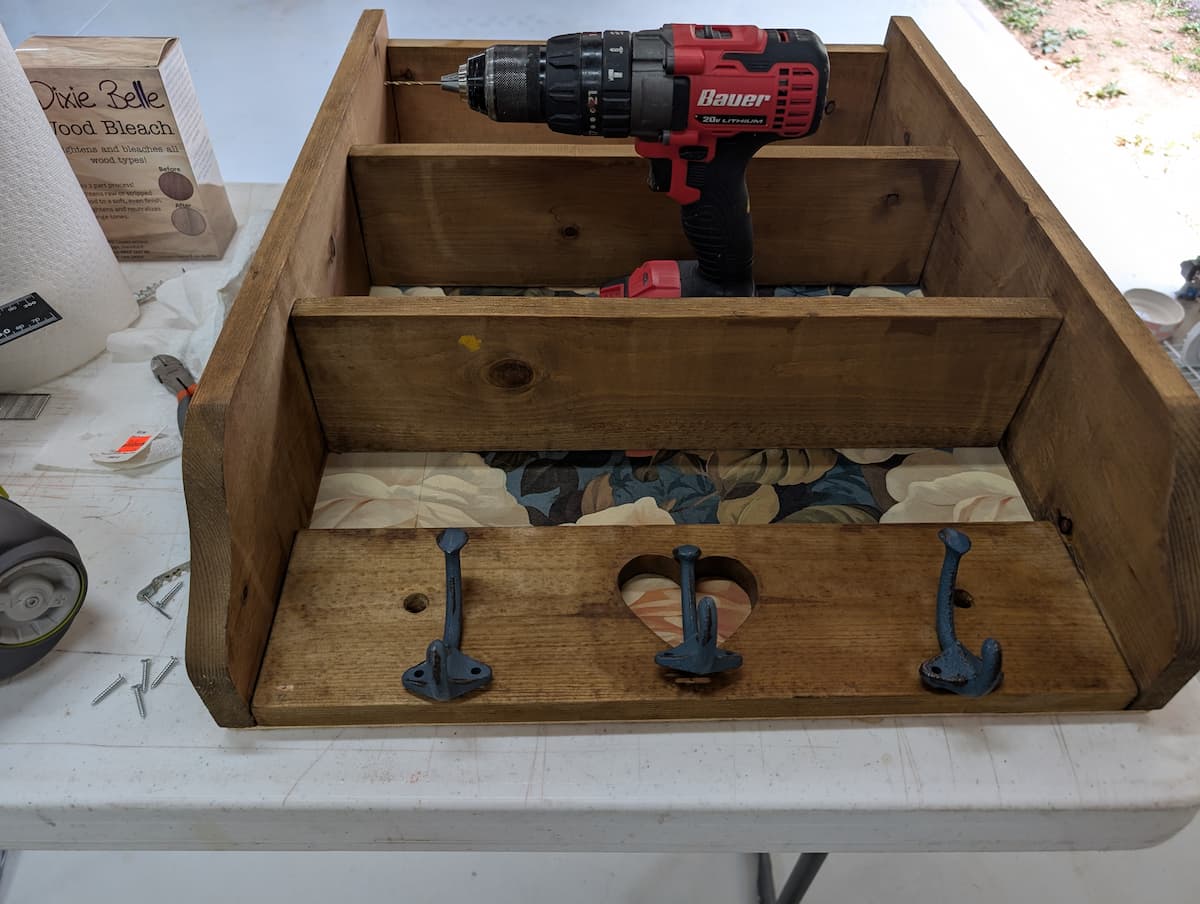
- Hooks were attached to the bottom of the shelf (yeah for adding functionality!).
Final Thoughts On Trying A New Wood Bleaching Kit For The First Time
When starting your two part wood bleach process, know that the kind of wood and how many times you repeat the bleach process makes a difference in the outcome in the color of wood surface on your project.
The type of wood, whether it has red tones or it has a tone of lighter woods, will make a difference in the final outcome. I guess what I am trying to say is that you will not get the same results every time and you have to be flexible with your outcome.
I will be keeping this shelf for myself, with all of its drippy spots and uneven coloring I wouldn’t be able to sell it.
Before You Fly Away To Try A New Wood Bleaching Kit For The First Time
Pin any of the images to Pinterest so you can try wood bleaching on a project of your own – hover over any picture to save the pin to your Pinterest account. So easy!
Visit My YouTube Channel!
Kristin,
Thanks so much for stopping by!! I never heard of a bleaching kit…Interesting…I do like the finished project….Thanks for sharing!!
Hug,
Deb
Debbie-Dabble Blog