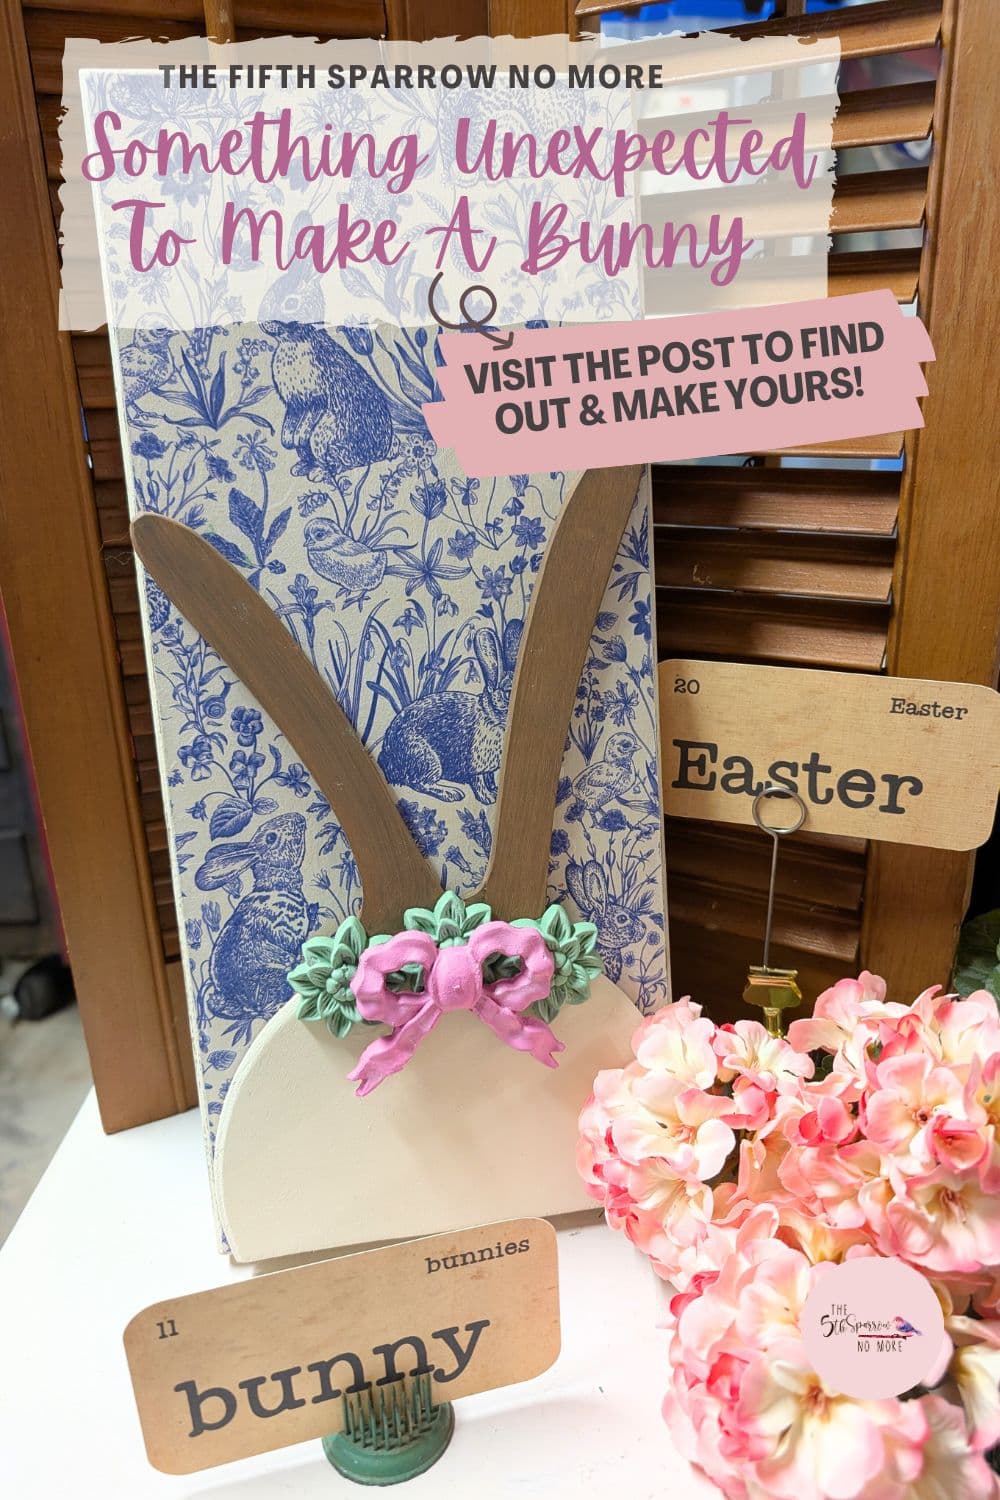
I Made This Bunny Sign With Something Unexpected
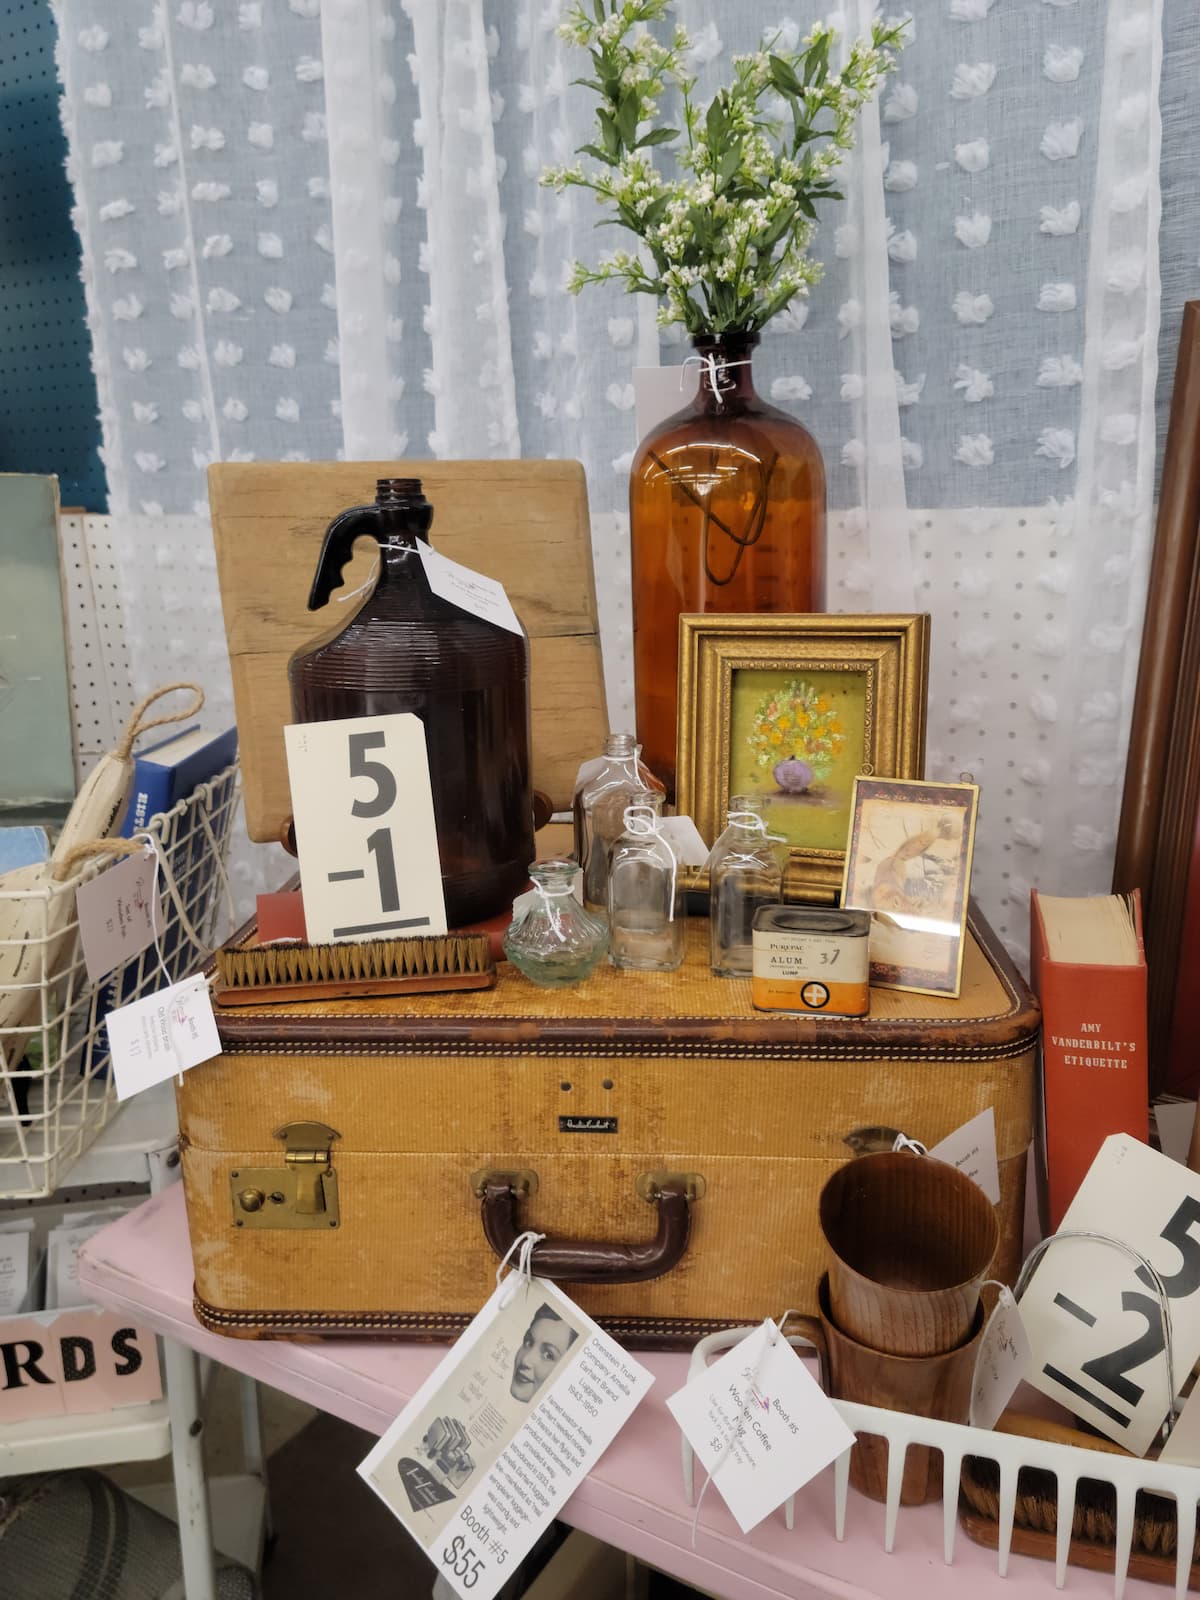
I have had this idea percolating and forming in my head since I bought the suitcase below at a synagogue garage sale. In this suitcase, which I bought for three whole dollars, was an elaborate clothes hanging system. Very clever for those who dressed to the nines while traveling many years ago but not practical for storage or decoration today. I took part of that elaborate hanging system and I made this bunny sign with something unexpected from that system.
The Something Unexpected And A Thrifted Sign
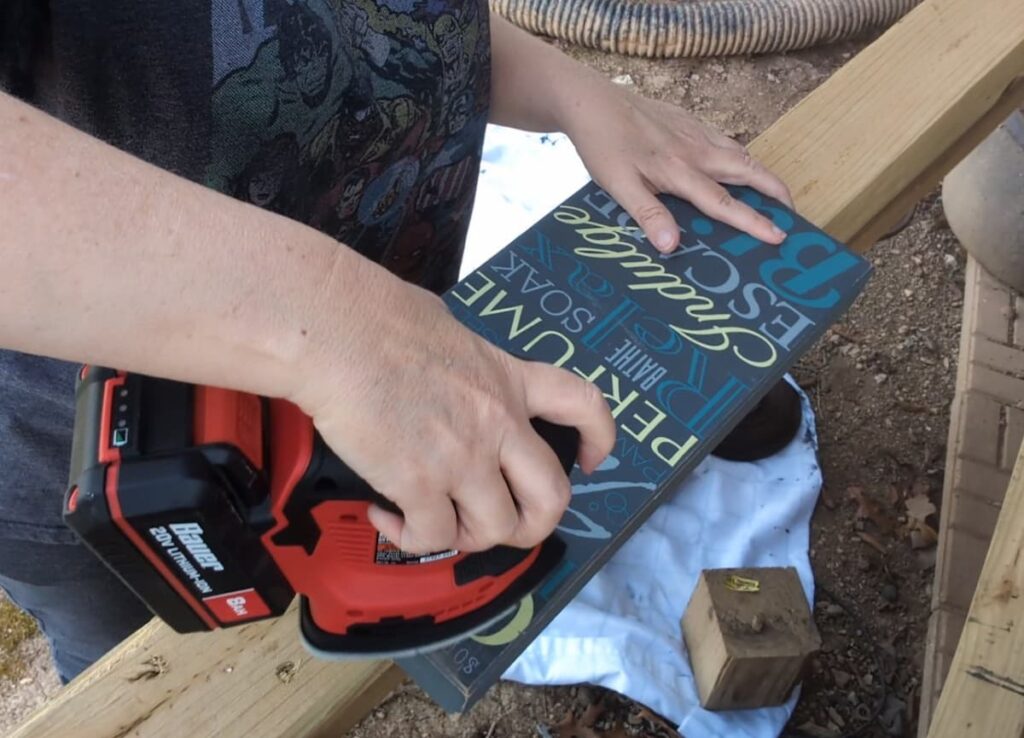
Does your thrift store have a row, a shelf or an area completely devoted to signs with words on them? If they do grab a few and flip them! I chose this thick wooden sign from my stash and sanded the words off. The words were raised to the touch so I knew they needed to come off.
I then sprayed a coat of shellac on the sign to help the paint adhere evenly.
Then the unexpected – a coat hanger! On the sign I used a wood circle, a wood coat hanger and a few Wood U Bend pieces to create an adorable bunny on this sign.
I Used These Supplies For The Bunny Sign
The below are affiliate links. I make a small commission when you purchase. Thank you!
Next Steps To Make This Bunny Sign
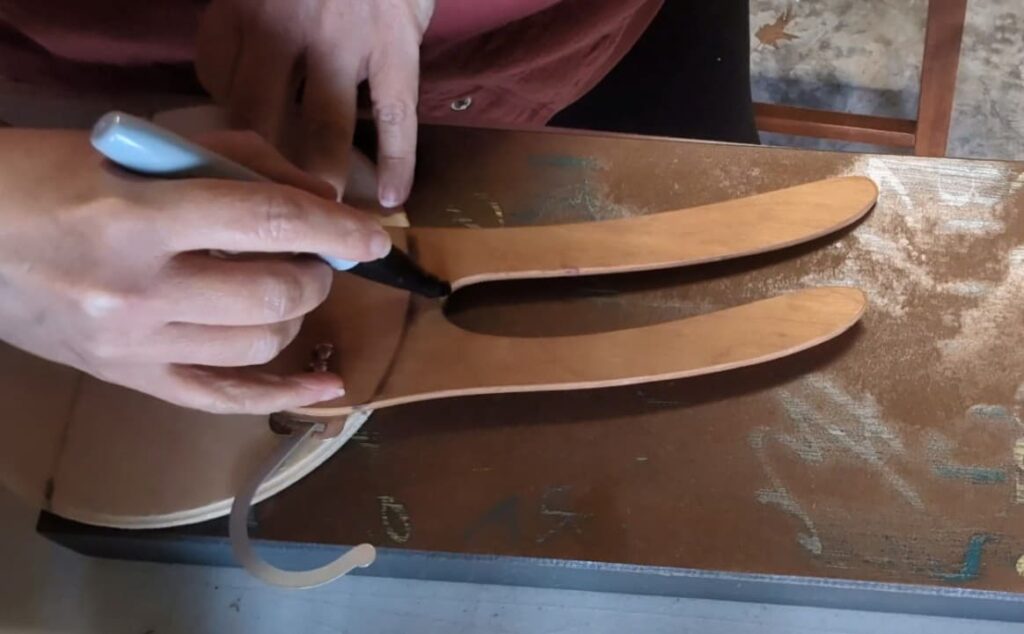
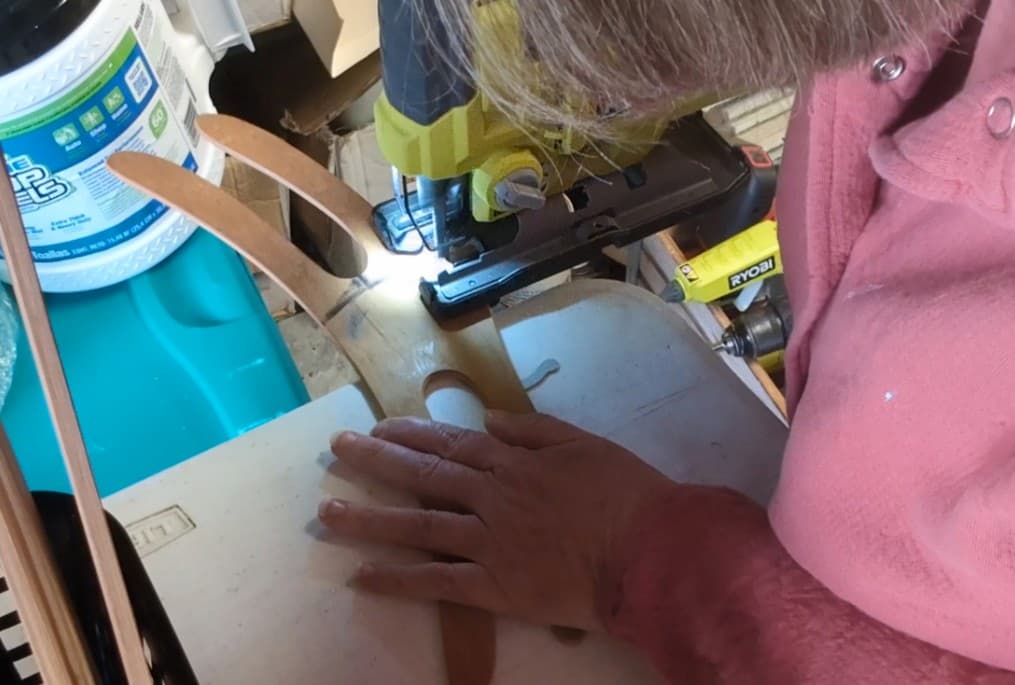
First Step – Cutting Circle And Coat hanger
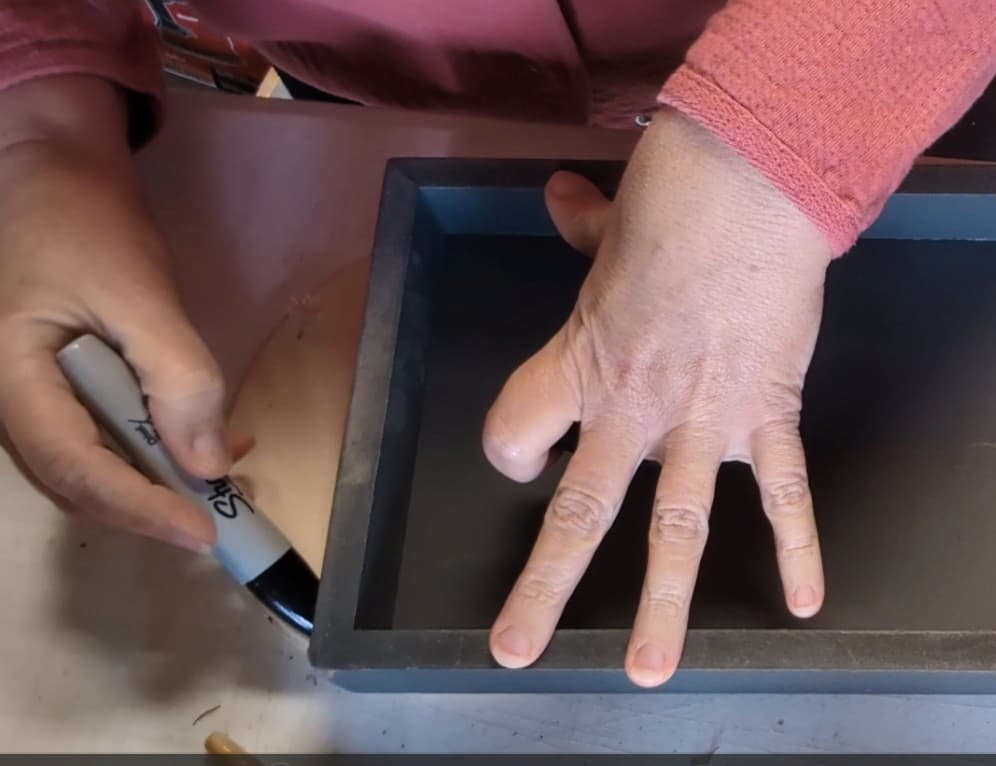
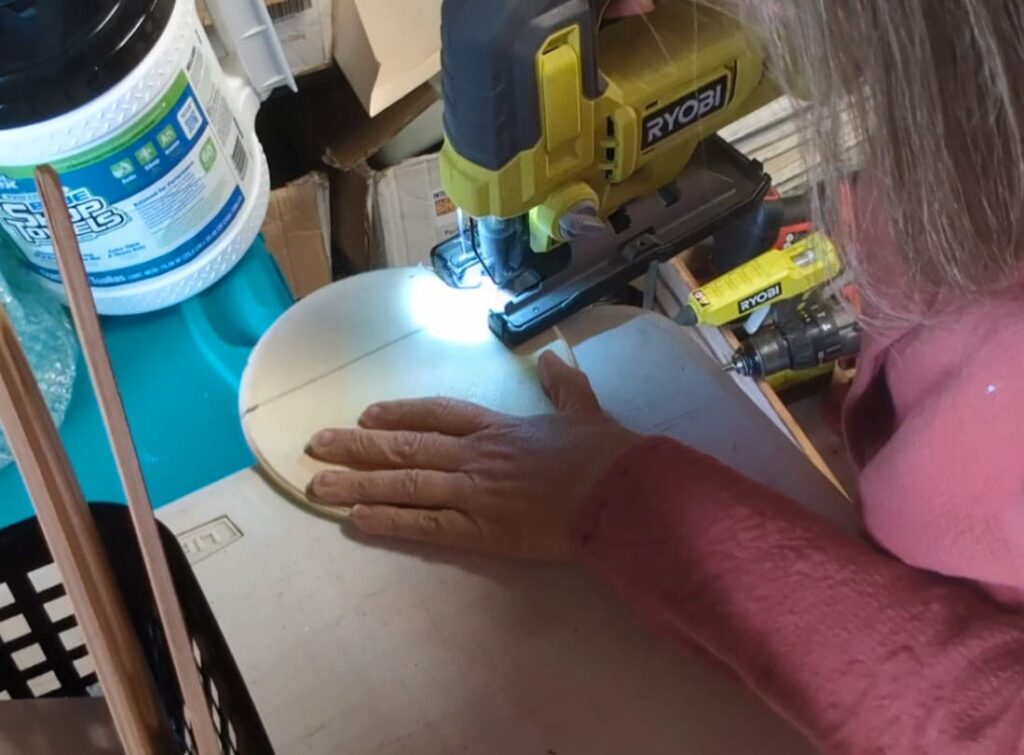
I marked the wood circle to where I wanted to cut it. I then used a jigsaw to cut carefully on that line and sanded the rough edge.
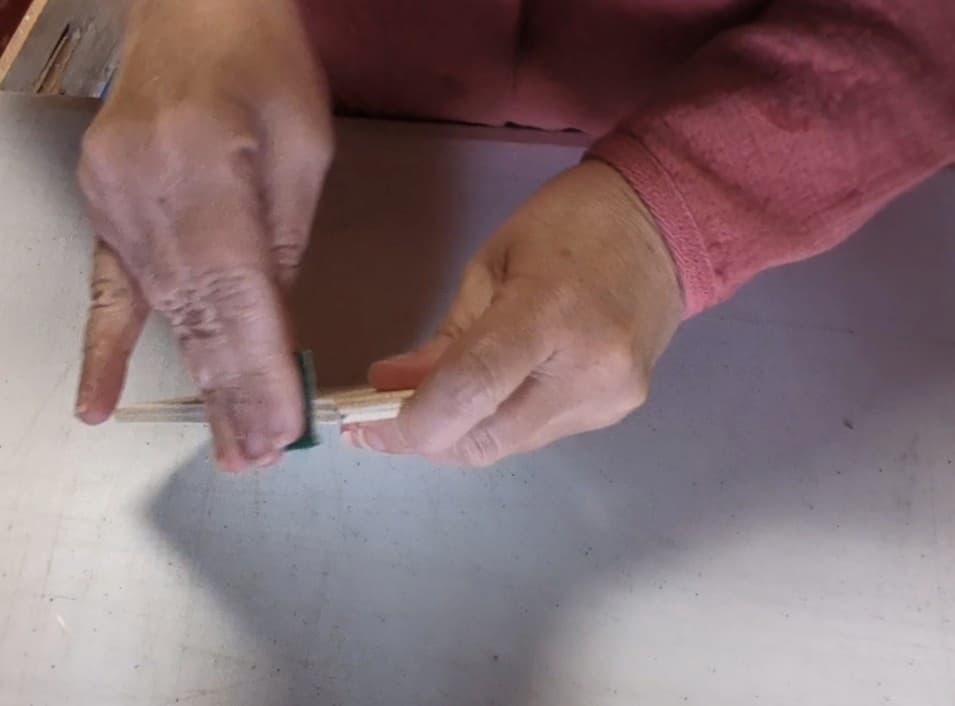
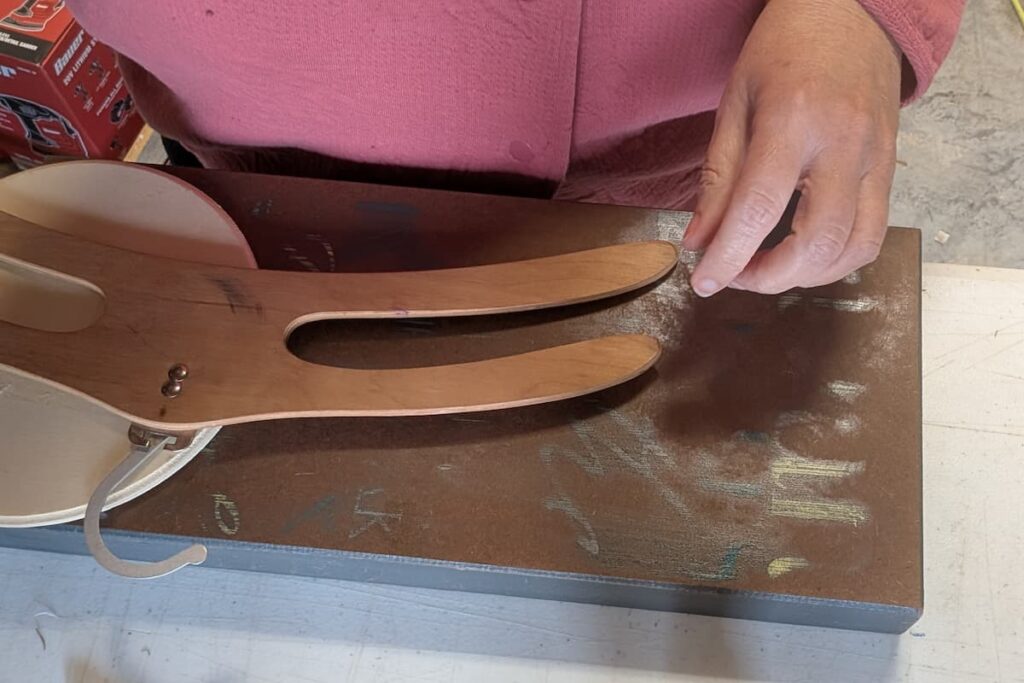
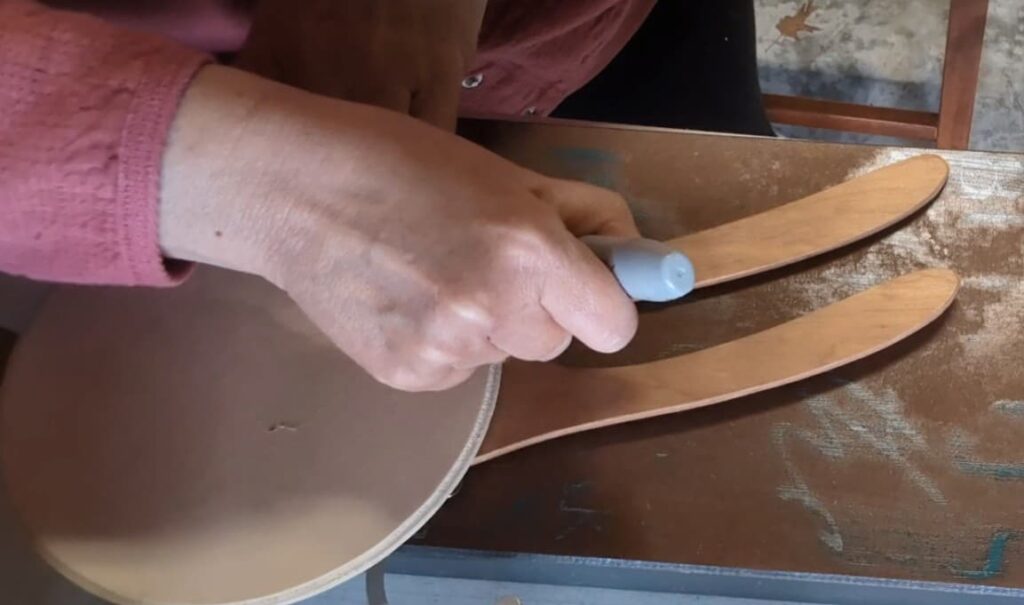
For the coat hanger I wanted one ear to go to the left and one to go to the right. I marked where to cut it by placing it on the circle to get the curve so the ears would sit on top of the circle. I also cut the two “ears” or arms of the coat hanger apart.
See This Project on Youtube:
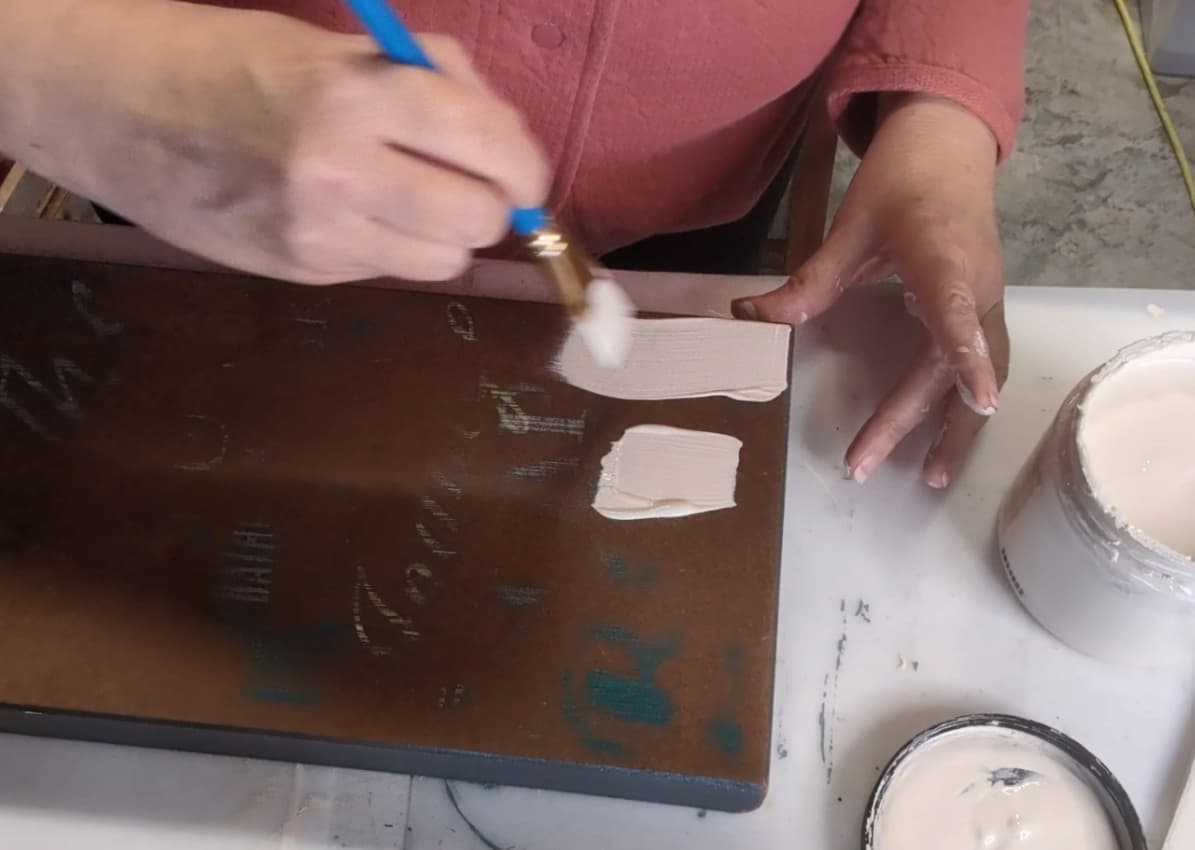
Second Step -Painting And Decoupage Paper
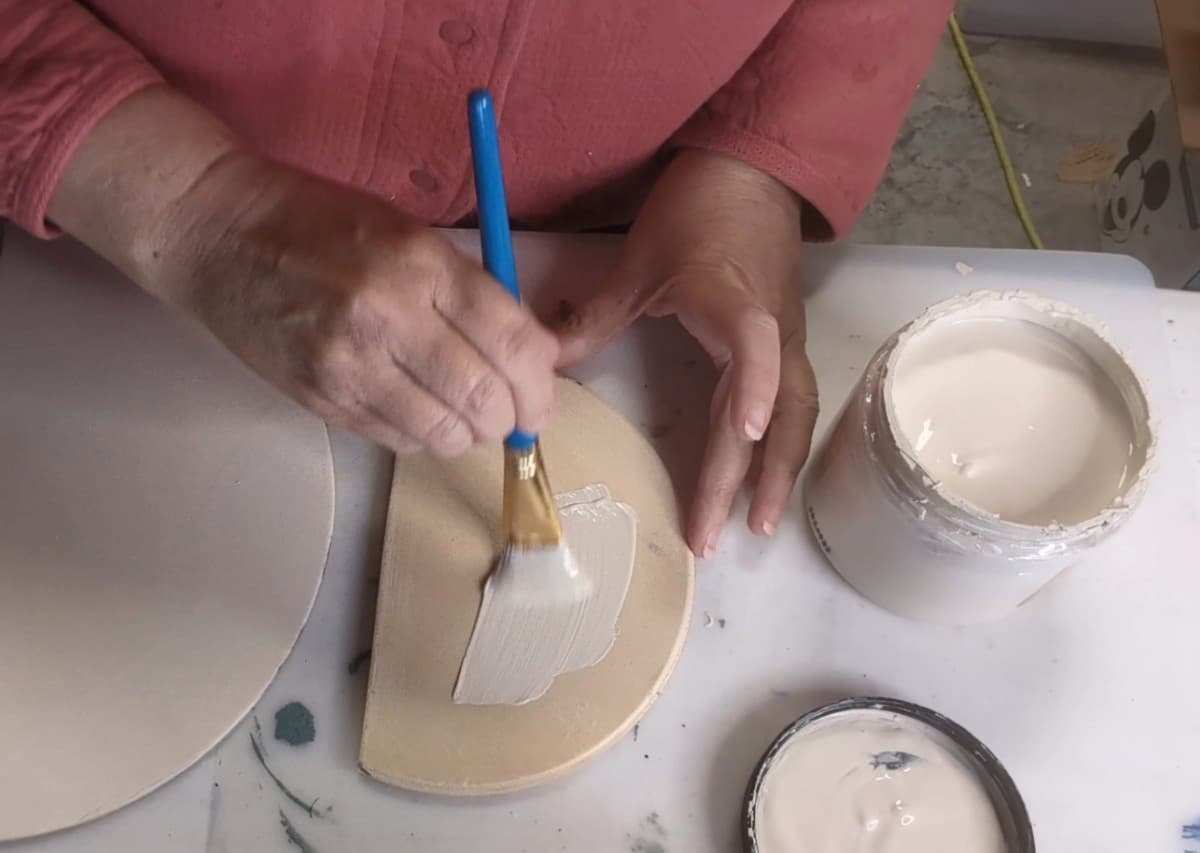
I used drop cloth chalk paint on the sign so the decoupage paper would have a white background.
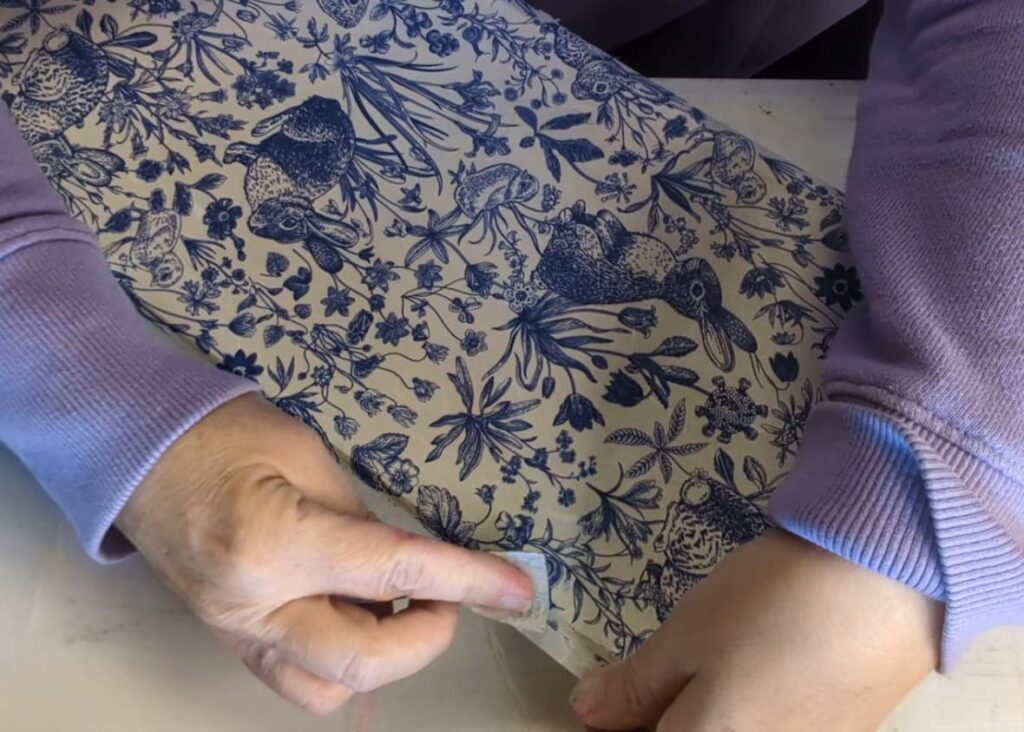
After this paint was dry I used Dixie Belle’s clear flat coat as a decoupage medium to apply the springtime toile paper.
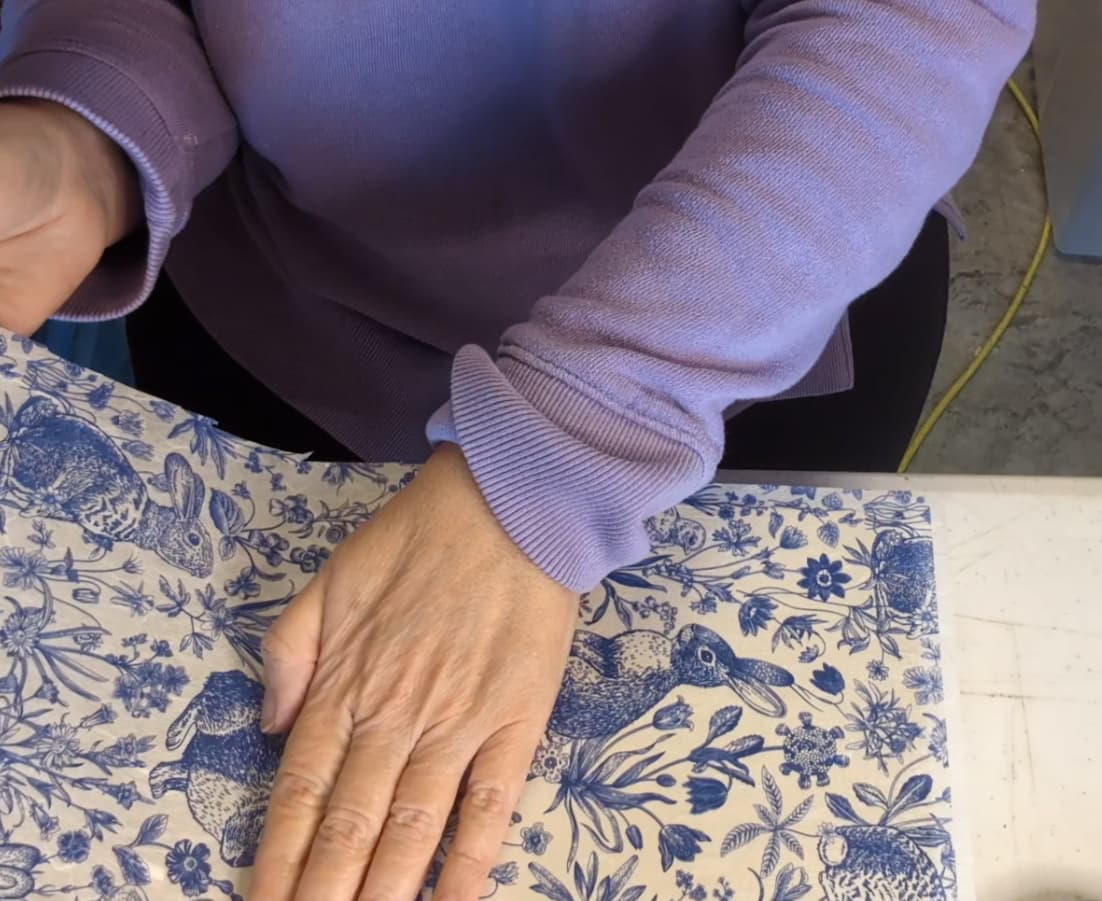
When this decoupage paper was dry I sanded off the excess paper around the edges. Make sure to use gentle downward sanding so you don’t tear your paper.
More
Coat Hanger Projects
Third Step – Painting And Staining Pieces For The Bunny Sign
I painted the wood circle which will be the bunny head with drop cloth.
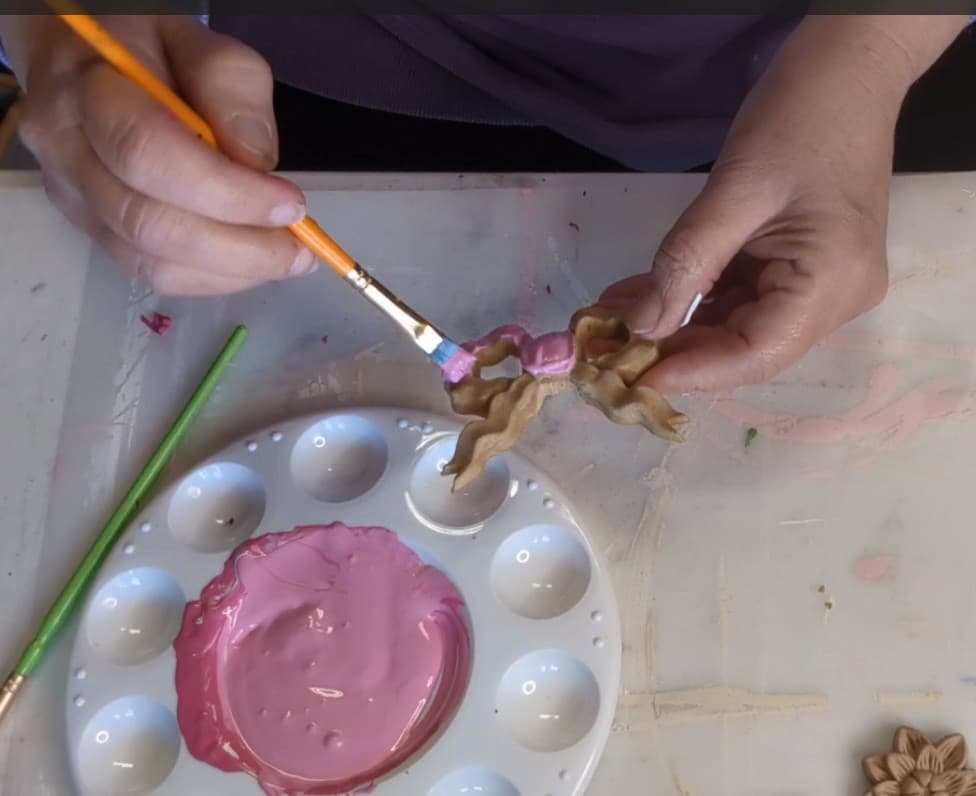
After cutting the middle piece of the bow off by warming it and using an x-acto knife I painted it. I used prickly pear and white cap mineral paint to create a light pink.
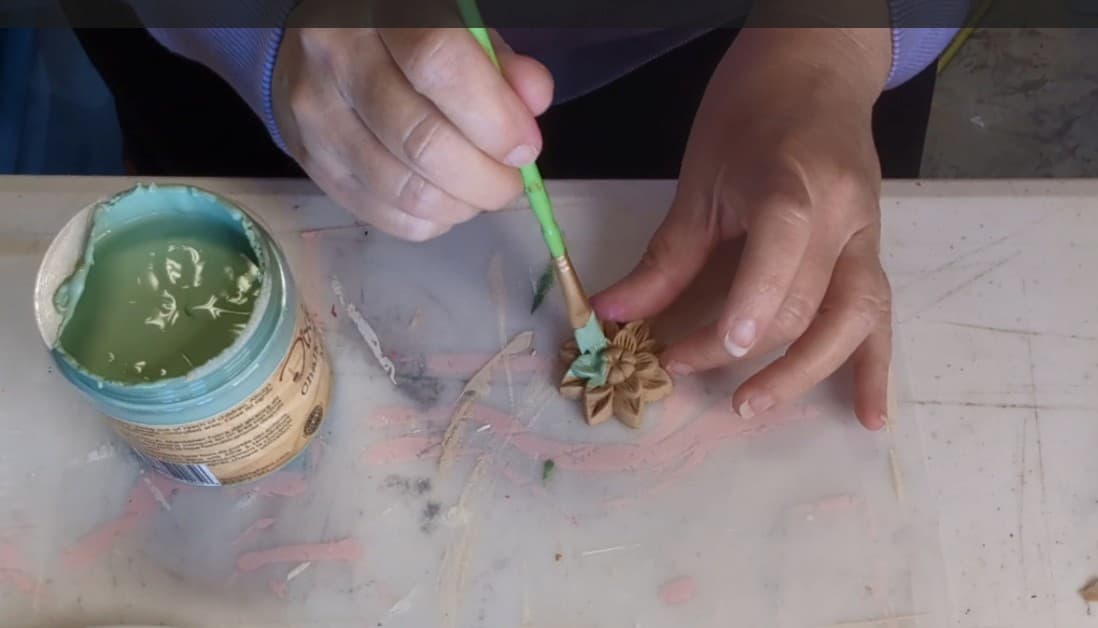
I used mint julep chalk paint to paint three flowers for the bunny’s crown.
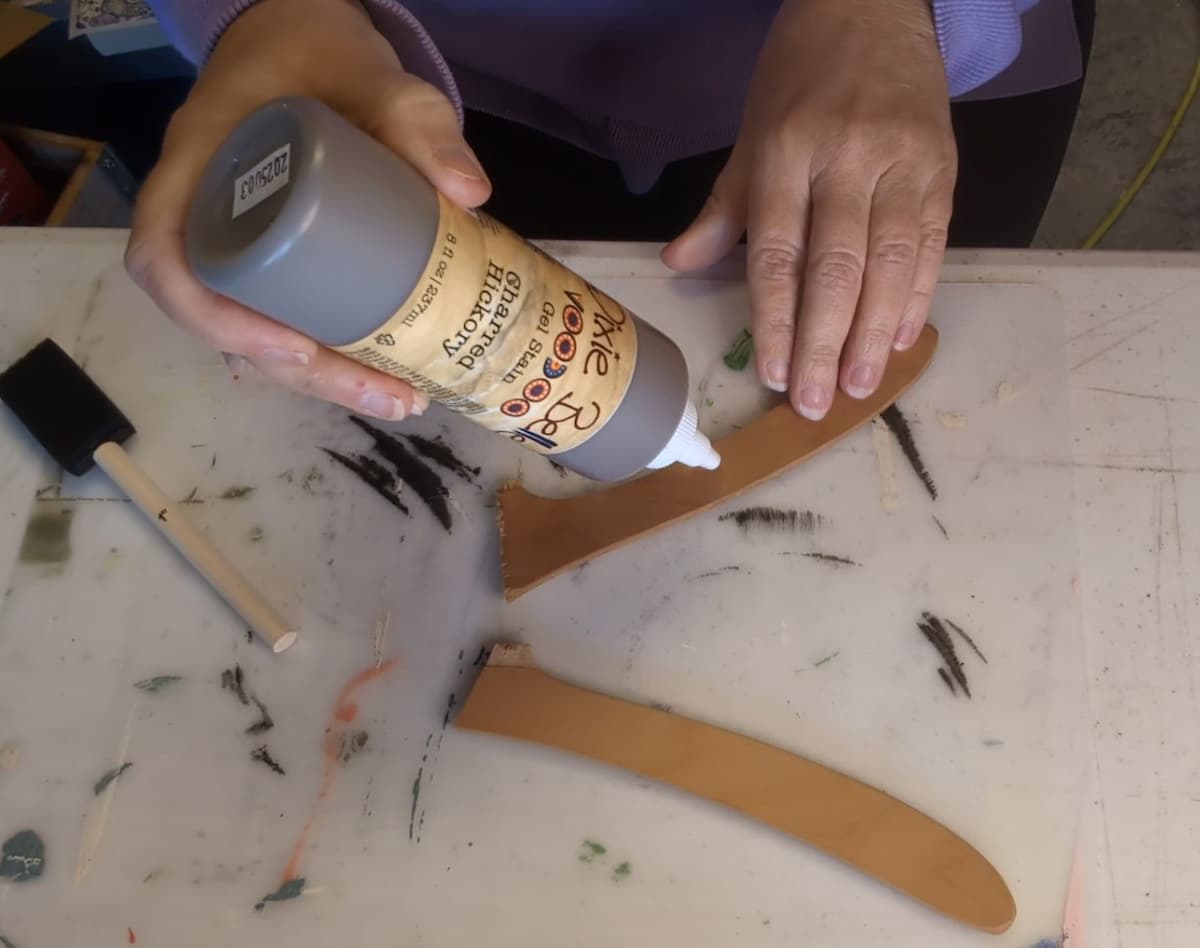
Last but not least, bunny ears! I stained those with voodoo gel stain in charred hickory.
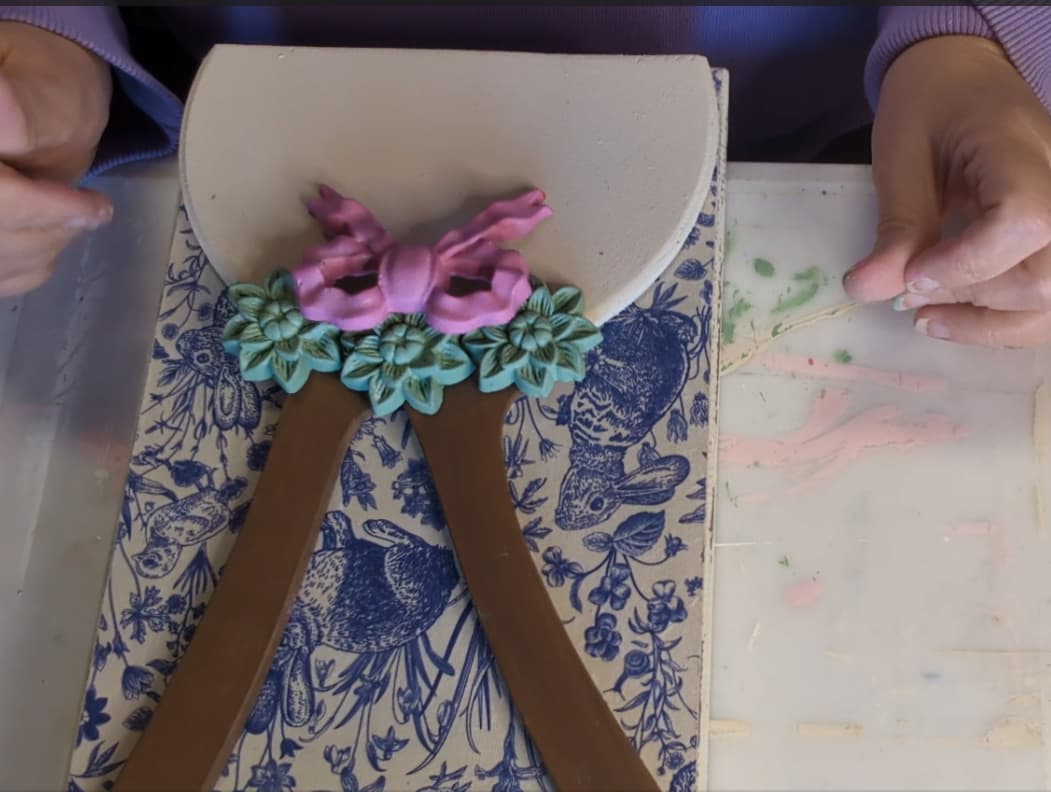
Last Step – Assembling The Bunny Sign
Use the tite bond wood glue to assemble your pieces on the sign. Line up the half circle to the bottom of the sign. Place your bunny ears (coat hanger) at the top of your circle. Arrange your flowers with your bow on top. I did use a brad nail to reinforce the bow on top because there was not many places of contact for the glue.
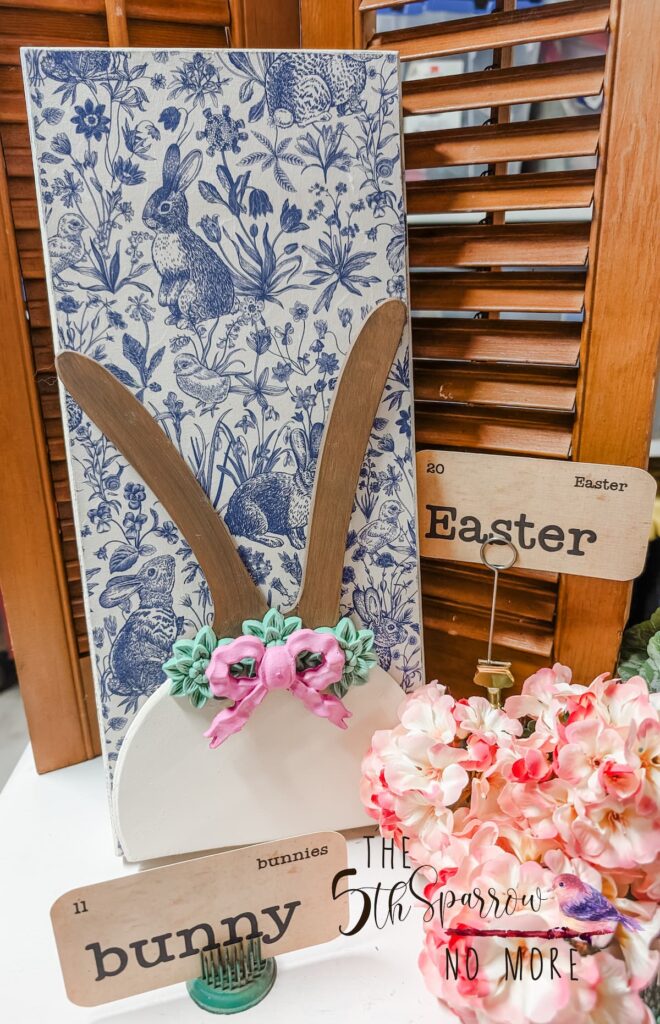
The Finished Bunny Sign With Something Unexpected
The finished sign is absolutely adorable and exactly how I imagined it in my head!
From Our Shop – Twigs & Fluff
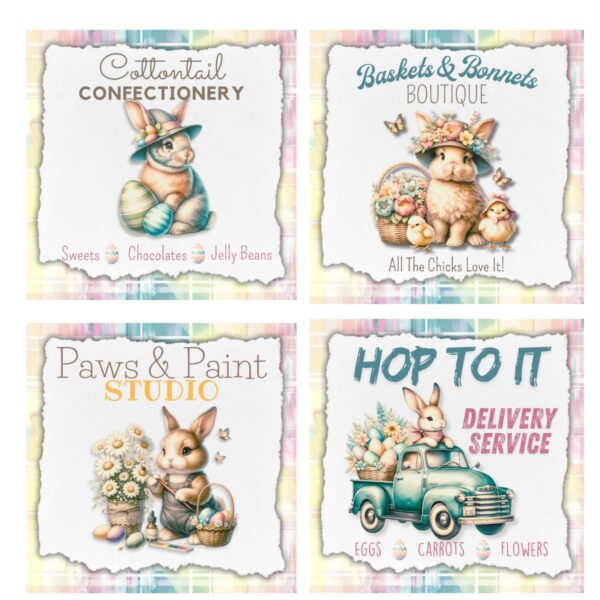

Find these Easter downloads and many more in our shop!
Before You Fly Away To Make This Bunny Sign With Something Unexpected
Pin any of the images to Pinterest so you can make your own bunny sign – hover over any picture to save the pin to your Pinterest account. So easy!
Subscribe To My YouTube Channel