Simple Beautiful Side Table Update With Paint And Transfers
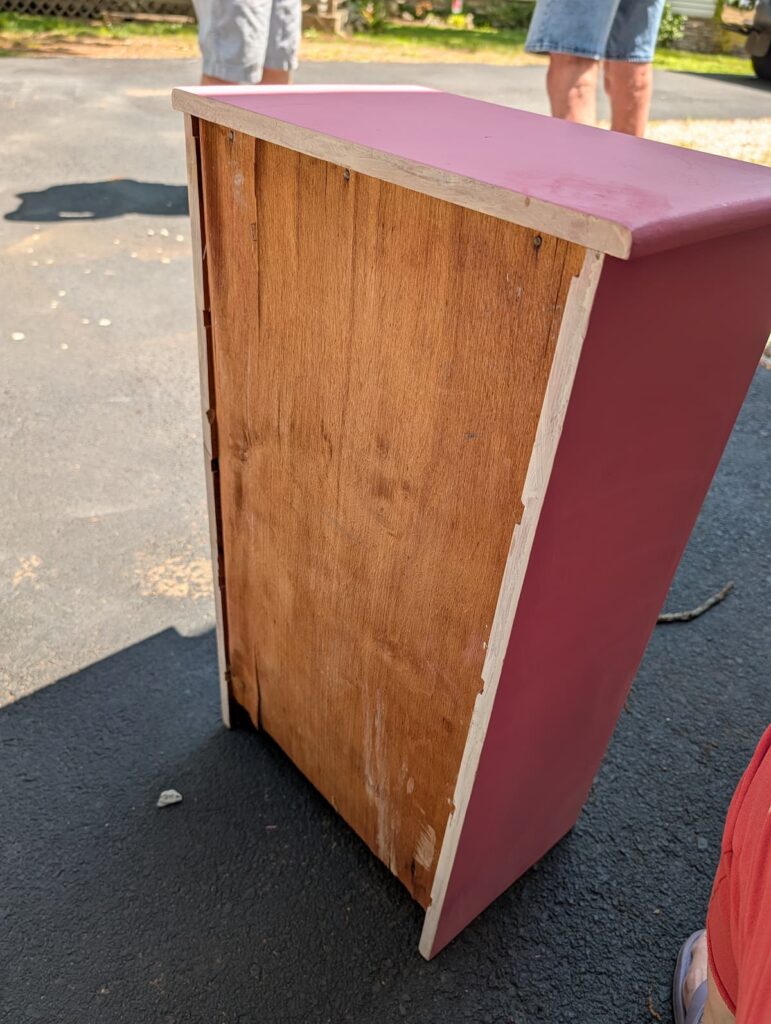
This is a simple beautiful side table update with paint and transfers. It took this night stand from discarded to pretty and functional. When I got this table it was in rough shape. It was painted with what I think was a Pepto Bismol spray paint. The spray paint covered everything including the cobwebs, dirt, and knobs.

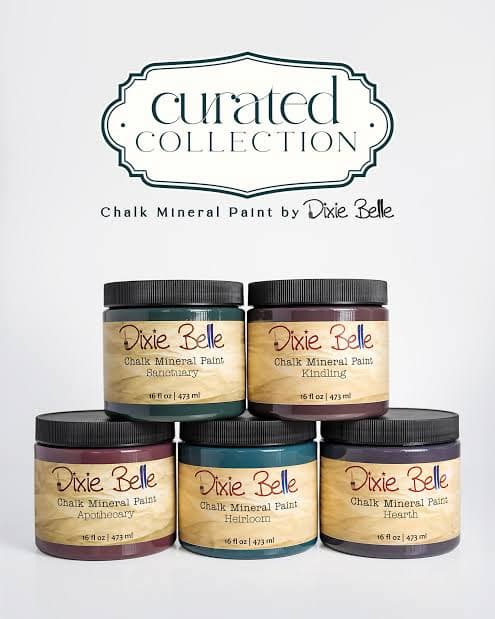
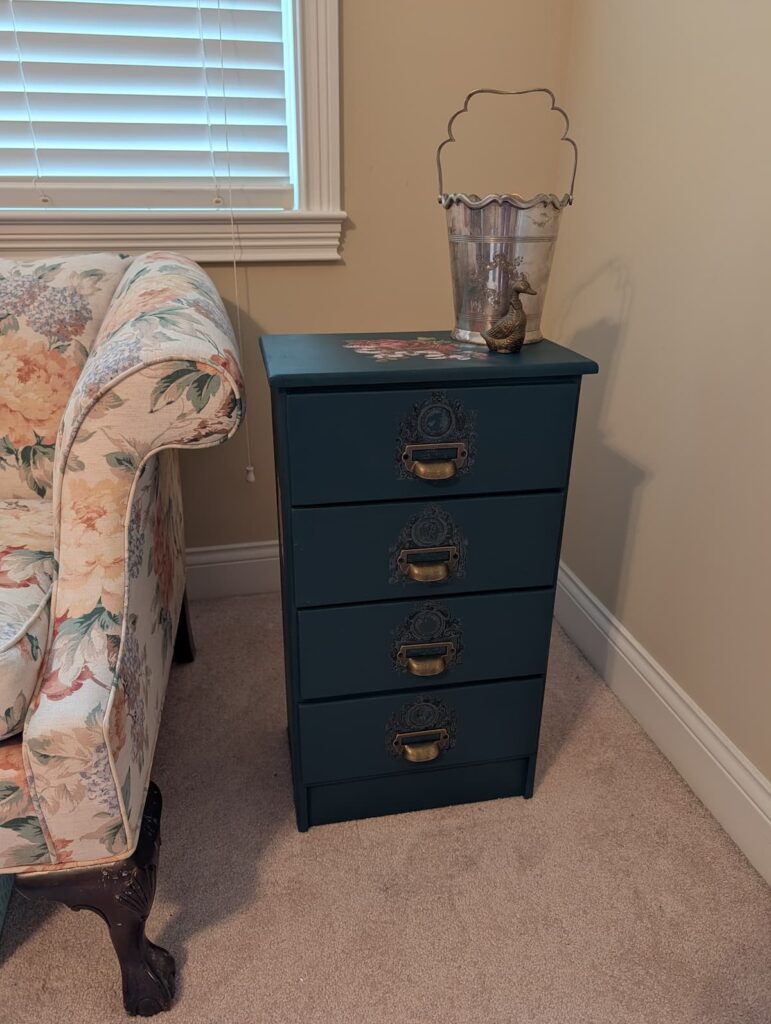
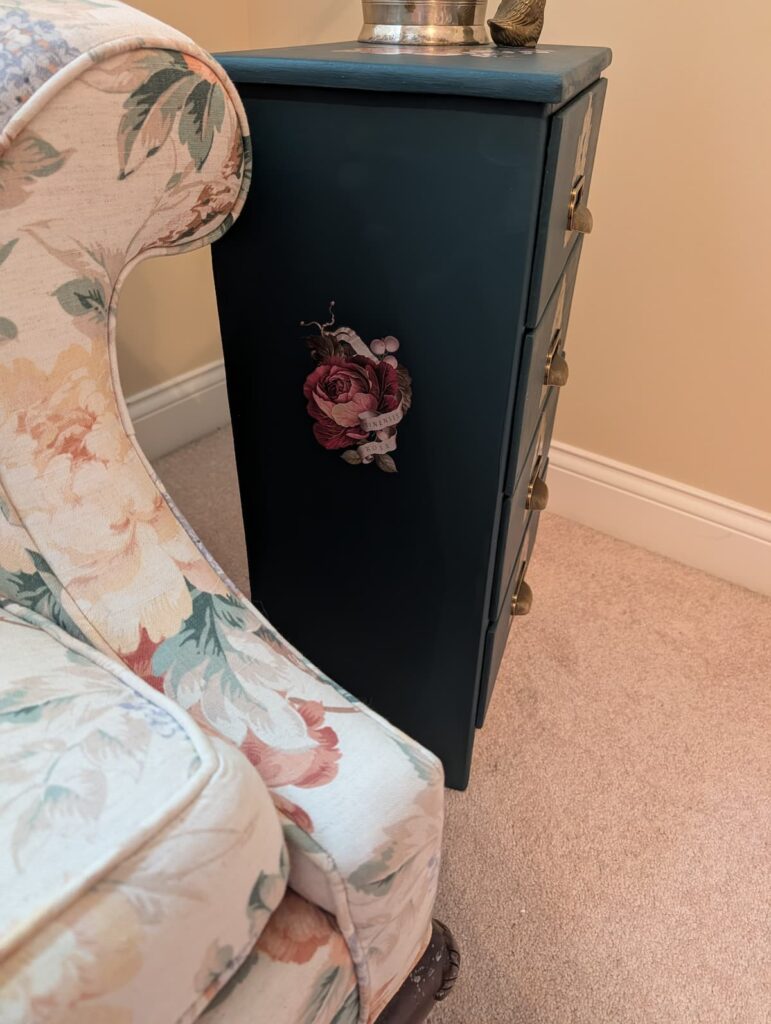
The size of this side table was perfect for my small room. Pink is my signature color but this pink was too much. I chose Dixie Belle’s Heirloom paint to match the darker part of a leaf on my floral sofa. A few different IOD transfers to dress up this plain handmade piece of furniture were also added.
Steps To Complete The Simple Beautiful Side Table Update
First thing I did was vacuum, wipe down and generally remove all the filth from the table. Some cobwebs were imbedded into the paint so I needed to sand this piece down.
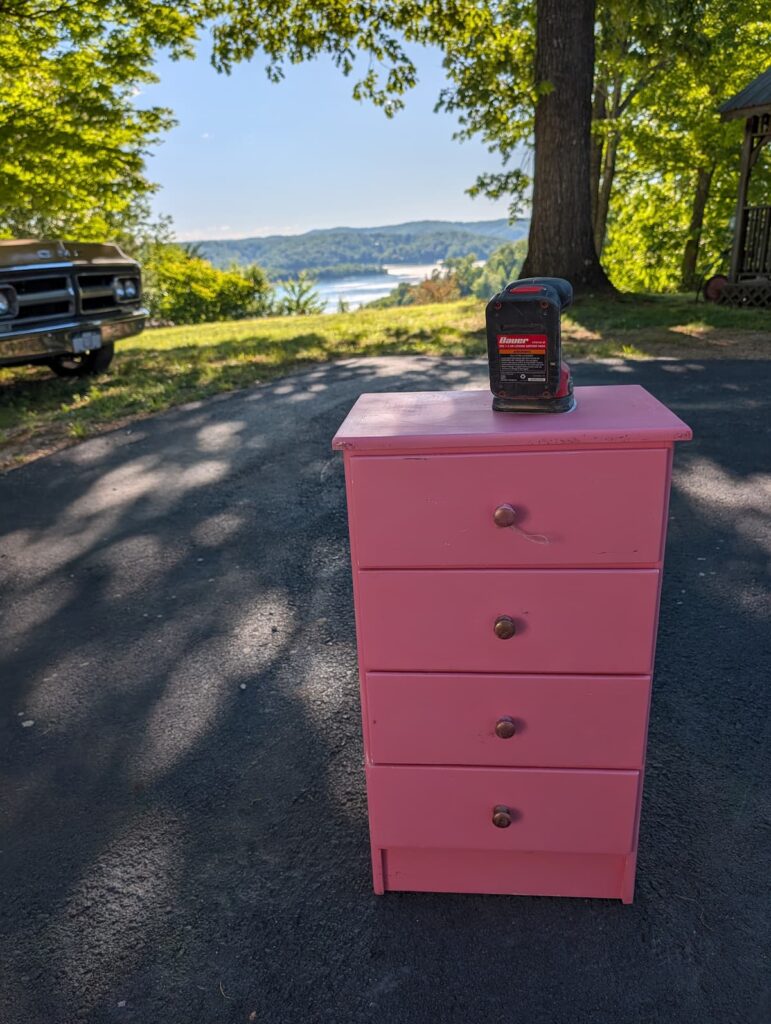
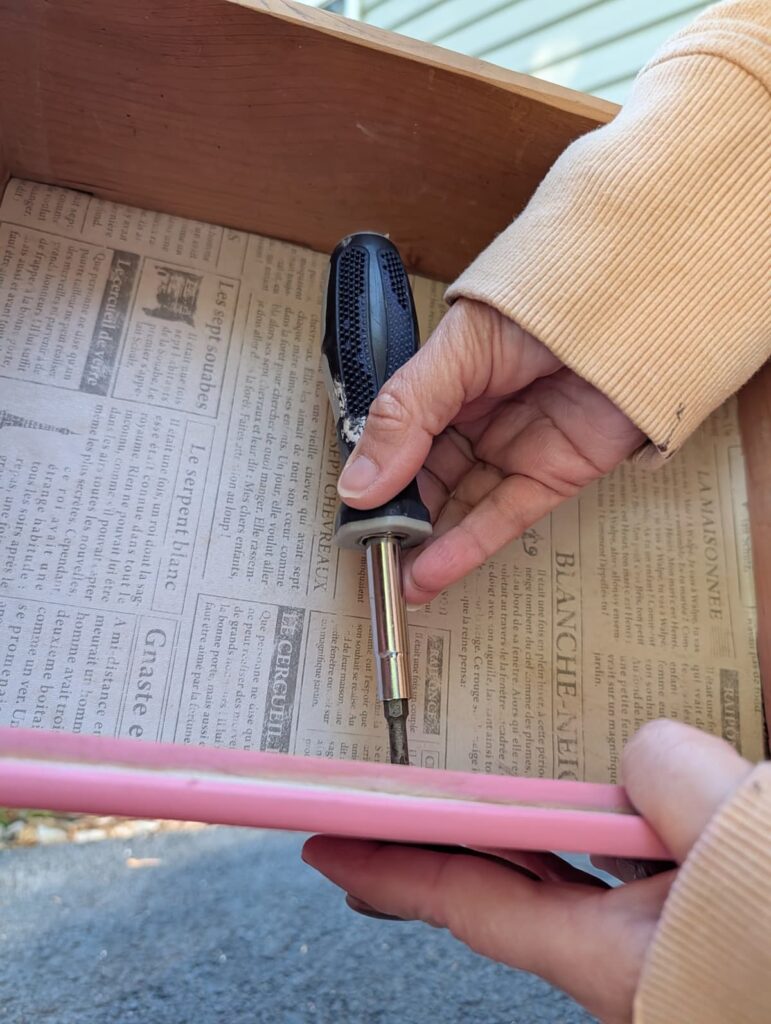
I removed all the drawer knobs by first removing the screws then knocking them off by using a hammer since they were painted on.
Tools you’ll need to complete the simple beautiful side table update
These are the supplies I used to complete the side table update. The below links are affiliate links.
Second Step To Updating A Simple Side Table
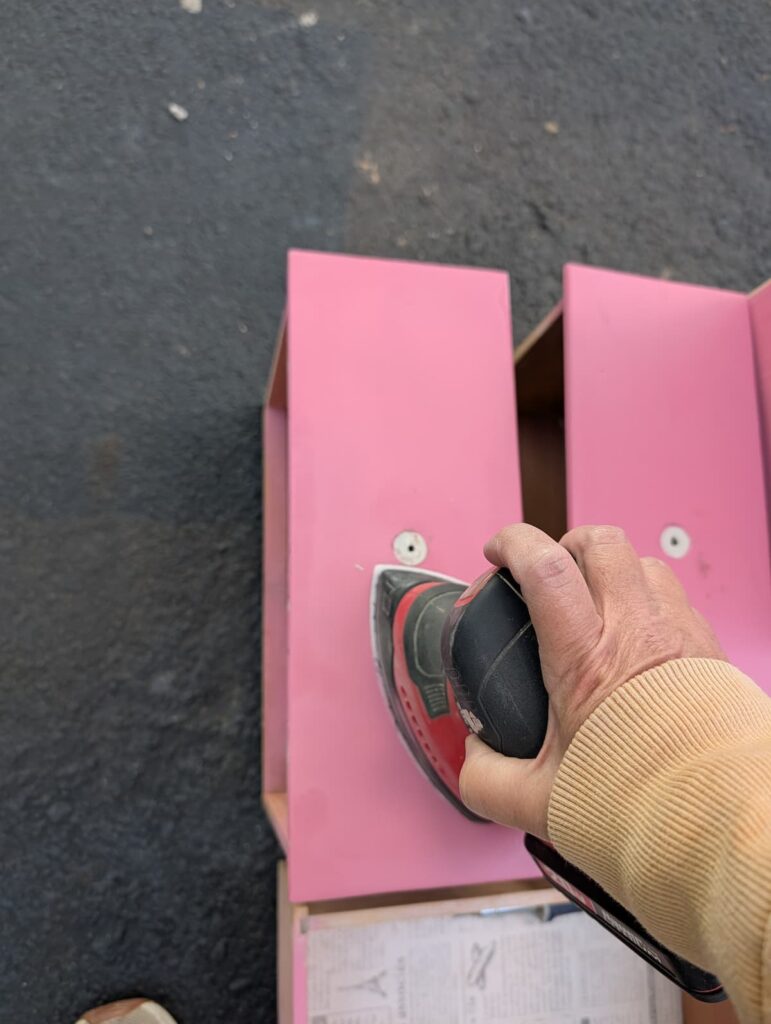
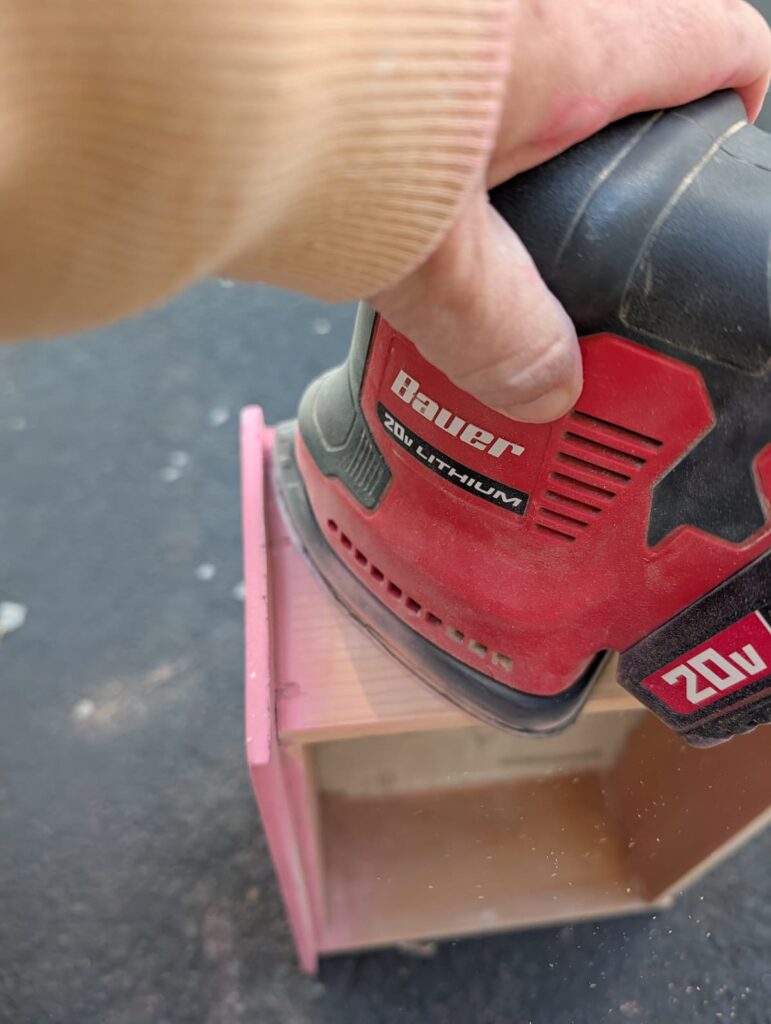
I sanded the night stand with a 220 grit sand paper to smooth out the grittiness, cobwebs, and dust trapped in the old paint. I sanded the top, sides, and sides of the drawers.
Third Step To Updating A Simple Side Table
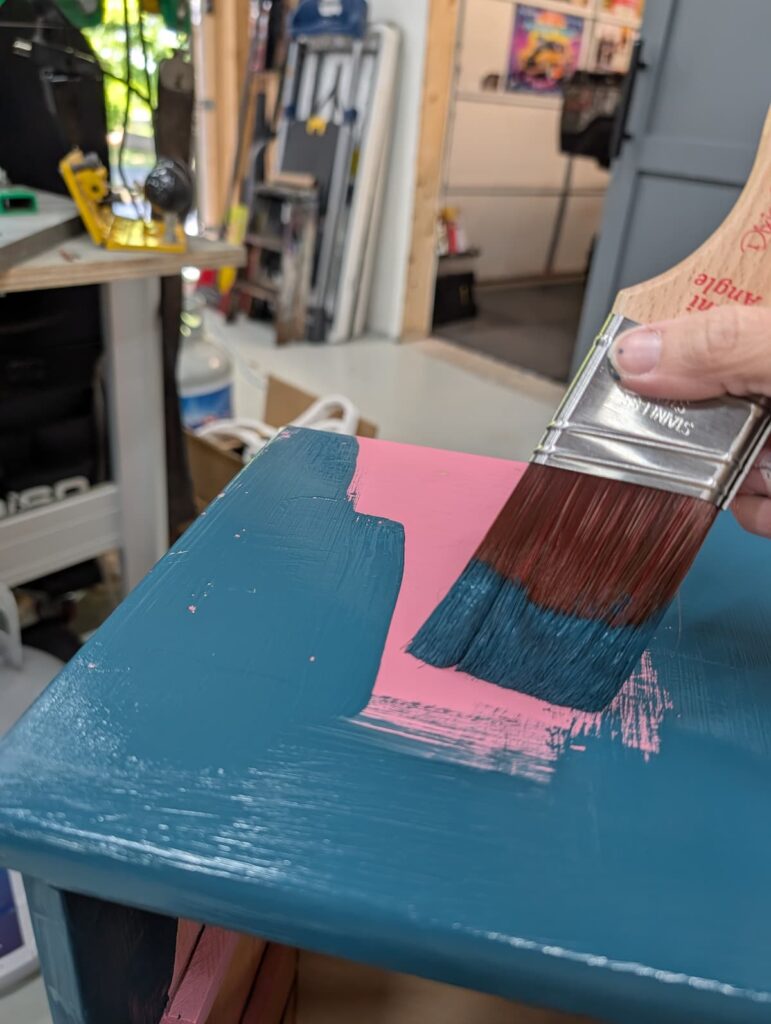
After wiping down the table to remove all the sanding dust I painted the table with the Dixie Belle paint color of Heirloom.
This is a beautiful color, self levels (no brush marks!), and has great coverage.
After painting my thoughts turned to how I would dress up this little side table. And my thought process looks like this …
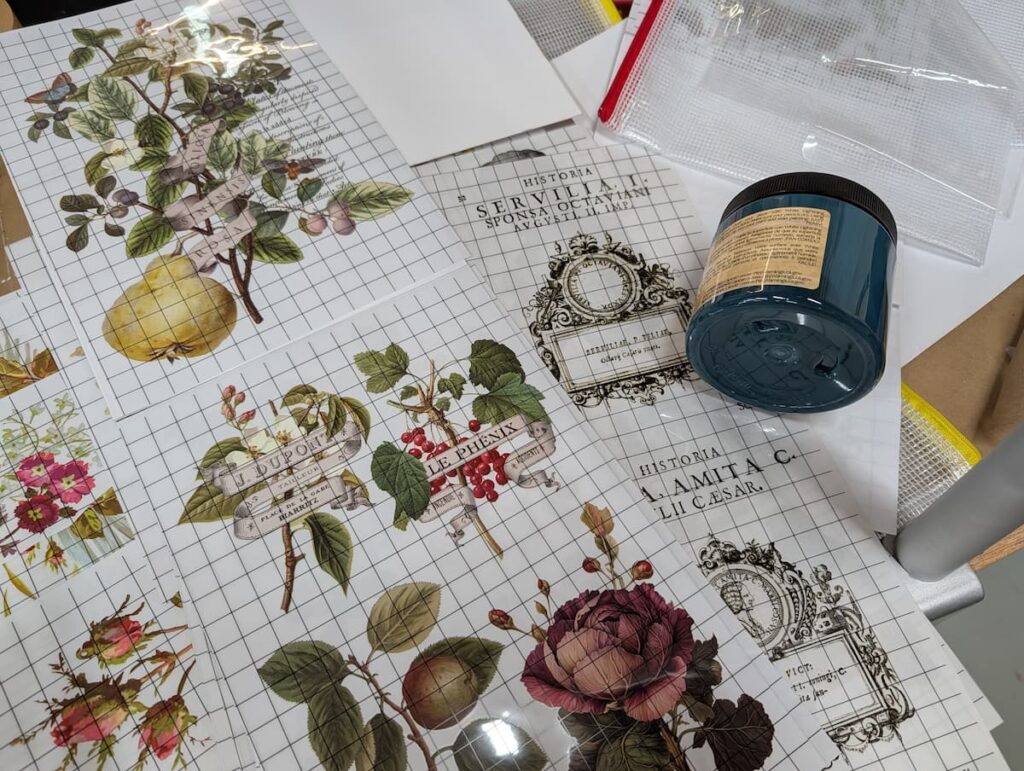
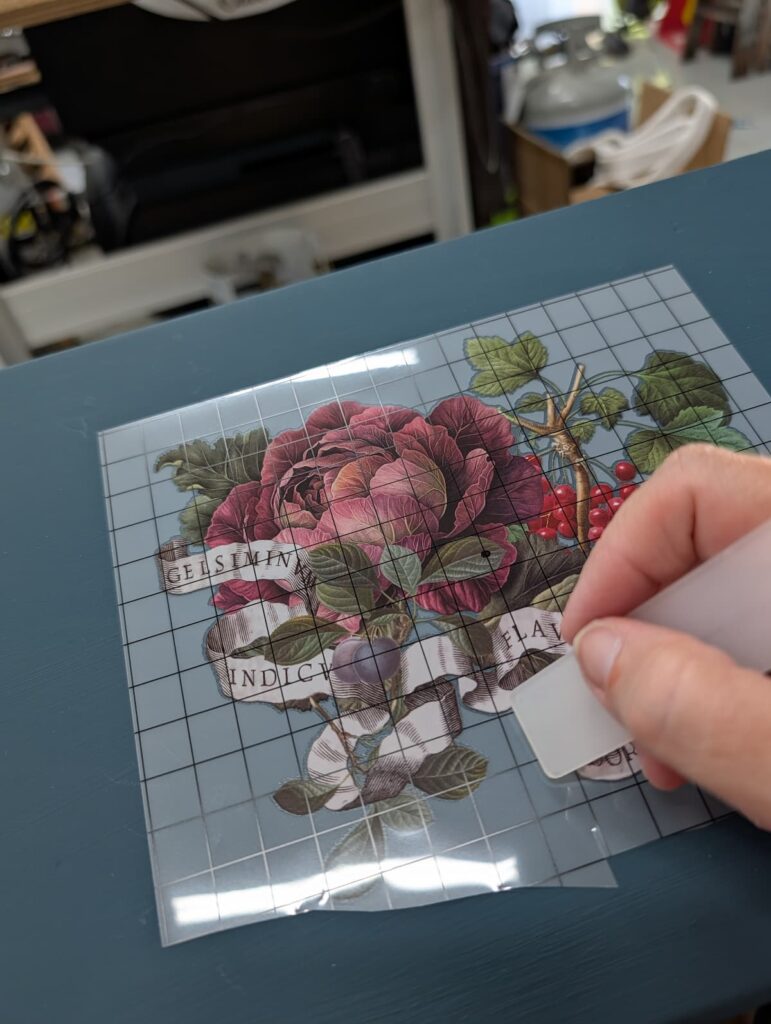
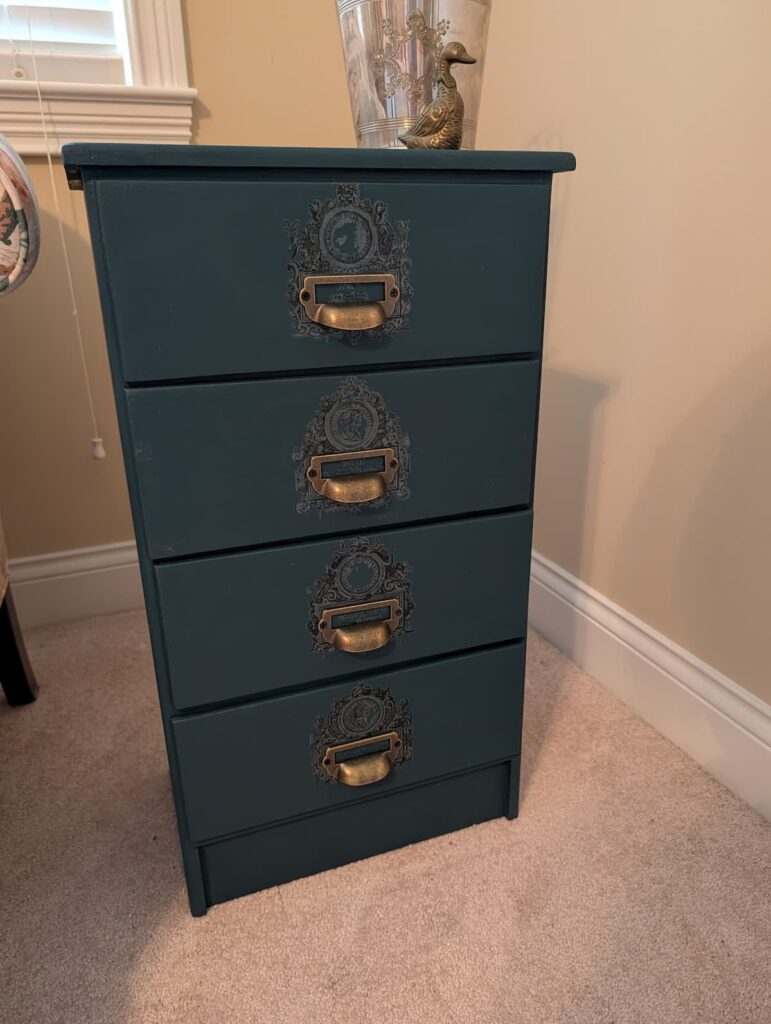
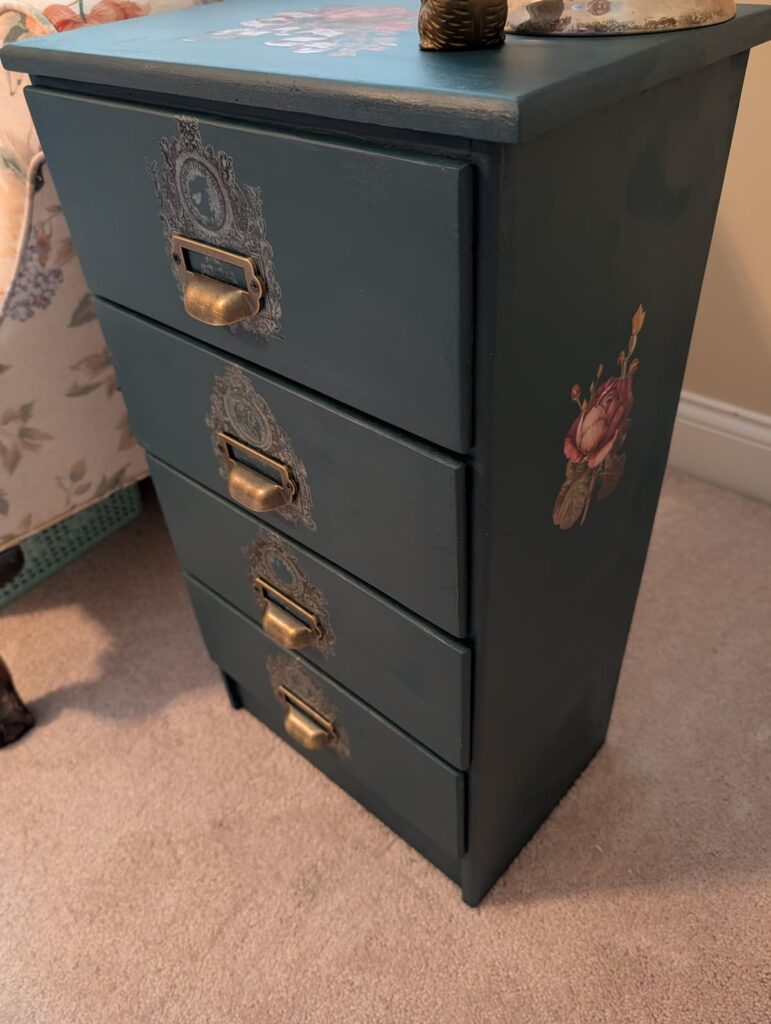
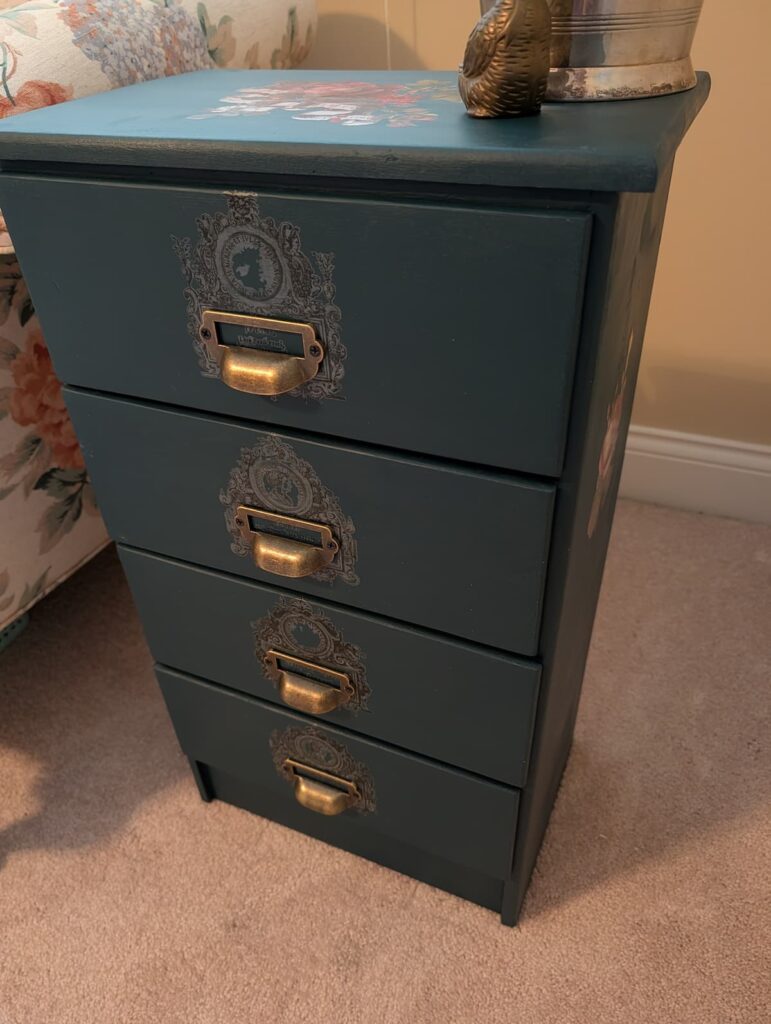
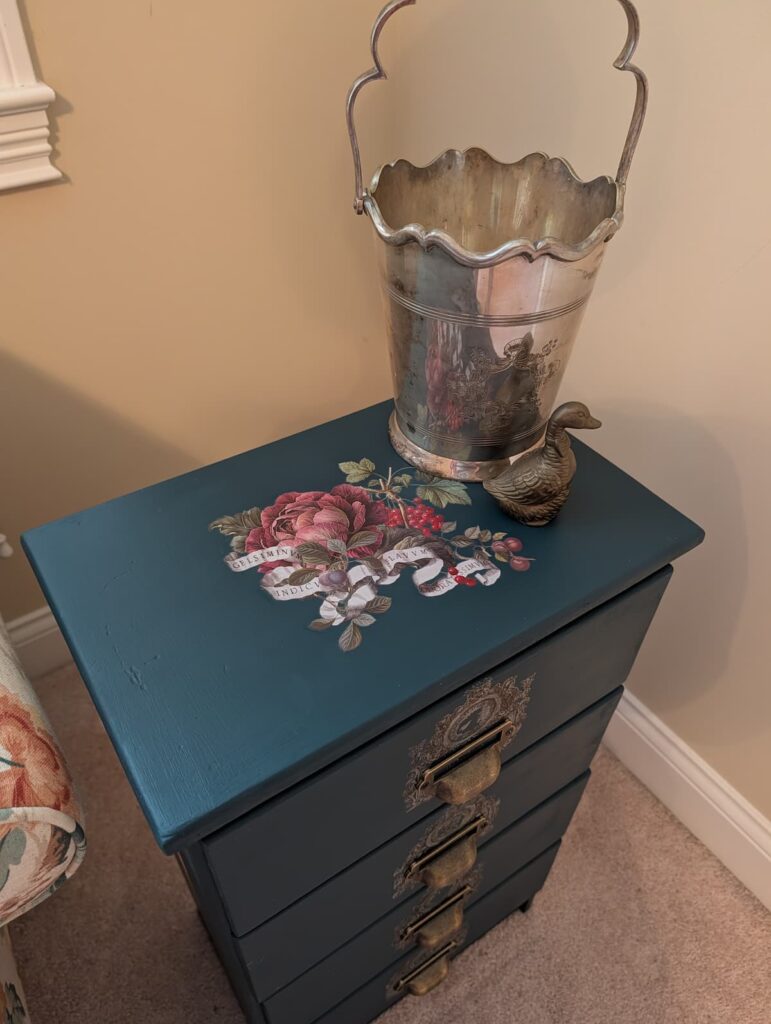
A work table of IOD transfer sheets, my paint jar and my tape measure. I finally settled on beautiful roses from the Clementine Transfer for the top and sides of the table. I chose a label transfer from the Brocante book for each of the drawer fronts.

Fourth Step To Updating A Simple Side Table
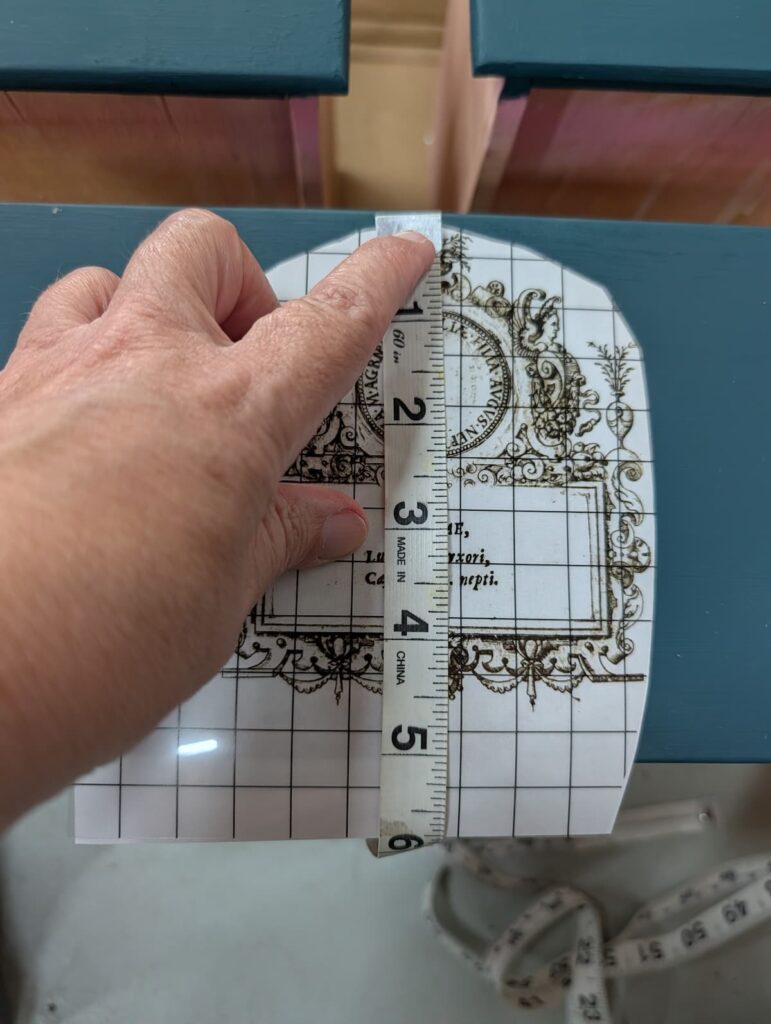
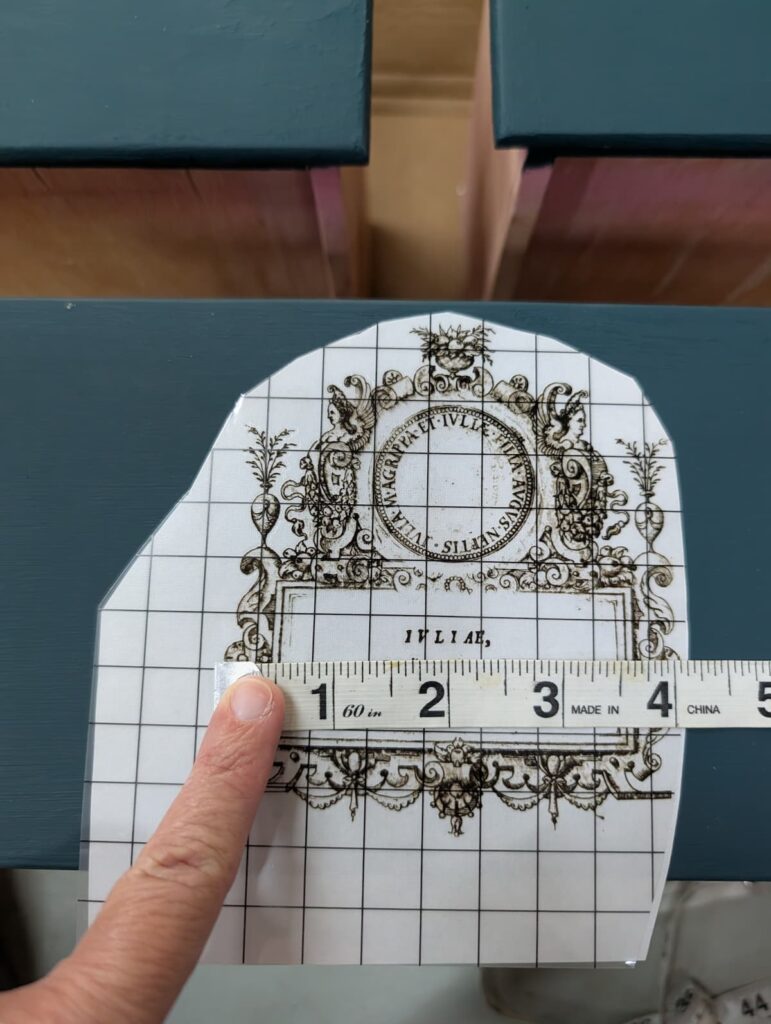
For each of the label transfers I measured the width and height of each label and made a small mark on the carrier sheet to help me center the label transfer.
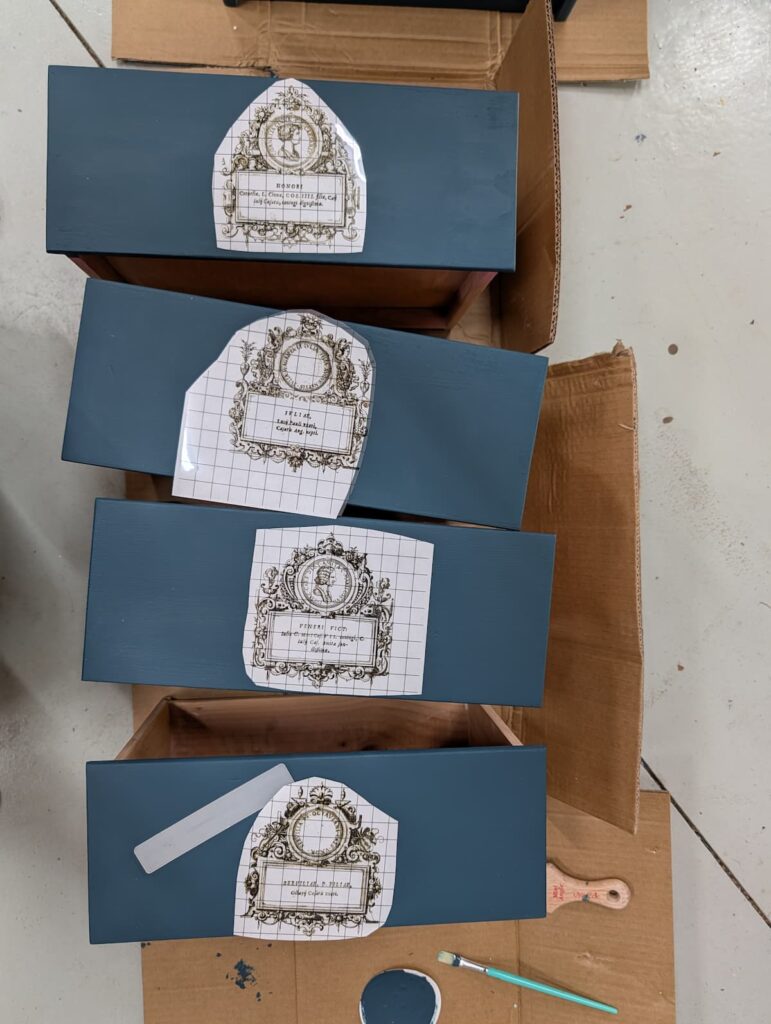
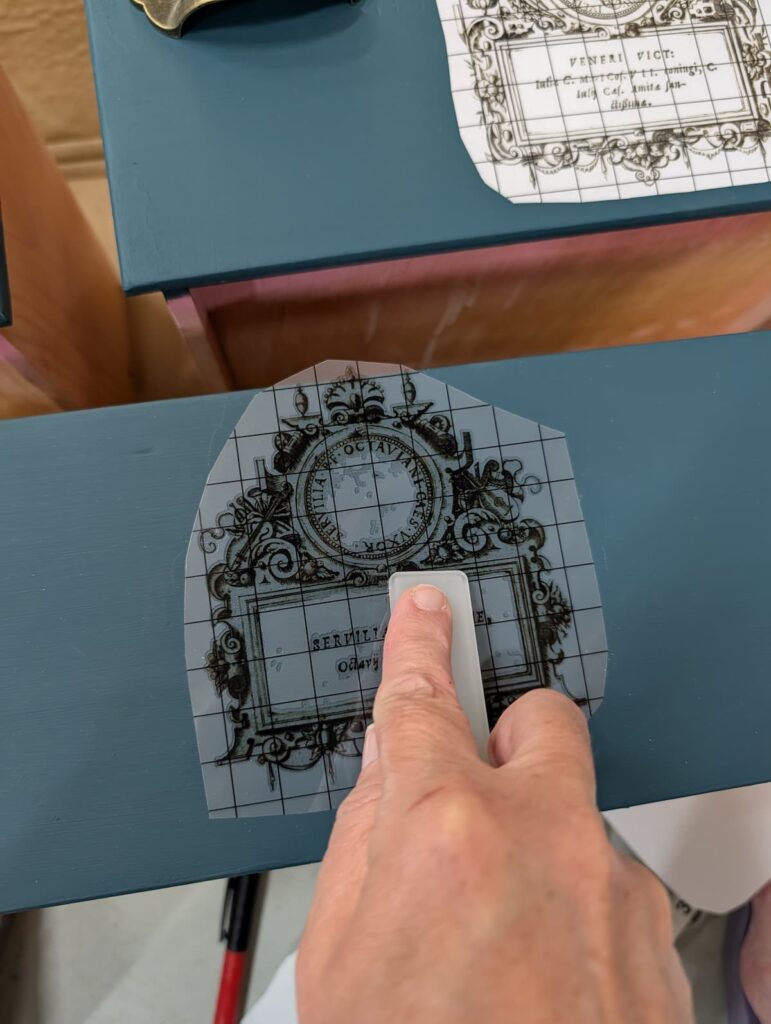
I removed the backing sheet and using the transfer stick I applied each of the label transfers to the drawer front.
I measured the rose transfer and placed it on the top of the side table in the center. Another rose transfer was placed one third of the way down the side of the table on each side.
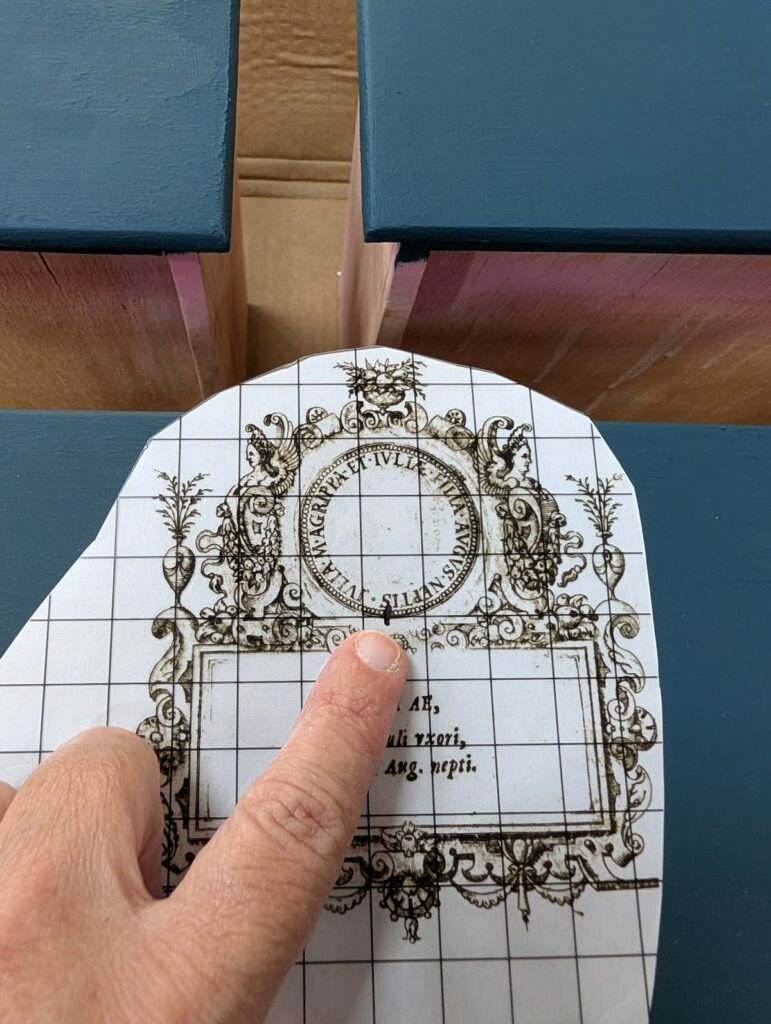
If you look closely at this picture you can see the black dot on the carrier sheet that I mark to help me center the design.
Fifth And Final Steps To Updating A Simple Side Table
To protect the paint and the transfers I applied a clear wax all over the piece with a soft bristle brush. I wiped away any excess wax with a shop towel.

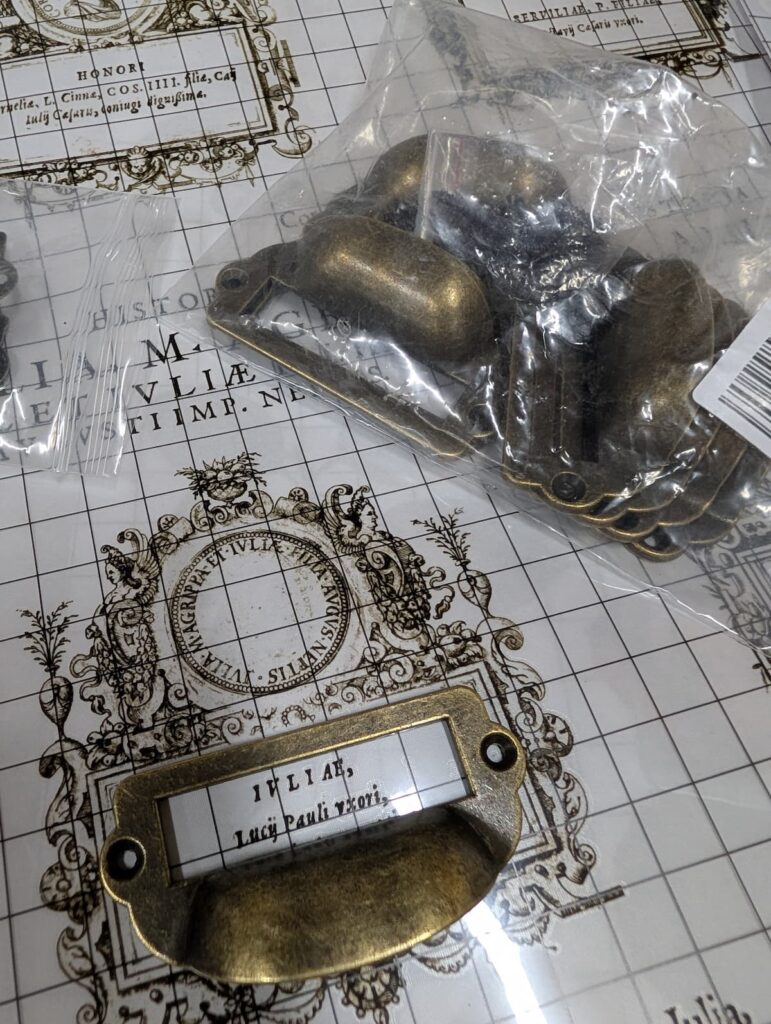
I wanted a library type pull to fit inside these label transfers and I found the most perfect ones from Amazon. They were heavy weight, a great size and came with screws. I attached them by centering them in the label, drilling a pilot hole and then attaching with the included screws.
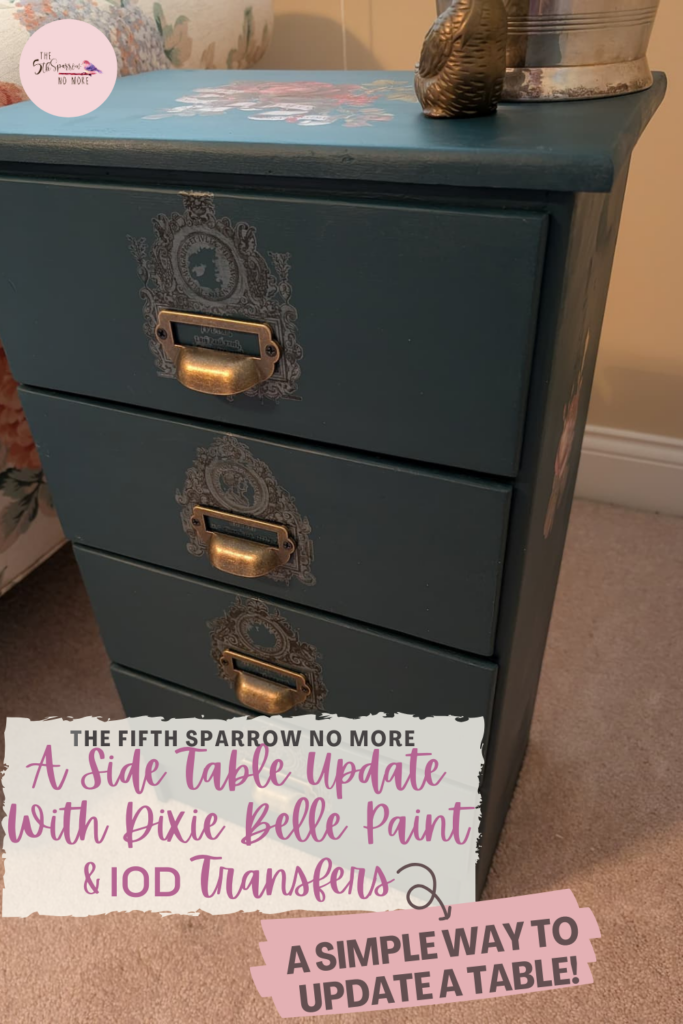
The Finished Simple Beautiful Side Table With Paint And Transfers
I am going to leave you with a lot of pictures of this gorgeous table. I am really impressed with its change – it looks so different! Here she is – from Pepto Pink to Perfect!
Before You Fly Away To Update A Table With Paint And Transfers To Make It Beautiful Simply
Pin any of the images to Pinterest so you can update a side table (or any furniture) with paint and transfers – hover over any picture to save the pin to your Pinterest account. So easy!